
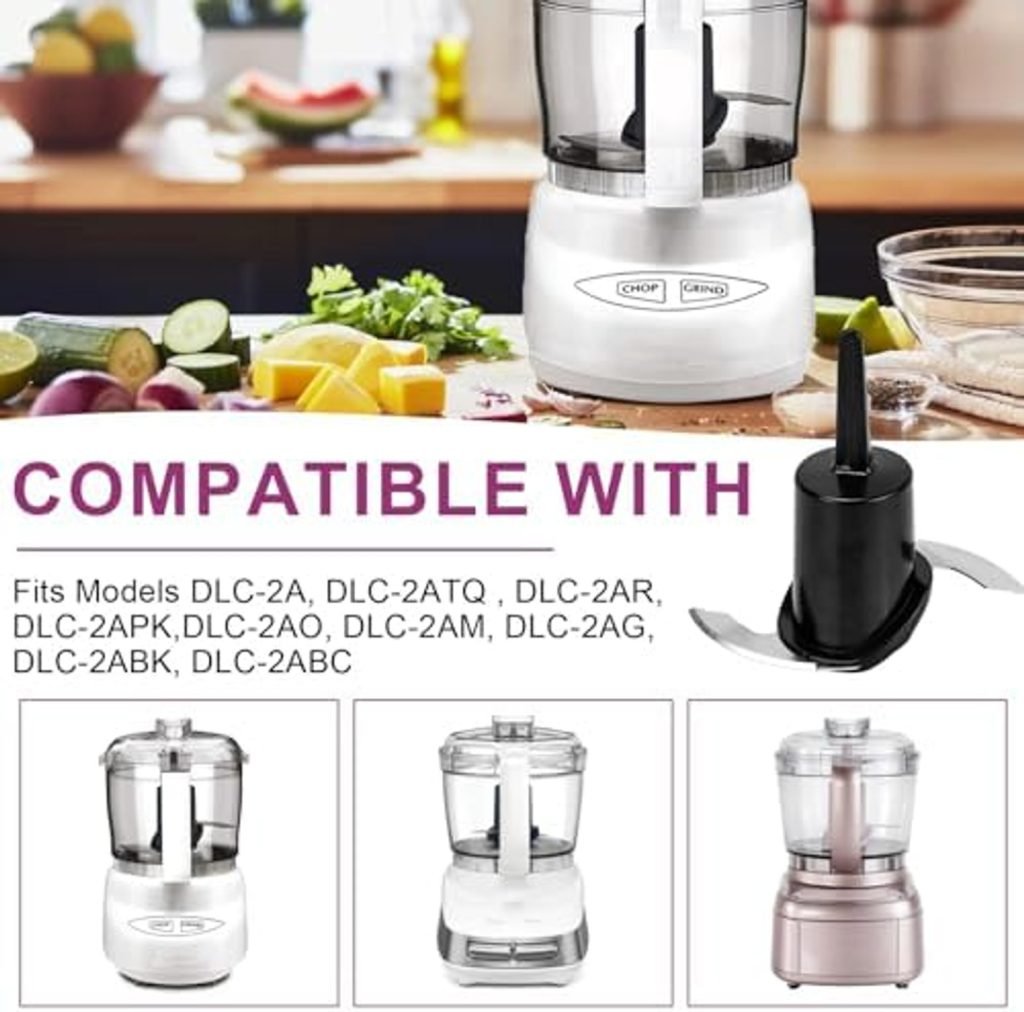
Is your mini food processor not chopping like it used to? It might be time to replace the blades.
But don’t worry—this task is easier than you think. In this guide, you’ll learn step-by-step how to swap out those dull blades safely and quickly. By the end, your food processor will be ready to handle all your chopping, slicing, and blending needs like new.
Keep reading, and you’ll save time, money, and frustration with a simple fix anyone can do.
Signs You Need New Blades
Dull or damaged bladesmake chopping slow and uneven. Food may not get cut properly. Blades can look bent or chipped after long use. This reduces the blade’s sharpness and efficiency.
Unusual noiseshappen when blades hit something hard or are loose. Grinding or rattling sounds mean the blades might be worn out or broken. These noises can harm the motor if ignored.
Poor performanceshows when the processor struggles to blend or chop. Food stays chunky or unevenly mixed. The machine may take longer or stop working well. This signals the blades need replacement soon.
Tools Required
Safety gloves protect your hands from sharp blades. They keep you safe from cuts. Choose gloves that fit well. They should be comfortable to wear. Make sure they are not too tight or loose. Using gloves is important for safety.
A screwdriver or tool kit is needed to remove the blades. It helps in loosening screws easily. Ensure the screwdriver fits the screws. A good tool kit can have different sizes. This makes it easier to use. Keep the tools nearby for quick access.
Cleaning supplies are essential after blade replacement. They help in removing food bits. Use a soft cloth and warm water. A mild soap can also be used. Clean all parts before reassembling. This ensures everything is hygienic and ready to use.
Preparing The Food Processor
Always unplug the food processorbefore starting. This stops any accidents or injuries.
Remove the bowl and lid gently. Make sure the parts are cool and clean.
- Hold the bowl firmly and twist to unlock.
- Lift the lid carefully to avoid spills.
Blades are sharp. Handle them with care to avoid cuts.
- Wear kitchen gloves if possible.
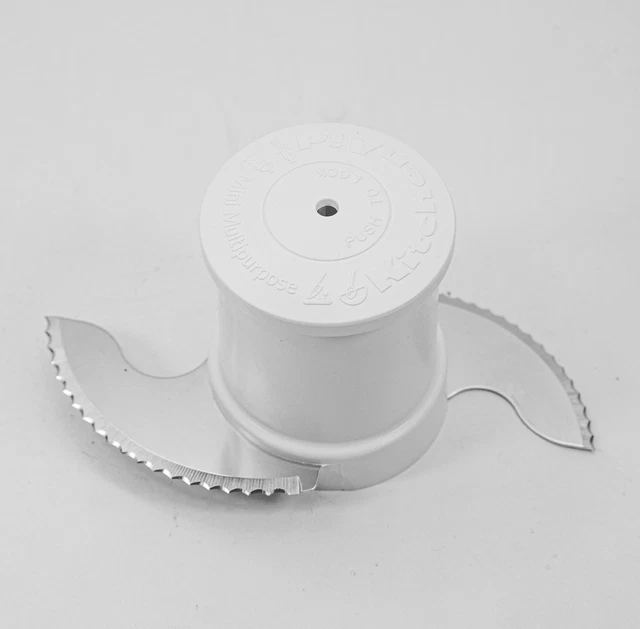
- Hold blades by the plastic center, not edges.
- Place blades on a flat, safe surface when not using.
Credit: picclick.com.au
Removing Old Blades
First, ensure the mini food processor is unplugged for safety. Locate the blade assembly, usually locked by a twist or clip. Gently twist or unclip the assembly to free the blades. Avoid using force to prevent damage.
Lift the blades carefully by holding the center hub. Blades are sharp, so use a cloth or gloves for protection. Do not touch the cutting edges directly.
Dispose of old blades safely to avoid injuries. Wrap blades in thick paper or place them in a blade disposal container. Never throw blades loosely into the trash.
Installing New Blades
Align the new blades with the center post carefully. The blades must fit snugly on the spindle to work well. Make sure each blade hole matches the post shape exactly. This ensures the blades rotate smoothly without slipping.
Secure the blade assembly by pressing it firmly down. Some models use a twist-lock to hold blades in place. Others may have a screw or latch. Check your mini food processor’s design and lock the blades firmly. Loose blades can cause damage or injury.
- Place the bowl on the base securely.
- Attach the lid and lock it properly.
- Turn the processor on briefly.
- Watch for any wobbling or noise.
- Stop immediately if blades seem loose.
This quick test confirms the blades fit correctly and safely. Always unplug the processor before adjusting blades.

Credit: www.amazon.com
Cleaning And Maintenance Tips
Clean the blades after every use to keep them sharp and safe. Use warm water and mild soap. Avoid harsh chemicals that can damage the metal. Dry blades thoroughly to stop rust.
Sharpen dull blades carefully using a small sharpening stone. Hold the blade at a slight angle. Swipe the stone along the blade edge gently to restore sharpness. Do not press too hard.
Store blades in a dry place away from moisture. Keep them separate from other utensils to avoid damage. Use blade covers or wrap blades in cloth for safety.
Troubleshooting Common Issues
Blades not spinningoften means the blade assembly is not seated correctly. Check if the blade is locked in place. Sometimes food or debris blocks the connection. Cleaning the base and blade area helps. Also, ensure the motor is working by testing without the blade.
Leaks or seals problemshappen when the rubber gasket is worn or out of place. Replace the gasket if it looks cracked or torn. Tighten the bowl and lid properly to stop leaks. Avoid overfilling the bowl to prevent spills.
Unusual vibrationscould mean the blade is bent or damaged. Inspect the blades for any signs of wear. A bent blade must be replaced to avoid damage to the motor. Make sure the bowl is placed evenly on the base to reduce shaking.

Credit: www.cuisinart.com
Frequently Asked Questions
How Do I Safely Remove Mini Food Processor Blades?
First, unplug the processor. Use a cloth or gloves for grip. Gently twist or lift the blade hub. Avoid direct hand contact to prevent cuts.
What Tools Are Needed To Replace Mini Food Processor Blades?
Usually, no special tools are required. A screwdriver may help if screws secure the blades. Always consult your processor’s manual before starting.
How Often Should Mini Food Processor Blades Be Replaced?
Replace blades when dull, bent, or damaged. Frequent use may need blade changes every 6 to 12 months. Sharp blades ensure better performance and safety.
Can I Use Any Replacement Blades For My Mini Food Processor?
No, always use blades compatible with your processor’s model. Using incorrect blades may cause damage or poor performance. Check manufacturer recommendations for suitable replacements.
Conclusion
Replacing mini food processor blades is simple and quick. Follow safety steps carefully to avoid injuries. Match the new blade with your model for best fit. Clean the parts before and after changing blades. Proper care helps your processor last longer.
Regular checks keep it working well every day. Enjoy fresh, smooth food with sharp, new blades. Keep these tips in mind for easy blade replacement. Your kitchen tasks will become easier and faster.