
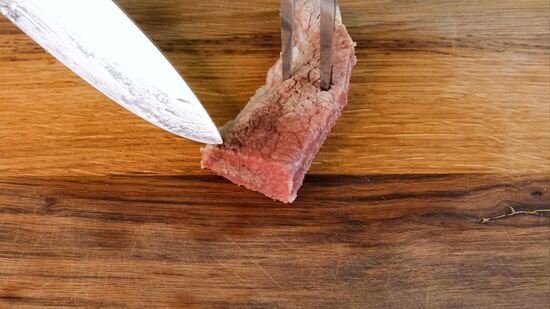
If you love making fresh sandwiches at home, you know how important a sharp, clean blade is for slicing your sandwich meat perfectly. But what do you do when your blade gets dull or damaged?
Replacing the blade for your sandwich meat slicer might seem tricky, but it’s easier than you think—and it can save you time, money, and frustration. In this guide, you’ll learn simple, step-by-step instructions to swap out your blade safely and quickly.
Keep reading to make sure your sandwiches stay delicious and your slicer works like new every time.

Credit: www.vevor.ca
Signs You Need A New Blade
Dull cutting performancemeans the blade no longer slices smoothly. The meat may tear or get stuck. This slows down your work and can spoil the meat’s appearance.
Visible blade damageincludes chips, cracks, or rust on the blade edge. Such damage makes the blade unsafe and less effective. Using a damaged blade can hurt the machine or cause accidents.
Unusual noises during operationcan signal blade problems. If the slicer sounds louder, rattles, or vibrates more, the blade might be bent or loose. This needs immediate attention to avoid bigger issues.
Tools Required For Replacement
Wearing safety glovesis very important. They protect your hands from cuts. Always choose gloves that fit well. They should be comfortable and strong. Check for any holes or tears before use. Clean gloves last longer. Store them in a safe place after use.
You will need screwdriversor Allen keys. These tools help remove screws safely. Make sure you have the right size. Keep them clean and rust-free. A good grip is essential. Store them in a tool box when not in use. This keeps them safe and handy.
Gather your cleaning supplies. You need a soft cloth and mild soap. Clean the blade area carefully. This removes dirt and food particles. Clean tools work better and last longer. Always dry them well after cleaning. Store them properly to prevent damage.
Preparing The Meat Slicer
Always unplug the machinebefore starting any work. This stops the slicer from turning on by mistake. Safety first!
Take off all meat and accessoriesfrom the slicer. Remove the tray, blade guard, and any other parts you can safely detach. This clears the way to change the blade.
Clean the surface and areaaround the slicer. Wipe away any crumbs, juices, or grease. A clean workspace helps keep the blade sharp and safe to handle.
Step-by-step Blade Removal
Start by unplugging the meat slicer for safety. The blade guardprotects your hands from the sharp blade. Use a screwdriver to loosen the screwsholding the guard in place. Gently lift the guard away from the blade.
Next, find the blade mountat the center of the blade. Use the right tool, usually a wrench or screwdriver, to unscrew the mount. Turn slowly to avoid stripping the screws. Keep the screws safe for later.
Carefully lift the old bladeoff the mount. The blade is sharp, so wear gloves if possible. Place the blade on a flat surface away from your reach. Check the mount and clean any debris before installing the new blade.
Installing The New Blade
Place the new blade on the mount carefully. Make sure the blade’s sharp edge faces the right way. The blade should fit snugly without wobbling. Check if the holes on the blade match the mount’s screws.
Hold the blade steady while tightening the screws. Use a screwdriver or wrench to secure the mount. Tight screws keep the blade from moving during use. Avoid over-tightening to prevent damage.
Align the blade guard with the blade and mount. Press the guard firmly until it snaps into place. The guard protects your fingers and keeps the blade clean. Ensure it does not block the blade’s movement.
Testing And Maintenance Tips
Run a test slice before using the blade fully. This helps check if the blade cuts evenly and smoothly. A clean, precise cut means the blade is ready. If the slice is jagged or uneven, the blade might need maintenance or replacement.
Keep the blade clean by wiping it after each use. Use a soft cloth and warm soapy water. Avoid harsh chemicals that can damage the blade. Regular cleaning stops food bits from building up and keeps the blade sharp longer.
| Sharpening | Replacing |
|---|---|
| Use a sharpening tool made for meat slicer blades. | Change the blade if sharpening doesn’t fix dullness. |
| Sharpen only when the blade cuts less well. | Replace the blade after many uses or if damaged. |
| Sharp blades improve cutting and safety. | New blades give clean, smooth slices every time. |
Safety Precautions To Follow
Wear cut-resistant glovesbefore handling blades. Use safety goggles to protect your eyes from any flying debris. Make sure your clothes cover your arms to avoid cuts.
Hold blades by the dull edge only. Avoid touching sharp parts directly. Move slowly and carefully when removing or inserting blades. Keep fingers away from the blade’s path.
A clean workspace prevents accidents. Wipe the area free of crumbs and grease. Use a cloth to dry surfaces and remove any moisture. A tidy area helps you focus and work safely.
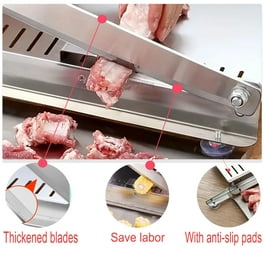
Credit: www.walmart.com
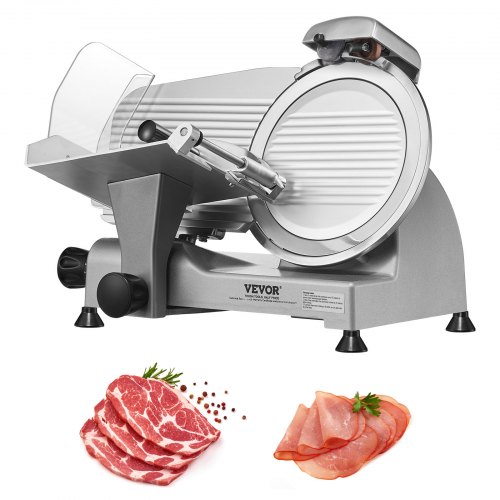
Credit: www.vevor.ca
Frequently Asked Questions
How Do I Safely Remove The Old Blade?
First, unplug the slicer to ensure safety. Use a screwdriver if needed. Carefully loosen and lift the blade away from the machine. Always handle the blade by its edges to avoid cuts.
What Tools Are Needed To Replace The Blade?
You typically need a screwdriver and gloves. Gloves protect your hands while handling the blade. Some slicers may require an Allen wrench or specific tools included by the manufacturer.
How Often Should I Replace The Sandwich Meat Blade?
Replace the blade when it becomes dull or damaged. Regular use may require replacement every few months. Sharp blades ensure clean cuts and food safety.
Can I Use Any Blade For My Meat Slicer?
No, only use blades compatible with your slicer model. Using the wrong blade can damage the machine and cause unsafe cuts. Always check the manufacturer’s recommendations.
Conclusion
Replacing the blade for sandwich meat keeps your slicer working well. Sharp blades cut meat smoothly and safely. Regular blade changes save time and effort. Follow the steps carefully and take your time. Clean the blade before and after use to stay safe.
A well-maintained slicer gives better, even slices every time. Keep your kitchen tools in good shape for best results. Simple care makes a big difference in your slicing tasks.