
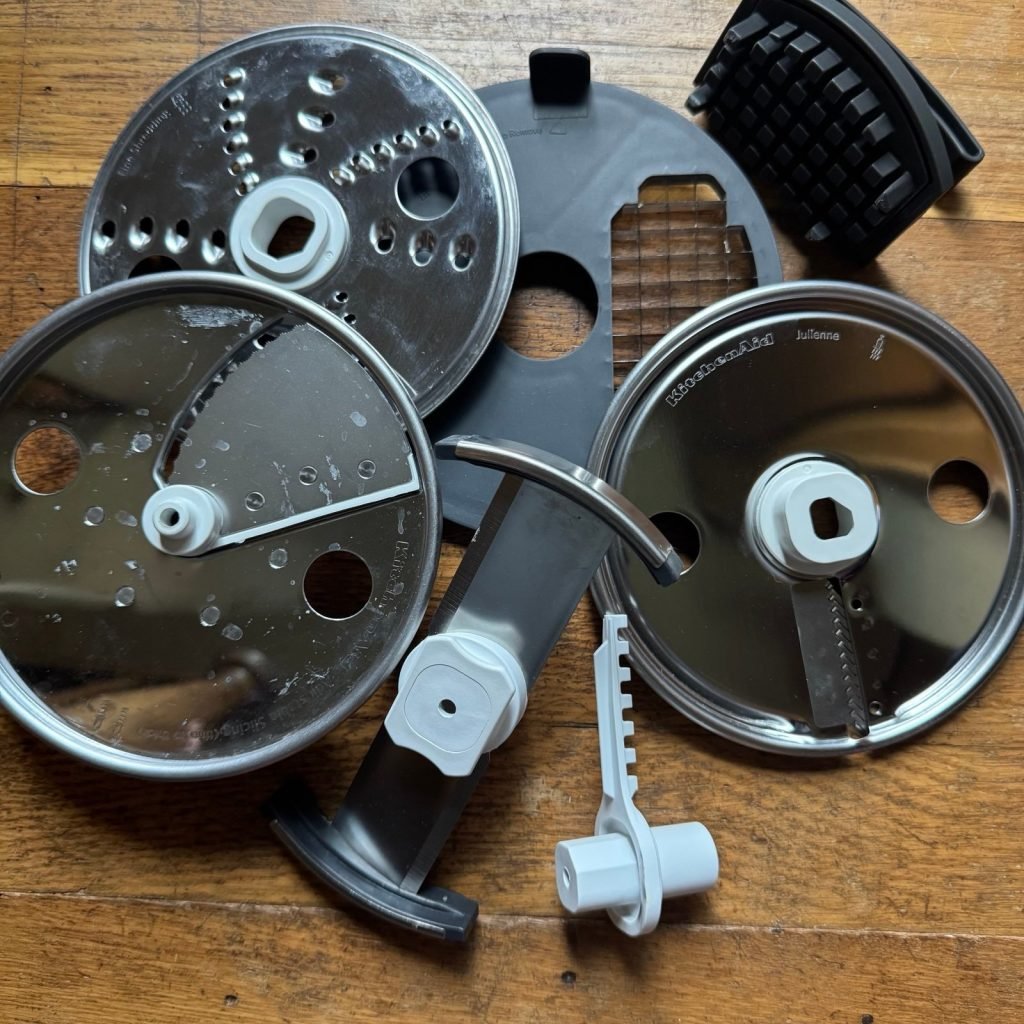
Is your food processor not slicing or shredding like it used to? It might be time to replace the disk.
You don’t have to struggle with dull or damaged parts that slow you down in the kitchen. Knowing how to replace your food processor disk quickly can save you time and keep your meals perfect every time. In this guide, you’ll learn simple steps to swap out your disk safely and easily, so your food processor works like new again.
Keep reading, and you’ll be ready to handle this simple fix on your own—no frustration, no extra costs.
Tools Needed
A screwdriver and a clean cloth are essential for replacing a food processor disk. Having a pair of gloves can help protect your hands during the process. Keep these tools nearby for a smooth and safe disk change.
- Food processor diskreplacement requires a few simple tools.
- A clean clothhelps to grip and protect the disk.
- Rubber glovesprovide a better hold and protect fingers.
- A screwdrivermay be needed to remove or secure parts.
- Use a small brushto clean hard-to-reach spots.
- Keep the user manualhandy for specific instructions.
- Ensure the processor is unpluggedbefore starting.

Credit: www.ebay.com
Safety Precautions
Always unplug the food processor before changing any parts. This prevents electric shock. Make sure your hands are dry and clean. Wet hands can cause slipping. Handle the disk carefully, as it might be sharp. A towel can help you grip safely. Keep children and pets away from the work area. This ensures no distractions while working.
Inspect the disk for any signs of damage. Replace it if you see cracks. A damaged disk can break during use. Store the removed parts safely. Place them where they can’t fall or get damaged. Follow the manufacturer’s instructions for replacing the disk. Always use compatible parts for your food processor model. This ensures the machine works correctly.
Removing The Old Disk
Start by making sure the food processor is unplugged. This is very important for safety. Find the lid of the processor and look for the lock mechanism. Usually, it is a twist or a latch that keeps the lid secure during use. Turn or release this lock gently to open the lid. Be careful not to force it.
Once the lid is open, you will see the disk inside the bowl. The disk might be resting on a center post or clipped in place. Use your fingers to lift the disk straight up. Sometimes it may be a bit stuck, so a slight wiggle helps. Avoid using sharp tools to prevent damage.
Cleaning The Food Processor
Replacing the food processor disk ensures efficient cutting and safety. Carefully remove the old disk, clean the area, and insert the new one securely. Proper handling keeps your machine working smoothly and extends its life.
Washing The Disk Area
The disk area needs thorough cleaning before use. Remove any leftover food bits carefully. Use warm, soapy water to clean the disk and its holder. Avoid using harsh chemicals or abrasive tools. Rinse the disk well to remove soap. This helps keep the disk sharp and safe.
Drying Before Installation
Dry the disk completely with a soft cloth. Leaving water can cause rust or damage. Make sure no moisture remains in the disk area. A dry disk fits better and works well. Check for any water drops before putting it back.
Choosing The Right Replacement Disk
Check the model number on your food processor. This helps find the right disk. Not all disks fit all machines. Look for disks made for your model. Measure the disk size if needed. This ensures a perfect fit and safe use.
| Type of Disk | Use |
|---|---|
| Slicing Disk | Cuts vegetables and fruits into thin slices |
| Shredding Disk | Grates cheese and carrots into small pieces |
| Julienne Disk | Creates thin strips for salads or stir-fries |
| Dough Blade | Mixes and kneads dough for baking |
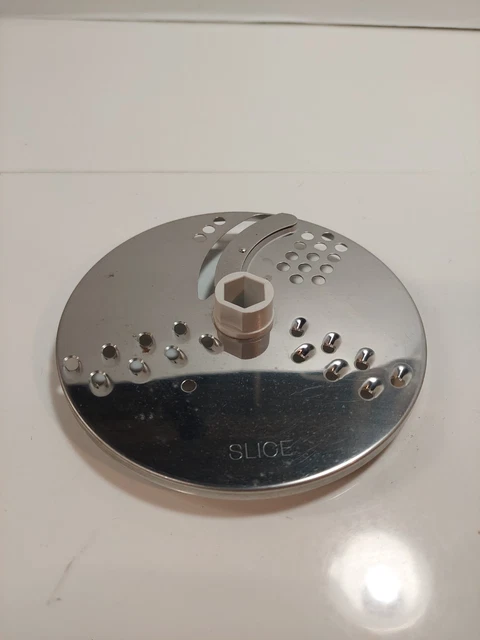
Credit: picclick.com.au
Installing The New Disk
Place the new disk on the center post inside the food processor bowl. Make sure the disk’s hole fits snugly on the post. The disk should sit flat without wobbling. Check for any grooves or notches to align properly.
Press the disk gently but firmly down to secure it. The disk must lock into place to avoid spinning during use. Some models have a twist-lock feature to hold the disk securely. Ensure the disk does not move freely before closing the lid.
Testing The Food Processor
Test the food processor by attaching the new disk securely. Plug it in and run it for a few seconds. Check if the disk spins smoothly without noise or wobbling. Stop the machine immediately if you hear strange sounds or see any sparks.
Common issues may include the disk not fitting well or the processor not starting. Ensure the disk matches your model. Clean the disk and the locking area before reinstalling. Make sure the safety locks are engaged properly.
- Disk does not spin: Check if it is locked in place.
- Machine won’t start: Confirm the lid is closed correctly.
- Unusual noise: Remove the disk and inspect for damage.
- Food not sliced evenly: Try a different disk or check the blade sharpness.
Maintaining Your Food Processor Disks
Cleaning food processor disks right after use stops food from drying on them. Use warm water and mild soap to wash disks carefully. Avoid harsh scrubbing that can dull the blades or damage the disk surface. Dry disks completely with a soft cloth to stop rust and keep them sharp.
- Store disks in a dry place away from moisture.
- Keep disks separate to avoid scratches or bending.
- Use a protective case or wrap disks in a soft cloth.
- Place disks upright or flat on a shelf to prevent warping.

Credit: tortariaestancia.com.br
Frequently Asked Questions
How Do I Remove A Food Processor Disk Safely?
To remove the disk, unplug the processor first. Hold the disk firmly and twist it gently counterclockwise. Lift it straight up to avoid damaging the blades or motor.
When Should I Replace My Food Processor Disk?
Replace the disk if it’s cracked, bent, or dull. A damaged disk can affect performance and safety. Regular inspection helps maintain efficient food processing.
Can I Use Any Brand Disk With My Food Processor?
It’s best to use disks compatible with your model. Check the manufacturer’s recommendations for fit and safety. Using incorrect disks can cause damage or injury.
How Do I Clean A Food Processor Disk Properly?
Wash the disk immediately after use with warm, soapy water. Use a brush to remove stuck food. Dry it thoroughly before storing to prevent rust or mold.
Conclusion
Replacing a food processor disk is simpler than it seems. Follow the steps carefully to avoid mistakes. Always choose the right disk for your model. Keep the parts clean and handle them with care. Regular maintenance helps your food processor last longer.
Now, you can confidently change the disk yourself. Enjoy fresh, even cuts in your cooking again. Simple fixes save time and money. Try it next time your disk wears out. You’ve got this!