
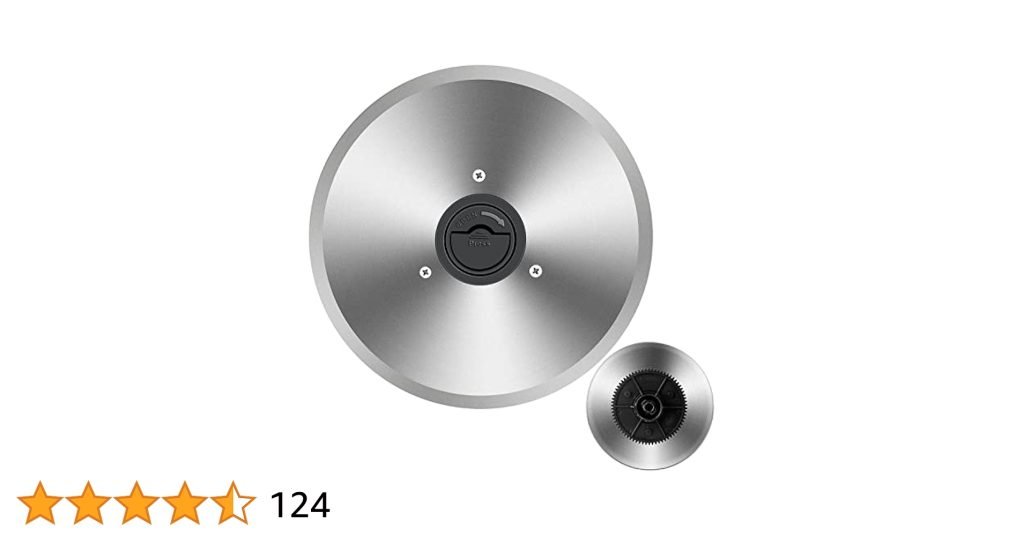
Is your electric slicer not cutting as smoothly as it used to? Replacing the blade might be exactly what you need to bring back that sharp, effortless slicing.
But if you’re unsure where to start or worried about making a mistake, don’t worry—you’re in the right place. This guide will walk you through the simple steps to replace your electric slicer blade safely and quickly. By the end, you’ll have the confidence to keep your slicer performing like new, saving you time and money.
Ready to get sharp again? Let’s dive in!
Choosing The Right Replacement Blade
Electric slicer blades come in different types. Common types include serrated, straight, and ribbedblades. Serrated blades cut through tough items easily. Straight blades give clean, smooth cuts. Ribbed blades are good for slicing meats and cheeses evenly.
The materialof the blade affects its durabilityand sharpness. Stainless steel is rust-resistantand lasts longer. Carbon steel blades stay sharp but need more care. Some blades have coatings to reduce stickinessand improve slicing.
| Blade Size | Compatibility |
|---|---|
| 7 inches | Fits most small slicers |
| 8-10 inches | Common for medium slicers |
| 12 inches and above | Used in commercial slicers |
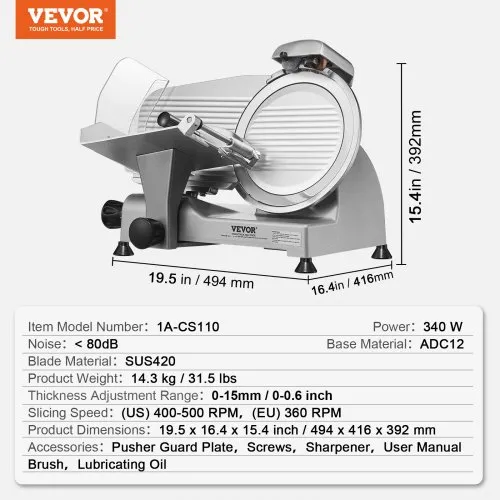
Check the slicer model for the correct blade size. Using the wrong size can cause damageor poor performance. Also, ensure the blade fits the slicer’s mountand motor power.
Credit: www.vevor.ca
Tools Needed For Blade Replacement
Basic tools like a screwdriver and a cloth are essential for blade replacement. A pair of gloves helps protect your hands during the process. Having these ready makes the task safer and easier.
Essential Tools Checklist
- Screwdriver:Most slicers need a Phillips head.
- Wrench:Adjustable wrench for tight bolts.
- Cleaning brush:Removes debris easily.
Safety Equipment
Wear glovesto protect your hands from sharp edges. Safety gogglesshield your eyes from flying particles. Use a maskif there’s dust or small particles. Always ensure tools are unpluggedbefore starting. Keep a first-aid kitnearby, just in case. Be sure to have a clear spaceto work safely. Good lighting is essential for visibility. Always read the slicer’s manualfor specific instructions.
Preparing Your Electric Slicer
Always unplug the electric slicerbefore starting any work. This ensures your safety. Use a soft cloth and mild soap to clean the slicer. Remove any food crumbs or grease. Dry the slicer completely to avoid slipping.
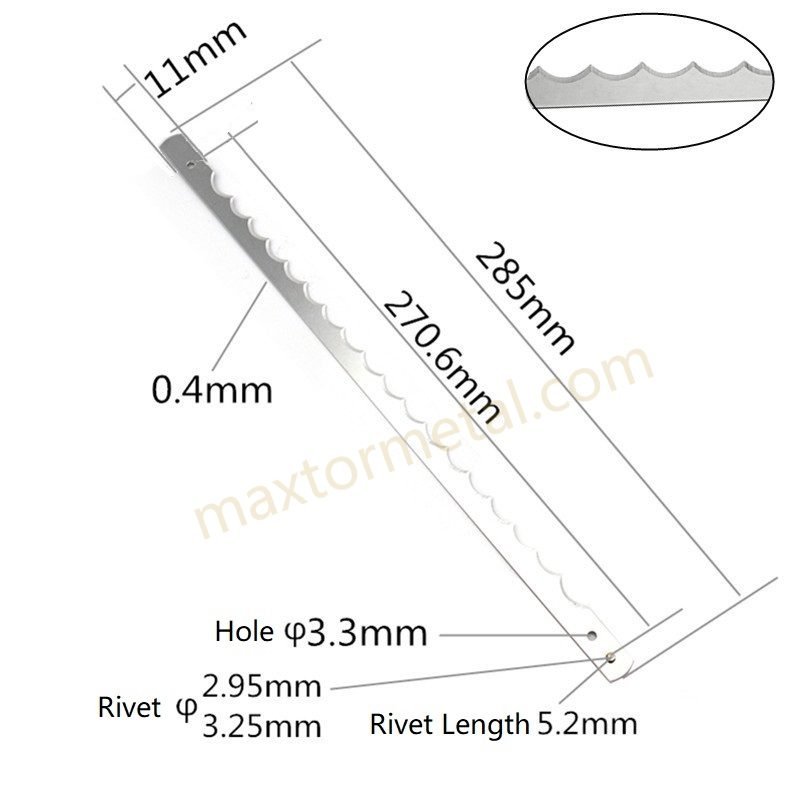
To remove the old blade, first find the blade lock or screw. Use the correct tool to loosen it carefully. Hold the blade firmly while removing it. Dispose of the old blade safely, as it is sharp.
Credit: maxtormetal.com
Step-by-step Blade Replacement
Place the new blade on the slicer carefully. Make sure the blade teeth face the right way. The blade should fit snugly on the hub. Check that the blade is flat and not tilted.
Use the screws or nuts to hold the blade tight. Tighten them with a screwdriver or wrench. The blade must not wobble or move. A loose blade can be dangerous and cause poor cuts.
Turn the slicer on briefly to test the blade. Watch if the blade spins smoothly without shaking. Listen for strange noises. If the blade moves well, it is ready to use.
Maintaining Your New Blade
Keep the blade clean to ensure smooth slicingand longer life. Remove any food bits after each use. Use a soft brush or cloth for cleaning. Avoid using water directly on the motor or electrical parts.
Sharpen the blade regularly to maintain its sharpness. Use a sharpening stone or take it to a professional. Store the blade in a dry place to prevent rust. Cover the blade with a protective sheath if available.

Credit: www.ebay.com
Troubleshooting Common Issues
Blade misalignmentcauses uneven cuts and can damage the slicer. Check the blade’s position regularly. Tighten any loose screws to keep it steady. Misaligned blades also increase wear and tear on the motor.
Unusual noisesoften signal a problem. Grinding or rattling sounds mean the blade or motor parts may be worn out. Turn off the slicer immediately to prevent damage. Clean the slicer and remove any stuck debris.
Cutting inconsistencieshappen if the blade is dull or dirty. Sharpen the blade to restore smooth cuts. Use a soft cloth to clean the blade and remove residue. Consistent pressure on the slicer helps maintain even slices.
Frequently Asked Questions
How Often Should I Replace My Electric Slicer Blade?
Replace your electric slicer blade every 6 to 12 months. Frequent use may require earlier replacement. Dull blades reduce slicing efficiency and safety.
What Tools Are Needed For Electric Slicer Blade Replacement?
You typically need a screwdriver and gloves. Always disconnect the slicer from power before starting. Follow your slicer’s manual for specific tools.
How To Safely Remove The Old Electric Slicer Blade?
Unplug the slicer first. Use gloves to protect hands. Loosen screws or bolts holding the blade, then carefully remove it.
Can I Use Any Replacement Blade For My Slicer?
No, use blades compatible with your slicer model. Check manufacturer recommendations to ensure proper fit and performance.
Conclusion
Replacing your electric slicer blade keeps it sharp and safe. Regular checks help spot dull or damaged blades early. Always use the right tools for a smooth replacement. Clean the blade and slicer before putting the new one in. Proper care extends the life of your slicer and blade.
Take your time and follow the steps carefully. Your slicer will perform better and last longer. Easy to do, and worth the effort. Keep slicing with confidence and safety.