
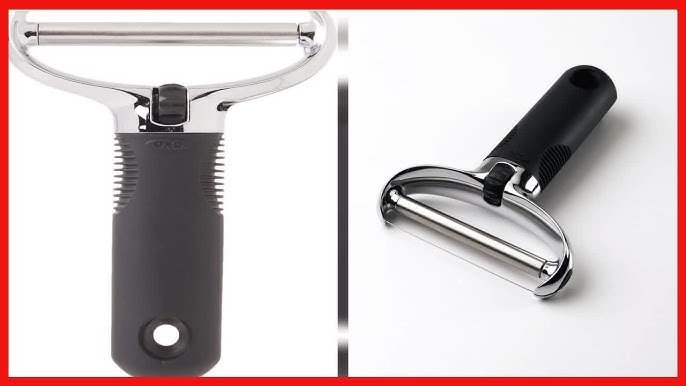
Is your slicer handle loose, broken, or just not working right? You don’t have to buy a whole new slicer or struggle with awkward cuts anymore.
Replacing your slicer handle is easier than you think, and it can make your kitchen tasks smoother and safer. In this guide, you’ll learn simple steps to fix your slicer handle quickly, so you can get back to preparing your favorite meals without hassle.
Keep reading, and you’ll discover how a small fix can make a big difference in your cooking experience.
Credit: www.walmart.com
Tools Needed
To replace a slicer handle, gather these tools:
- Screwdriver:Usually Phillips or flathead, depending on screws.
- Pliers:Help grip and pull out old handle parts.
- Replacement handle:Make sure it fits your slicer model.
- Cleaning cloth:Wipe the slicer before installing the new handle.
- Optional:Lubricant for smooth handle movement after installation.
Having the right tools makes the process simpleand quick.
Removing The Old Handle
Begin by loosening any screws or bolts holding the old handle in place. Gently pull the handle away from the slicer, taking care not to damage the blade or body.
Locate The Handle
First, find the slicer handle on your device. It is usually attached to the side or top. Check for screws or clips holding it in place.
Unscrew The Fasteners
Use a screwdriver to remove the screws carefully. Keep the screws safe if you plan to reuse them. Avoid forcing the screws out to prevent damage.
Detach The Handle Carefully
Gently pull or wiggle the handle to loosen it. Do not use too much force to avoid breaking the slicer. If it feels stuck, check for hidden screws or clips.
Choosing The Right Replacement
Choose a replacement handle that fits the original size exactly. Measure the length and width of the current handle. A wrong size may not fit or work well.
Check the material of the handle before buying a new one. Common materials include plastic, metal, and wood. Pick one that matches or is compatible with your slicer.
- Plastic: Lightweight and easy to clean.
- Metal: Durable and sturdy but heavier.
- Wood: Classic look, may need more care.

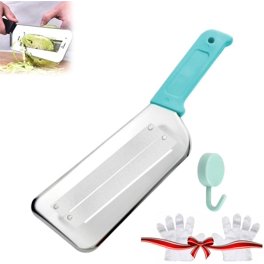
Credit: www.amazon.ca
Installing The New Handle
Begin by removing the old handle carefully from the slicer. Align the new handle properly, then secure it tightly to ensure safe use. Double-check that the handle is stable before slicing.
Align The Handle
Place the new handle in the correct position. Ensure it fits snugly. Check the alignment with the slicer. Everything should line up perfectly. This ensures a smooth operation.
Secure With Screws
Use the screws that came with the handle. Insert them into the holes. Tighten the screws using a screwdriver. Make sure they are secure. This keeps the handle firm and in place.
Test The Stability
Gently move the handle up and down. Ensure it doesn’t wobble. It should move smoothly. If it feels loose, tighten the screws again. A stable handle means safe slicing. Test it a few times to be sure.
Maintenance Tips
Regular cleaning keeps the slicer handleworking well and looking good. Use a soft cloth and mild soap to wipe the handle. Avoid harsh chemicals that can damage the surface. Clean the handle after every use to stop dirt and grease build-up.
Tighten loose screws to keep the handle secureand safe. Use a screwdriver that fits the screw head. Check all screws regularly and turn them gently to avoid stripping. Tight screws prevent the handle from wobbling or falling off during use.

Credit: www.ebay.com
Frequently Asked Questions
How Do I Remove A Broken Slicer Handle Safely?
To remove a broken slicer handle, first unplug the device. Use a screwdriver to unscrew the handle carefully. Avoid force to prevent damage. Clean the area before installing a new handle for a secure fit.
What Tools Are Needed To Replace A Slicer Handle?
You typically need a screwdriver, replacement handle, and cleaning cloth. Some models may require pliers or an Allen wrench. Always check your slicer’s manual for specific tools before starting the replacement process.
Can I Replace A Slicer Handle Without Professional Help?
Yes, replacing a slicer handle is a simple DIY task. Follow the manufacturer’s instructions carefully. Use the right tools and handle parts. If unsure, watch tutorial videos or consult customer support.
How Long Does It Take To Replace A Slicer Handle?
Replacing a slicer handle usually takes 10 to 20 minutes. Time varies based on your experience and slicer model. Preparing tools and following steps properly ensures quick and safe replacement.
Conclusion
Replacing a slicer handle can be simple and quick. Follow the steps carefully and use the right tools. Take your time to avoid mistakes and ensure a good fit. Doing it yourself saves money and gives you control. A new handle improves comfort and slicer use.
Keep your slicer working well with regular checks. Small fixes help your kitchen tools last longer. Try this guide anytime your slicer handle breaks. You will feel proud after fixing it yourself.