
If your multi-purpose slicer isn’t cutting as smoothly as before, it might be time to replace the blade. You don’t need to be a pro or call a repair service to get this done.
With the right steps, you can quickly swap out the old blade and bring your slicer back to life. You’ll discover simple, clear instructions to replace your blade safely and efficiently. Keep reading, and you’ll have your slicer working like new in no time.
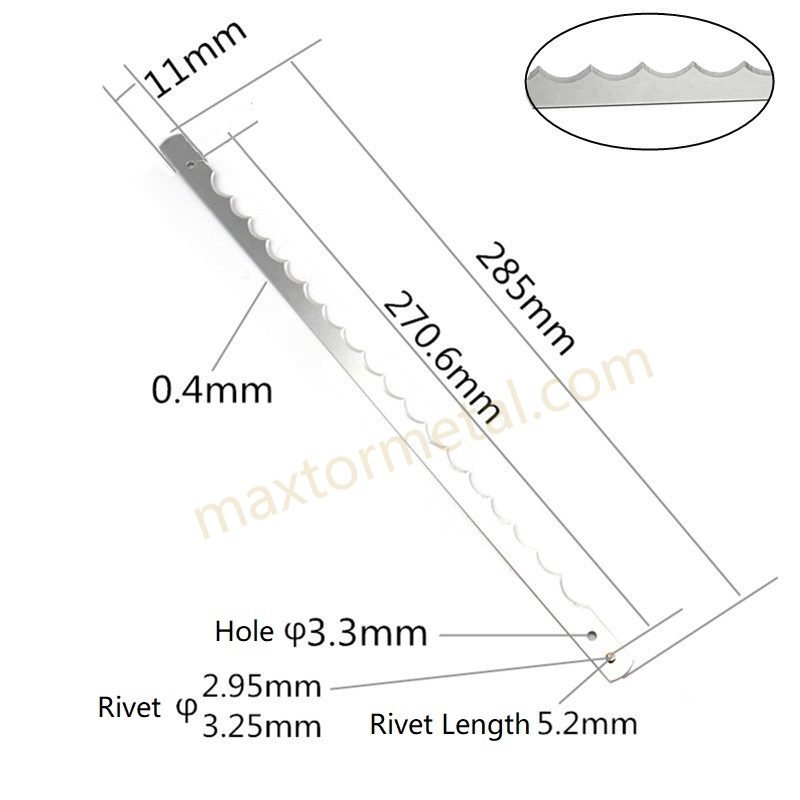
Credit: www.diatoolco.com
Tools Needed
To replace the blade for multi-purpose slicing, gather these essential tools. A screwdriveris needed to loosen and tighten screws. Use a replacement bladethat fits your slicer model. Wear protective glovesto avoid cuts during the process. Have a clean, flat workspaceto safely place parts and tools. A small wrenchmight be required for some models. Keep a clothhandy to clean the blade and slicer parts before assembly. These tools ensure a smooth and safe blade change. Always handle the blade carefully to prevent injury.
Safety First
Safety is very important when replacing a blade. Always turn off and unplug your slicer first. This helps avoid any accidental cuts or injuries.
Wear protective glovesto keep your hands safe. These gloves should be cut-resistant. Keep a clean workspaceto prevent any slips or accidents. Ensure the area is well-lit so you can see clearly.
Use the right tools for the job. This might include a screwdriver or a special wrench. Keep these tools nearby, so you don’t have to search for them. Remember, taking your time is key to staying safe.
Secure the slicer firmly on a stable surface. This prevents it from moving during the blade replacement. Make sure the new blade is sharpand cleanbefore installation. A dull or dirty blade can cause problems.
Removing The Old Blade
First, make sure the slicer is unplugged to avoid accidents. Locate the blade locking mechanism, usually a knob or lever. Turn or slide it gently to release the blade. Be patient; forcing it can cause damage.
Wear cut-resistant gloves to protect your hands while handling the blade. Carefully lift the blade from the slicer base. Hold it by the edges only, avoiding contact with the sharp parts. Place the old blade on a safe surface away from children.

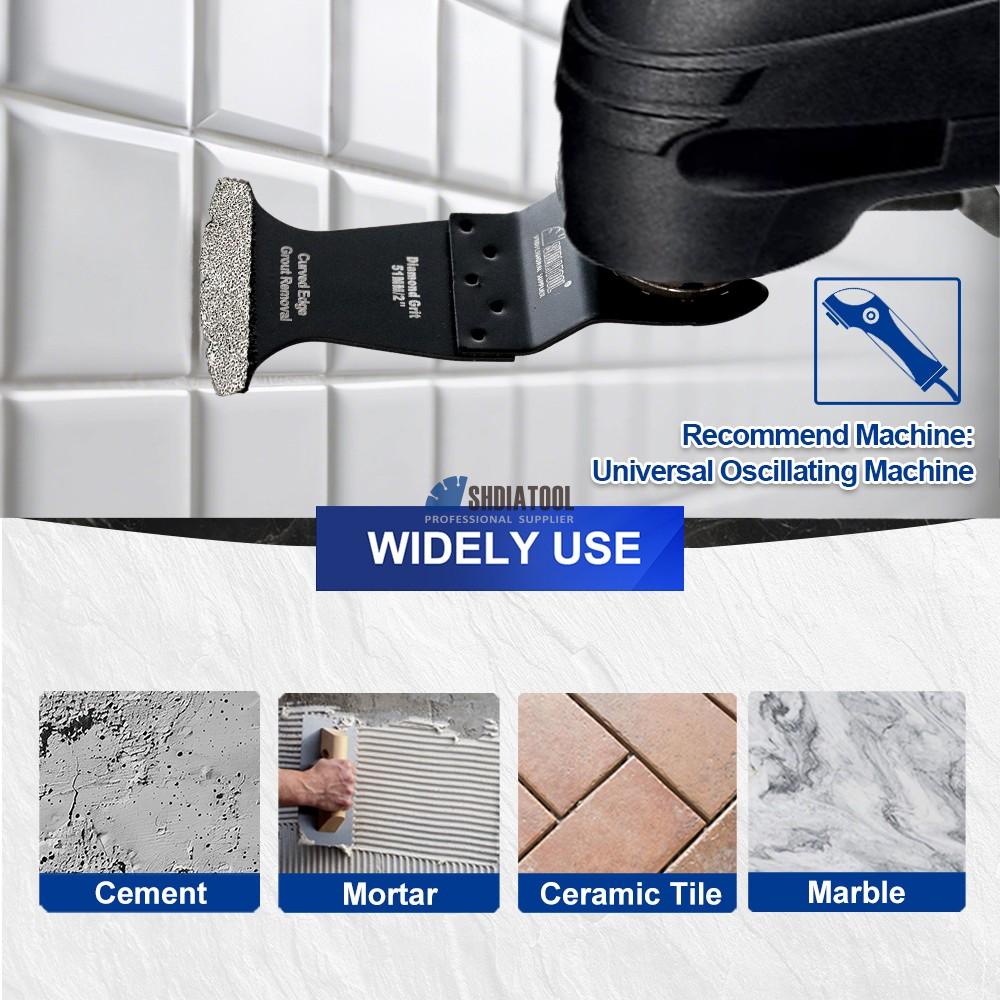
Credit: www.amazon.sa
Choosing The Right Replacement Blade
Choosing the right replacement bladeis key for safe and effective slicing. Different blades fit different tasks, so pick one that suits your needs.
- Straight bladesare good for simple slicing of vegetables and fruits.
- Serated bladeswork well on bread and soft items.
- Julienne bladescreate thin strips, perfect for salads and garnishes.
- Crinkle-cut bladesadd texture to your slices, making them look fun.
Blade compatibilityis important. Check your slicer’s model and size before buying. Use only blades made for your specific device to avoid damage or injury.
Installing The New Blade
Place the new blade carefully on the slicer base. Make sure the blade’s sharp edge faces the correct direction.
Check the holes or slots on the blade and align them with the slicer’s pins or screws. This step is key for safety and performance.
Secure the blade tightly using the screws or locking mechanism provided. Loose blades can cause accidents or poor slicing results.
Test the blade by gently moving it to see if it stays in place. A properly secured blade will not wobble or shift.
Testing The Blade
Test the blade by turning on the slicer. Check if the blade spins freely without wobbling. Listen for any unusual sounds like grinding or rattling.
Ensure the blade cuts smoothly through different foods. Thick and thin slices should come out evenly. Uneven slicing means the blade may need adjustment.
- Check if the blade is tight and secure on the spindle.
- Look for any loose screws or parts that might cause vibration.
- Adjust the blade height or alignment if slicing is uneven.
- Tighten any loose components carefully to avoid damage.
After adjustments, test the blade again. Smooth operation means the blade is ready to use.
Maintenance Tips
Clean the blade immediately after use to stop food from drying. Use warm water and mild soap. Avoid harsh chemicals that can dull the blade. Dry the blade completely to stop rust.
Check the blade often for any dullness or damage. Look for cracks or chips that can make slicing unsafe. Replace the blade if it shows signs of wear. Keeping the blade sharp makes slicing easier and safer.
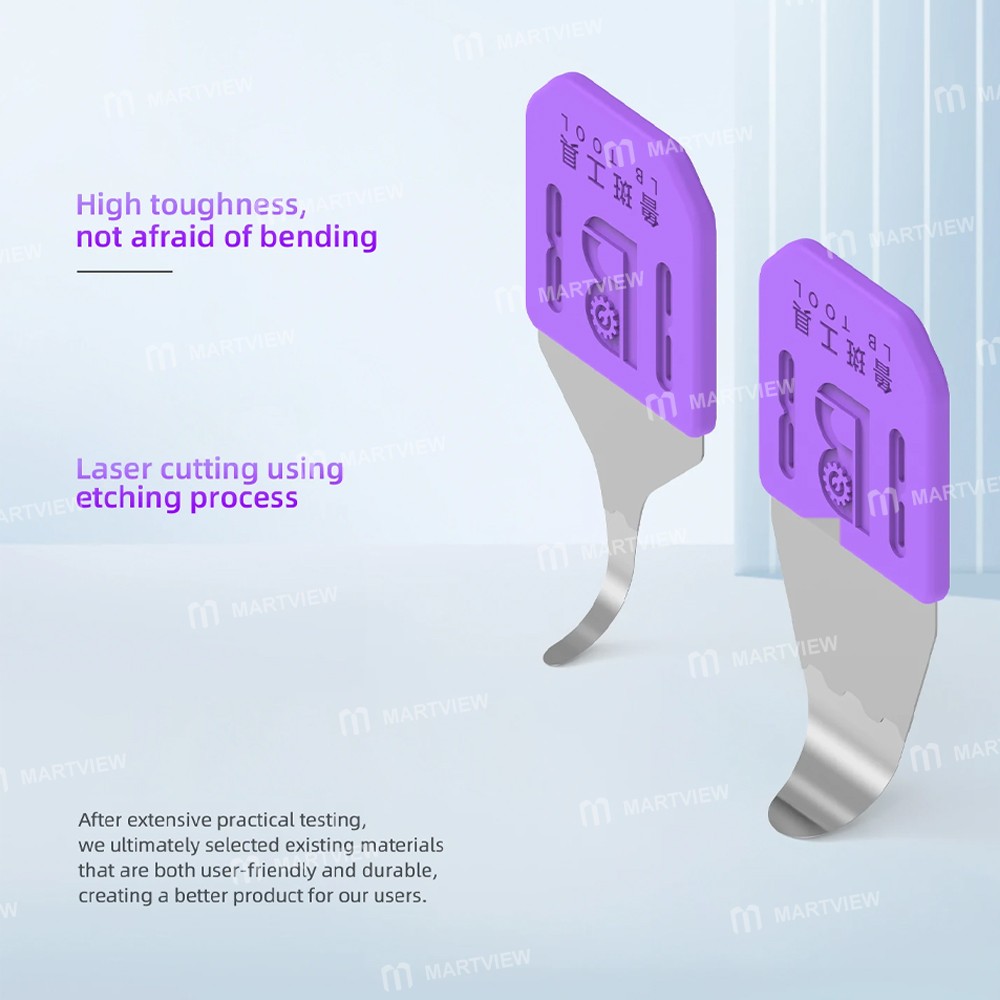
Credit: www.martview.com
Frequently Asked Questions
How Do I Safely Remove The Old Blade?
To remove the old blade safely, unplug the slicer first. Use a cloth or gloves to hold the blade. Unscrew or unlock the blade mechanism carefully to avoid cuts. Follow the manufacturer’s instructions for your specific model to ensure safe removal.
What Tools Are Needed To Replace The Blade?
Usually, you need a screwdriver or a special wrench. Some models have a blade release button. Always check your slicer’s manual to find the correct tools. Using the right tools prevents damage and ensures a secure blade fit.
How Do I Align The New Blade Correctly?
Place the blade on the hub carefully. Match the notches or holes on the blade with the slicer’s mounting points. Tighten screws or locks evenly to secure the blade. Proper alignment ensures smooth slicing and prevents wobbling or damage.
How Often Should I Replace The Slicer Blade?
Replace the blade when it becomes dull, chipped, or rusty. Typically, this is every 6 to 12 months, depending on usage. A sharp blade ensures clean slices and safer operation. Regular maintenance prolongs your slicer’s life and improves performance.
Conclusion
Replacing the blade for multi-purpose slicing keeps your tool sharp and safe. Always unplug the device before starting the process. Follow the steps carefully to avoid damage or injury. Use the right replacement blade for best results. Regular blade changes help maintain slicing quality.
Clean the blade and machine after replacing it. This simple task saves time and improves your food preparation. Stay attentive and handle blades with care. Your slicing tool will work smoothly and last longer.