
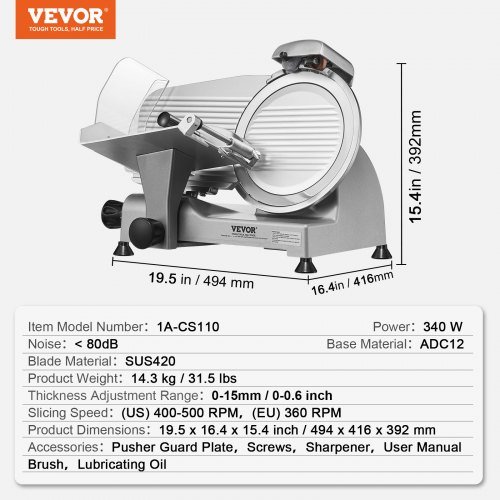
Are you struggling to keep your slicer parts clean and safe to use? Dirty slicer parts can cause food contamination and affect the taste of your meals.
But don’t worry—cleaning your slicer doesn’t have to be complicated or time-consuming. You’ll discover simple, step-by-step tips to clean every part of your slicer quickly and effectively. Follow these easy instructions to keep your slicer in top shape and protect your health every time you use it.
Ready to make your slicer spotless? Let’s dive in!

Credit: www.amazon.ca
Preparing Your Slicer For Cleaning
Begin by unplugging the slicer to ensure safety. Remove all detachable parts carefully to prepare for thorough cleaning. Wipe down the main unit to clear loose debris before washing the components.
Safety Measures Before Cleaning
Unplug the slicer from the power source. This prevents accidental starts. Wear protective gloves to avoid cuts. Ensure you have a clean, dry workspace. Keep a first aid kit nearby. Check for any sharp edges. Handle with care to prevent injuries. Safety is the first priority.
Disassembling The Slicer Parts
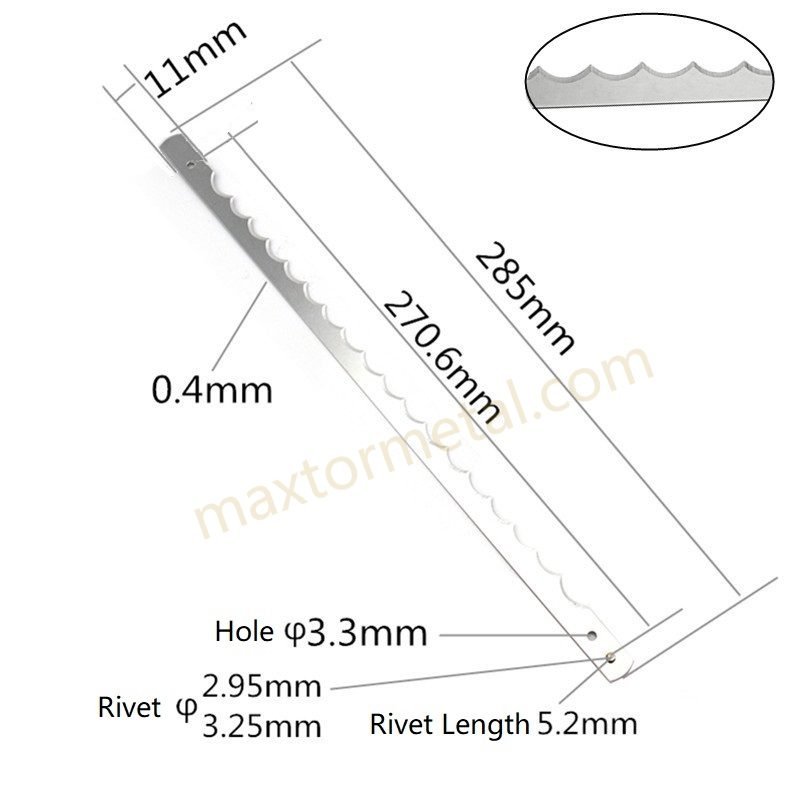
Refer to the slicer’s manual for guidance. Carefully remove the blade. Use a screwdriver if needed. Detach the food carriage and guard. Keep track of small screws. Place each part in a safe spot. Avoid mixing them up. Each part should be easy to reach. Organization helps in reassembling later.
Credit: maxtormetal.com
Choosing The Right Cleaning Materials
Choosing the right cleaning materials is keyfor slicer parts. Use solutions that remove greaseand kill germs safely. Avoid harsh chemicals that may damage metalor plastic parts.
Recommended cleaning solutions include:
- Mild dish soap mixed with warm water
- Food-safe sanitizer sprays
- Vinegar diluted in water for natural cleaning
- Isopropyl alcohol for quick drying and sanitizing
Tools for effective cleaning help reach all slicer parts. Use soft brushes and cloths to avoid scratches. Avoid steel wool or abrasive pads that can harm surfaces.
| Tool | Use |
|---|---|
| Soft-bristle brush | Clean hard-to-reach spots |
| Microfiber cloth | Wipe surfaces without scratching |
| Spray bottle | Apply cleaning solutions evenly |
| Plastic scraper | Remove stuck food safely |
Step-by-step Cleaning Process
Always unplug the slicer before cleaning the blade. Use a soft cloth with warm, soapy water. Avoid harsh chemicals that can damage the blade. Wipe carefully to remove all food particles. Dry the blade completely to prevent rust. Handle the blade with care to avoid cuts.
Remove the carriage and guards from the slicer. Wash these parts with warm water and mild soap. Use a brush to reach tight spaces. Rinse thoroughly to remove soap. Let them air dry or use a clean towel. These parts must be completely dry before reassembling.
Use a damp cloth with a little sanitizer to clean the base and motor area. Avoid getting water inside the motor. Wipe gently to remove crumbs and spills. Dry the area well after cleaning. Keeping this area clean helps the slicer work better and last longer.

Credit: partsfe.com
Drying And Reassembling The Slicer
After washing, drying slicer parts is very important. Use a clean cloth or air dry them. Avoid leaving parts wet to stop rust and bacteria growth. Place parts on a dry towel or drying rack. Make sure all parts are completely dry before putting them back together.
Correct reassembly is key for safe slicer use. Follow the slicer manual to fit parts in their right place. Check that screws and knobs are tight but not too tight. Test the slicer gently to ensure all parts work well and move freely.
Maintaining Your Slicer For Longevity
Keeping a regular cleaning schedulehelps your slicer last longer. Clean all parts after each use to avoid food build-up. Use warm water and mild soap for washing. Dry parts well to stop rust. Check the blade and other moving parts often for dirt.
For lubrication and blade sharpening, use food-safe oil on moving parts. This stops friction and keeps the slicer smooth. Sharpen the blade regularly to keep it cutting well. A sharp blade is safer and works better. Always follow the slicer’s manual for care tips.
Frequently Asked Questions
How Often Should I Clean Slicer Parts?
Clean slicer parts after every use to ensure food safety. Regular cleaning prevents bacteria buildup and maintains slicer performance. Frequent cleaning also prolongs the slicer’s lifespan and keeps it hygienic for daily use.
What Is The Best Cleaning Method For Slicer Blades?
Use warm, soapy water and a soft cloth to clean slicer blades. Avoid abrasive materials that can dull the blade. Rinse thoroughly and dry immediately to prevent rust and maintain sharpness.
Can I Use Dishwasher For Slicer Parts Cleaning?
Most slicer parts are not dishwasher safe due to heat damage risk. Hand washing with mild detergent is recommended to protect parts and extend their life. Always check manufacturer instructions before using a dishwasher.
How Do I Sanitize Slicer Parts Effectively?
Sanitize slicer parts using a food-safe sanitizer after cleaning. Follow product instructions for proper dilution and contact time. This step kills germs and ensures your slicer is safe for food preparation.
Conclusion
Cleaning slicer parts keeps your machine safe and working well. Regular care stops germs and food buildup. Always follow the steps to clean each piece carefully. Use the right tools and cleaning agents for best results. Remember, a clean slicer helps cut food smoothly and lasts longer.
Take a few minutes after each use. This small habit saves time and avoids big problems later. Keep your slicer parts clean for better health and performance every day.