
Imagine this: You’ve invested in a smart thermometer, excited to bring precision and convenience into your daily life. But what if your smart gadget isn’t as accurate as you hoped?
Calibration is the key to unlocking its full potential. If your smart thermometer isn’t properly calibrated, it can lead to inaccurate readings, potentially affecting your comfort and energy efficiency at home. Don’t worry—calibrating a smart thermometer is simpler than you might think.
In this guide, you’ll discover straightforward steps to ensure your device is working perfectly, giving you peace of mind and the comfort you deserve. Get ready to transform your smart home experience with just a few easy adjustments. Let’s dive into the process so you can get the most out of your smart thermometer!
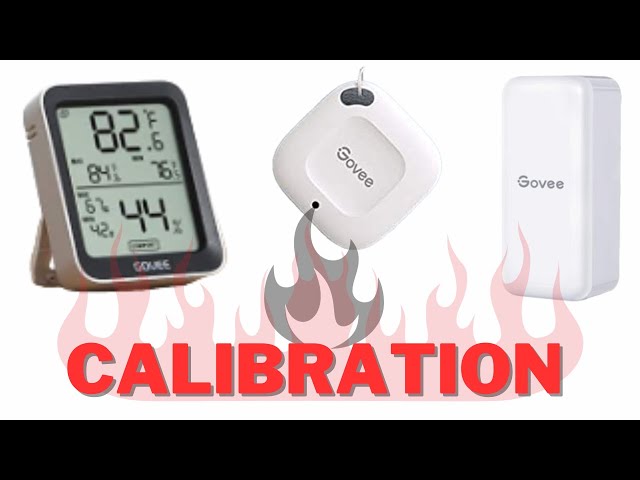
Credit: www.youtube.com
Why Calibration Matters
Calibration ensures your thermometer gives accurate readings. This helps in keeping your home comfortable. A well-calibrated device saves energy and cuts down bills. It prevents overheating or overcooling. This protects furniture and electronics from damage. Regular checks keep your device in top shape. A small error can make a big difference in temperature. Proper calibration also extends the life of your thermostat. It avoids unnecessary wear and tear.
Calibrating is not hard. Follow simple steps for best results. Use a trusted guide or manual. Make sure you have the right tools. This task takes only a few minutes.
Tools You Need
A smart thermometerneeds specific tools for calibration. Start with a digital multimeter. It measures electrical values accurately. Use a calibration bath. This gives a stable temperature environment. A reference thermometeris essential. It checks the accuracy of your thermometer. Don’t forget protective gloves. They keep your hands safe from heat. Gather these tools before you start. Each tool plays a key role. Precise calibration ensures correct readings. Safety first, always.
Preparation Steps
Start with a clean thermometer. Dirt affects readings. Use a soft cloth. Warm water helps. Avoid using soap. It can damage the device. Dry it with a towel. Ensure no moisture remains. Handle with care.
Collect all needed things. Batteries may be required. Check the manual for details. Some thermometers need alcohol wipes. Others require specific tools. Prepare a clean workspace. Avoid clutter. Keep items close by. This saves time.
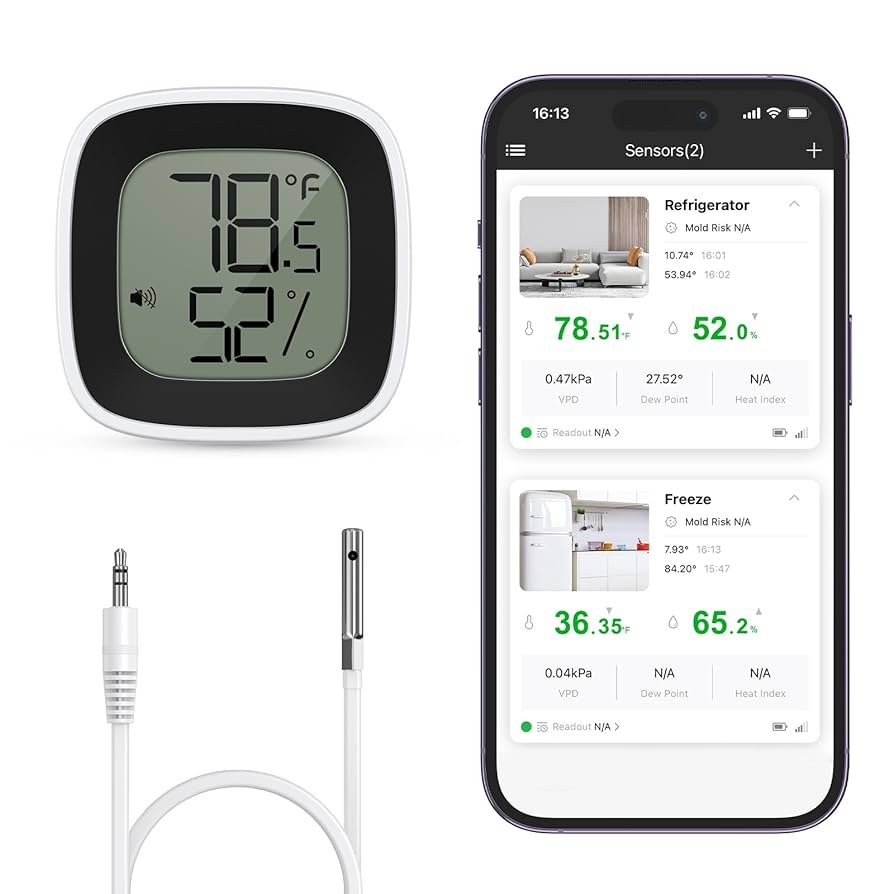
Credit: www.thermoworks.com
Choosing A Reference Temperature
Fill a glass with ice cubes. Add cold water until it is full. Wait about three minutes. Stir the water. Insert the thermometer. Ensure it doesn’t touch the sides. The thermometer should read 32°F or 0°C. If not, it needs adjustment. Always make sure the ice stays solid. This helps get an accurate reading.
Boil a pot of water on the stove. Wait until it bubbles. Insert the thermometer in the water. Be careful not to touch the pot. It should read 212°F or 100°C. If it shows a different number, adjust it. Always use caution with hot water. Safety first.
Calibration Process
Begin by checking the thermometer’s battery. Ensure it has enough power. Next, find a stable surface. Place your thermometer there. This helps get accurate readings. Connect the thermometer to your smart device. Use Bluetooth or Wi-Fi for connection. Ensure both devices are in close range. Follow the app instructions to pair them. When paired, check the screen for any errors. Fix these errors before proceeding. It’s important to have a stable connection.
Compare the thermometer’s reading with a known temperature source. Examples include ice water or boiling water. Ice water should read around 0°C. Boiling water should be close to 100°C. If the readings differ, adjust the thermometer settings. Use the app to make changes. Follow the app guide carefully. Ensure adjustments are saved. Re-check the readings after adjustments. This ensures accuracy. Repeat the steps if needed.
Testing Accuracy
Place your thermometer in a cup of ice water. Ice water should be at 32°F or 0°C. Check your thermometer’s reading. It should match these numbers. If not, you may need to adjust it. Next, try warm water at 100°F or 37°C. Again, see if the thermometer is accurate. These two tests help in checking your thermometer’s accuracy.
If the readings are off, you need to adjust. Most smart thermometers have a calibration option. Find this in the settings. Follow the instructions to set it right. Make sure to check again after adjusting. This ensures your thermometer reads correctly. Always refer to the manual for specific guidance.
Maintaining Calibration
Keeping a thermometer accurate is important. Calibrate it every few months. This keeps your readings reliable. A regular check-up helps. Use a reference thermometer if possible. Compare the readings. Adjust if needed. Make sure the room is at a stable temperature. This can affect the readings. Plan a schedule. Stick to it. Mark your calendar for reminders.
Store your thermometer properly. Keep it away from heat. Avoid direct sunlight. Store in a dry place. Use a protective case if available. This keeps it safe. Avoid dropping it. Handle with care. Clean it after use. Dirt can affect readings. Keep it in a safe spot. Away from kids and pets.
Troubleshooting Common Issues
Smart thermometers can show different readings. This may confuse users. Keep the thermometer away from heat sources. Check the battery. Low battery can cause wrong readings. Make sure the thermometer is clean. Dust can affect the sensor. Place the thermometer in the same spot each time. Move it around, and it may read differently. Also, wait for the thermometer to settle. Quick checks can lead to errors.
Calibration errors can happen often. Always follow the manufacturer’s instructions. Use standard tools for calibration. Avoid homemade solutions. Check if the thermometer needs software updates. Outdated software can cause errors. Reset the thermometer if it acts up. This can fix many problems. Be patient during calibration. Rushing may lead to mistakes.

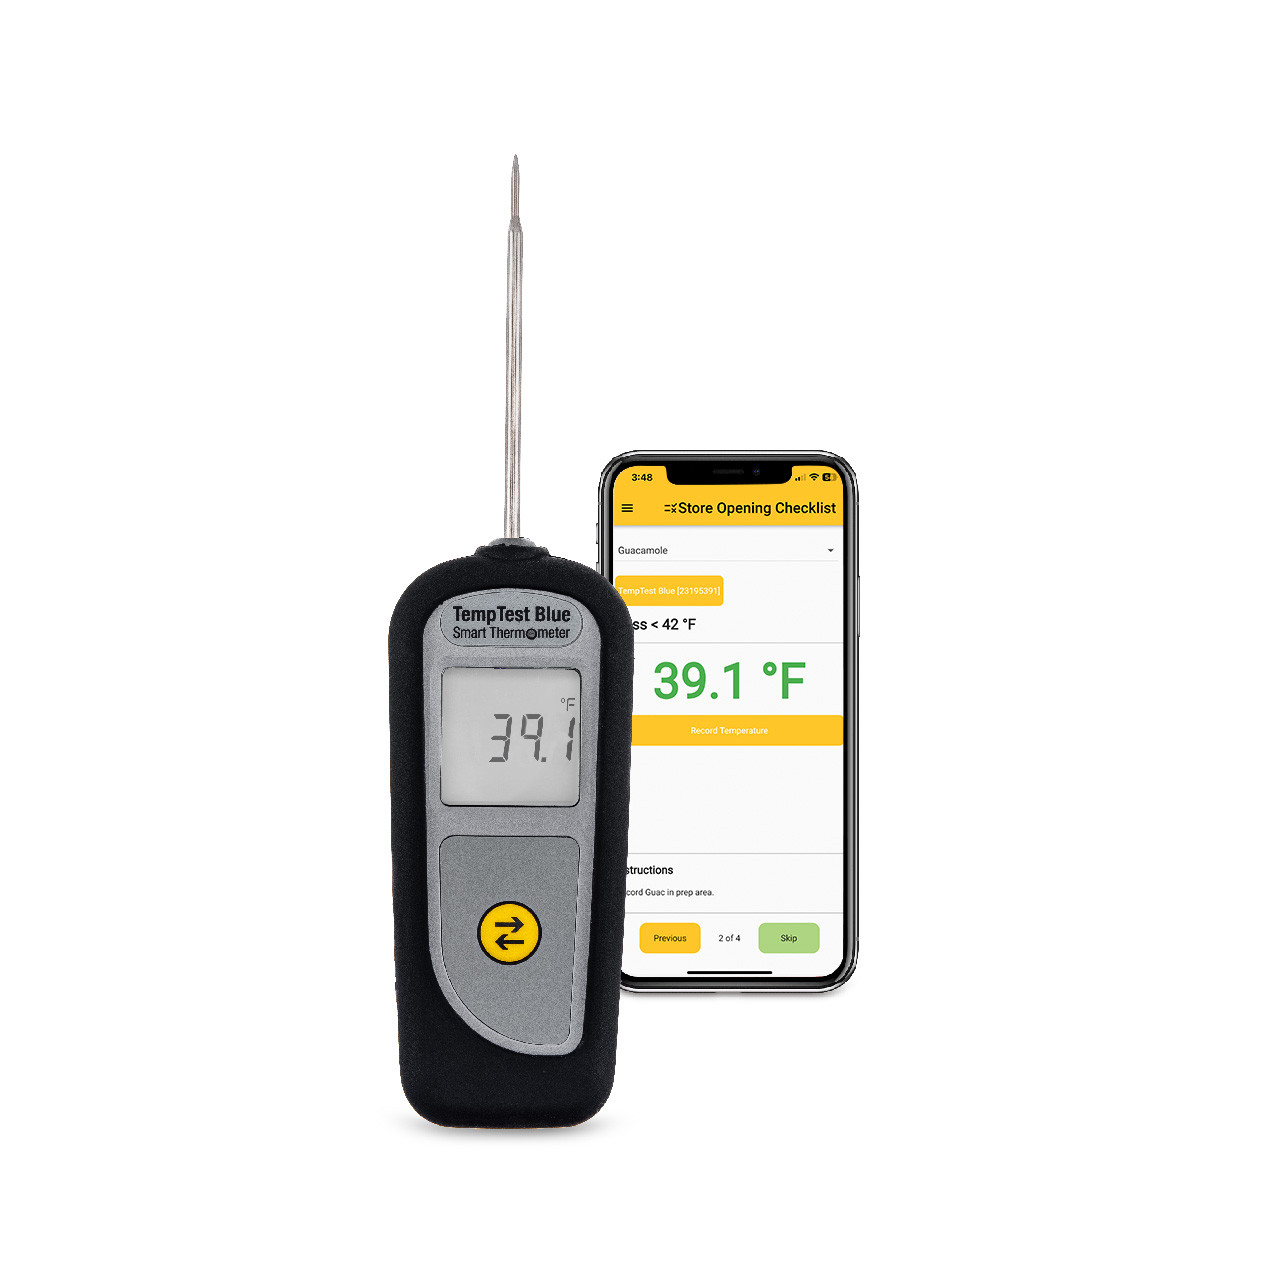
Credit: www.amazon.com
Frequently Asked Questions
Is There A Way To Calibrate A Digital Thermometer?
Yes, you can calibrate a digital thermometer using the ice water method. Submerge it in a glass of ice water. Wait until the reading stabilizes at 32°F (0°C). Adjust the thermometer accordingly if needed. Always refer to the manufacturer’s instructions for specific calibration methods.
How To Calibrate A Smart Thermostat?
To calibrate a smart thermostat, access the settings menu. Select “calibration” or “offset” option. Use a reliable thermometer to check room temperature. Adjust the thermostat settings to match the accurate reading. Save changes and exit the menu. Regular calibration ensures precise temperature control.
Why Is My Digital Thermometer Showing The Wrong Temperature?
Your digital thermometer may show wrong temperatures due to low battery, calibration errors, or environmental factors. Ensure correct placement and check for damage. Replace batteries and recalibrate if necessary. Keep it away from direct sunlight or heat sources to ensure accurate readings.
Do Digital Thermostats Need Calibrated?
Yes, digital thermostats may need calibration occasionally. Calibration ensures accurate temperature readings and efficient system performance. Refer to the manufacturer’s instructions for guidance on calibrating your specific thermostat model.
Conclusion
Calibrating a smart thermometer ensures accurate readings at home. Follow these steps carefully. Start with a stable environment to avoid errors. Use the manufacturer’s guide for specific instructions. Regular calibration maintains your device’s precision. Check your thermometer monthly for best results.
Simple maintenance extends its lifespan. Troubleshooting any issues promptly saves time. Understanding your device’s needs is crucial. Practice these tips to keep it reliable. Smart thermometers offer convenience when properly calibrated. Consistent accuracy leads to better health monitoring. Stay informed and enjoy the benefits of a well-calibrated device.
Your smart thermometer is a valuable tool.