
Carving a ham might seem tricky, but with the right steps, you can do it like a pro. Imagine impressing your family or guests with perfectly sliced ham that looks as good as it tastes.
You don’t need fancy tools or special skills—just a little guidance and practice. Keep reading, and you’ll learn how to carve your ham easily and confidently, making every meal a delicious success. Ready to master this simple yet impressive skill?
Let’s get started!
Credit: brindisa.com
Choosing The Right Ham
There are different types of hamto choose from. Fresh hamis raw and needs cooking. Pre-cooked hamis already cooked and just needs warming.
Consider the size and shapeof the ham. Round hams are easier to carve into slices. Larger hams serve more people but are harder to handle. Smaller hams cook faster and are good for fewer guests.
| Type of Ham | Description | Cooking Needed |
|---|---|---|
| Fresh Ham | Raw, uncured meat | Must be cooked fully |
| Pre-cooked Ham | Already cooked and cured | Reheat before serving |

Credit: www.tasteofhome.com
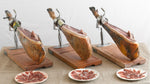
Essential Tools For Carving
Choosing the best knifeis key for carving ham. A long, sharp carving knifehelps make smooth, thin slices. Look for a knife with a comfortable handleto keep control.
A carving forkholds the ham steady. It stops the meat from slipping while you cut. This makes slicing easier and safer.
Other helpful tools include:
- Cutting boardwith grooves to catch juices.
- Kitchen towelto wipe your hands and knife.
- Meat thermometerto check ham temperature.
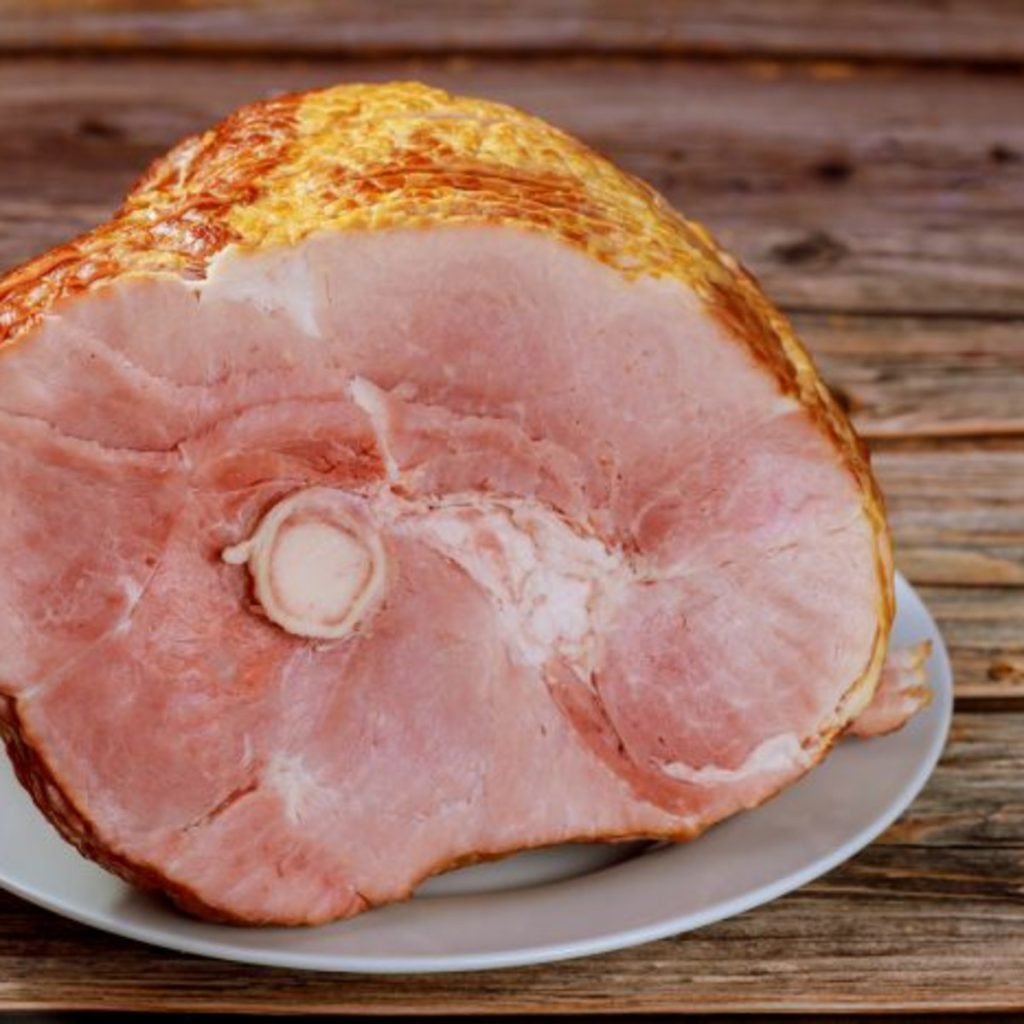
Preparing The Ham
Allow the ham to rest for about 15 to 20 minutes after cooking. This helps the juices settle inside, making the meat juicy and tender. Place the ham on a clean carving board. Make sure the board is stable to avoid slipping while cutting.
Position the ham with the flat side down for better balance. This keeps it steady during carving. Use a sharp knife to carefully remove the skin and the thick layer of fat. Leaving some fat can add flavor, but too much can be greasy.
- Rest the ham for 15-20 minutes to keep juices inside.
- Place ham flat side down on a stable carving board.
- Use a sharp knife to remove skin and excess fat.
- Keep some fat for flavor but avoid too much.
Carving Techniques
Slicing against the grainmeans cutting across the muscle fibers. This makes the ham slices tender and easier to chew. Look at the lines on the ham to find the grain direction. Slice perpendicular to those lines for best results.
Controlling slice thicknessaffects the taste and texture. Thin slices are good for sandwiches and cold plates. Thicker slices work well for hot meals. Use a sharp knife and steady hand to keep slices even. Take your time to avoid tearing the meat.
Carving around the bone requires care. Start by making cuts close to the bone. Move the knife slowly to separate meat without wasting any. The bone helps guide your cuts and gives good shape to slices.
Serving And Storing Slices
Arrange the ham slices neatly on a large platter. Overlap slices slightly for a tidy look. Garnish with fresh herbs or fruit for a nice touch. Use a clean knife to keep slices smooth and even.
Wrap leftover ham tightly in plastic wrap or foil. Store in the fridge at or below 40°F (4°C). Proper sealing keeps ham moist and fresh. Use within 3 to 5 days for best taste and safety.
Reheat ham gently to keep it juicy. Cover with foil and warm in the oven at 275°F (135°C). Heat for 10-15 minutes or until warm. Avoid overheating to prevent dryness.
Common Mistakes To Avoid
Cutting ham slices too thick makes them hard to chew. Too thin slices can fall apart easily. Find a good middle ground for best taste and texture.
Always cut along the grainof the ham. Cutting against the grain makes the meat tough and chewy. Look closely at the lines in the ham before slicing.
Using a dull knifeis risky. It can slip and cause injuries. A sharp knife gives clean cuts and keeps the ham intact. Keep your knives sharp for safe carving.

Credit: parade.com
Frequently Asked Questions
How Do You Properly Carve A Ham?
Start by placing the ham on a stable cutting board. Use a sharp carving knife to make thin, even slices. Cut along the bone for ease. Rotate the ham as needed to access different sections. Serve slices neatly.
What Tools Do I Need To Carve A Ham?
You’ll need a sharp carving knife and a stable cutting board. A carving fork can help hold the ham steady. Ensure your knife is sharp for clean cuts. A meat thermometer is useful to check the ham’s internal temperature.
Should I Let The Ham Rest Before Carving?
Yes, let the ham rest for 15-20 minutes. Resting allows the juices to redistribute, ensuring moist, flavorful slices. Cover it loosely with foil during resting. This step enhances the ham’s taste and texture.
Can I Carve A Ham Without A Carving Fork?
Yes, you can carve without a carving fork. Use a sharp knife and a stable cutting board. Hold the ham steady with your free hand or use a clean towel. Be cautious to avoid slipping and ensure even slices.
Conclusion
Carving a ham can feel tricky at first. Take your time and use a sharp knife. Slice thin pieces for the best taste and texture. Always cut against the grain to keep meat tender. Serve your ham slices neatly on a platter.
Enjoy the rich flavors with family or friends. Practice makes carving easier and more enjoyable. Now, you can confidently carve ham for any meal.