
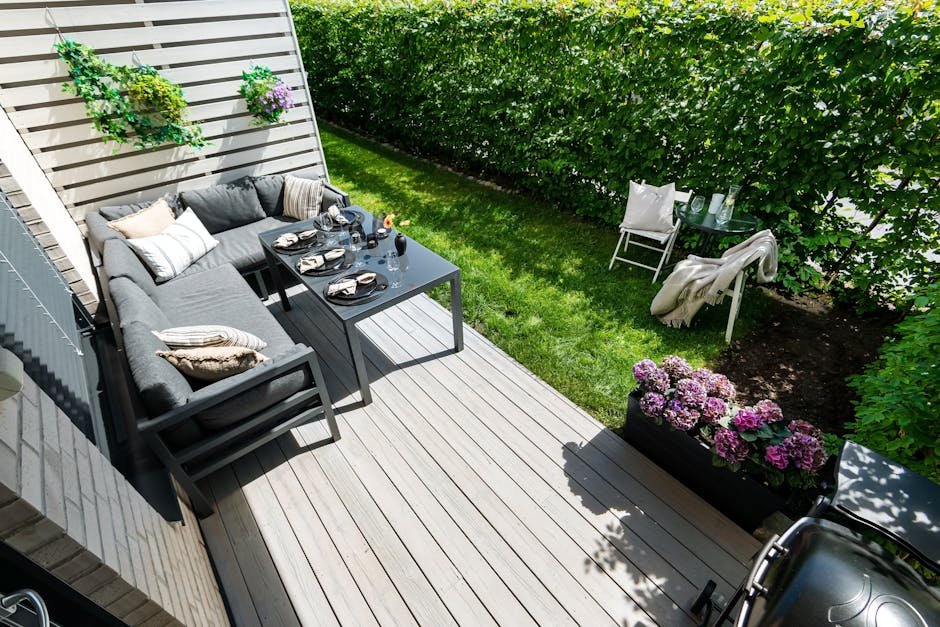
Are you ready to take your outdoor cooking to the next level? Installing a built-in grill on your deck can transform your backyard into the ultimate gathering spot.
But how do you make sure it’s done right? In this guide, you’ll discover simple, step-by-step instructions to install your grill safely and efficiently. Whether you’re a DIY enthusiast or a first-timer, you’ll learn tips that save time and avoid costly mistakes.
Keep reading, and soon your deck will be the go-to place for unforgettable barbecues.
Choosing The Right Location
Installing a built-in grill on your deck needs careful location choice. The right spot keeps your deck safe and makes grilling easy.
Think about safety, access to utilities, and space use. These factors help you enjoy your grill without problems.
Considering Safety And Clearance
Safety is the top priority when placing a grill. Keep the grill away from flammable materials and ensure good air flow.
- Place the grill at least 10 feet from your home or deck railing.
- Avoid spots under low-hanging branches or roof eaves.
- Keep a fire extinguisher nearby.
- Check local codes for clearance requirements.
Access To Utilities
Your grill needs gas or electricity to work well. Choose a spot close to these utilities to reduce installation costs.
| Utility Type | Distance from Grill | Notes |
| Gas Line | Within 10 feet | Use certified lines for safety |
| Electric Outlet | Within 15 feet | Use weatherproof outlets |
| Water Source | Optional | Helpful for cleaning |
Optimizing Deck Space
Make sure the grill spot fits your deck layout. It should allow easy movement and enough room for cooking tools.
- Choose a corner or edge to save central space.
- Leave 3 feet of clearance on all sides of the grill.
- Plan for a prep area next to the grill.
- Keep pathways clear for safety.
Selecting The Built-in Grill
Choosing the right built-in grill is important for your deck setup. It affects your cooking experience and the grill’s lifespan.
Consider the type, size, features, and materials before buying. This guide will help you decide what fits your needs.
Types Of Built-in Grills
Built-in grills come in several types. Each type works well for different cooking styles and budgets.
- Gas grills: Use propane or natural gas for quick heat and easy control.
- Charcoal grills: Provide classic smoky flavor but need more time to heat.
- Electric grills: Easy to use and clean, best for areas without gas or charcoal.
- Hybrid grills: Combine gas and charcoal for flexible cooking options.
Size And Features
Choose a grill size based on how many people you usually cook for. Also, look for useful features.
| Feature | Benefit |
| Number of burners | Control heat zones for different foods |
| Side burners | Cook sauces or side dishes separately |
| Rotisserie | Perfect for roasting whole chickens or meats |
| Storage cabinets | Keep tools and fuel close by |
| Built-in lighting | Cook safely at night |
Material And Durability
Materials affect how long your grill lasts and how it looks on your deck. Some materials resist rust and weather better.
- Stainless steel: Strong, rust-resistant, and easy to clean.
- Cast iron: Holds heat well but needs regular care to avoid rust.
- Porcelain-coated steel: Offers good heat retention and easy cleaning.
Preparing The Deck
Installing a built-in grill on your deck needs careful preparation. This helps keep the deck safe and the grill secure.
Start by checking the deck’s surface and structure. You must measure, cut, and reinforce the area for the grill.
Measuring And Marking
Measure the grill’s dimensions before you cut. Mark the deck surface clearly with a pencil or chalk.
Double-check your marks to avoid mistakes. Make sure the grill fits well without blocking walkways.
- Use a tape measure for accuracy
- Mark all corners and edges
- Check for level and clearance
Cutting The Deck Surface
Use a saw suitable for your deck material. Cut carefully along the marked lines for a clean opening.
Wear safety gear like goggles and gloves. Remove any debris after cutting to keep the area safe.
- Choose a circular or jigsaw for wood decks
- Cut slowly to avoid splintering
- Clear dust and wood chips after cutting
Reinforcing The Structure
Support the deck around the cut area. Add extra beams or braces to hold the grill’s weight safely.
Use strong, weather-resistant materials. Secure all reinforcements with screws or bolts for stability.
- Install cross beams under the cutout
- Use treated lumber or metal braces
- Tighten all fasteners firmly

Credit: www.youtube.com
Installing The Grill
Installing a built-in grill on your deck requires careful steps. Proper installation ensures safety and good performance.
This guide covers positioning, securing, and connecting your grill safely and correctly.
Positioning The Grill
Choose a flat, stable area on your deck for the grill. Avoid places near walls or overhangs to reduce fire risks.
Keep enough space around the grill for ventilation and easy access while cooking.
Securing The Grill In Place
Fasten the grill firmly to the deck frame. Use bolts or screws designed for outdoor use to prevent rust.
- Check the grill’s frame fits the cutout in your deck.
- Align the grill and mark bolt holes on the deck frame.
- Drill pilot holes to avoid splitting the wood.
- Secure the grill with bolts and tighten them evenly.
- Double-check the grill is stable and does not move.
Connecting Gas And Electrical Lines
Connect the gas line using a flexible, approved hose and a shut-off valve near the grill.
Electrical connections must be done safely to power features like igniters or lights.
| Connection | Details |
| Gas Line | Use a flexible hose with a shut-off valve. Check for leaks with soapy water. |
| Electrical Line | Connect to a GFCI-protected outlet. Use weatherproof fittings. |
| Safety Check | Test all connections before using the grill. Follow local codes. |
Finishing Touches
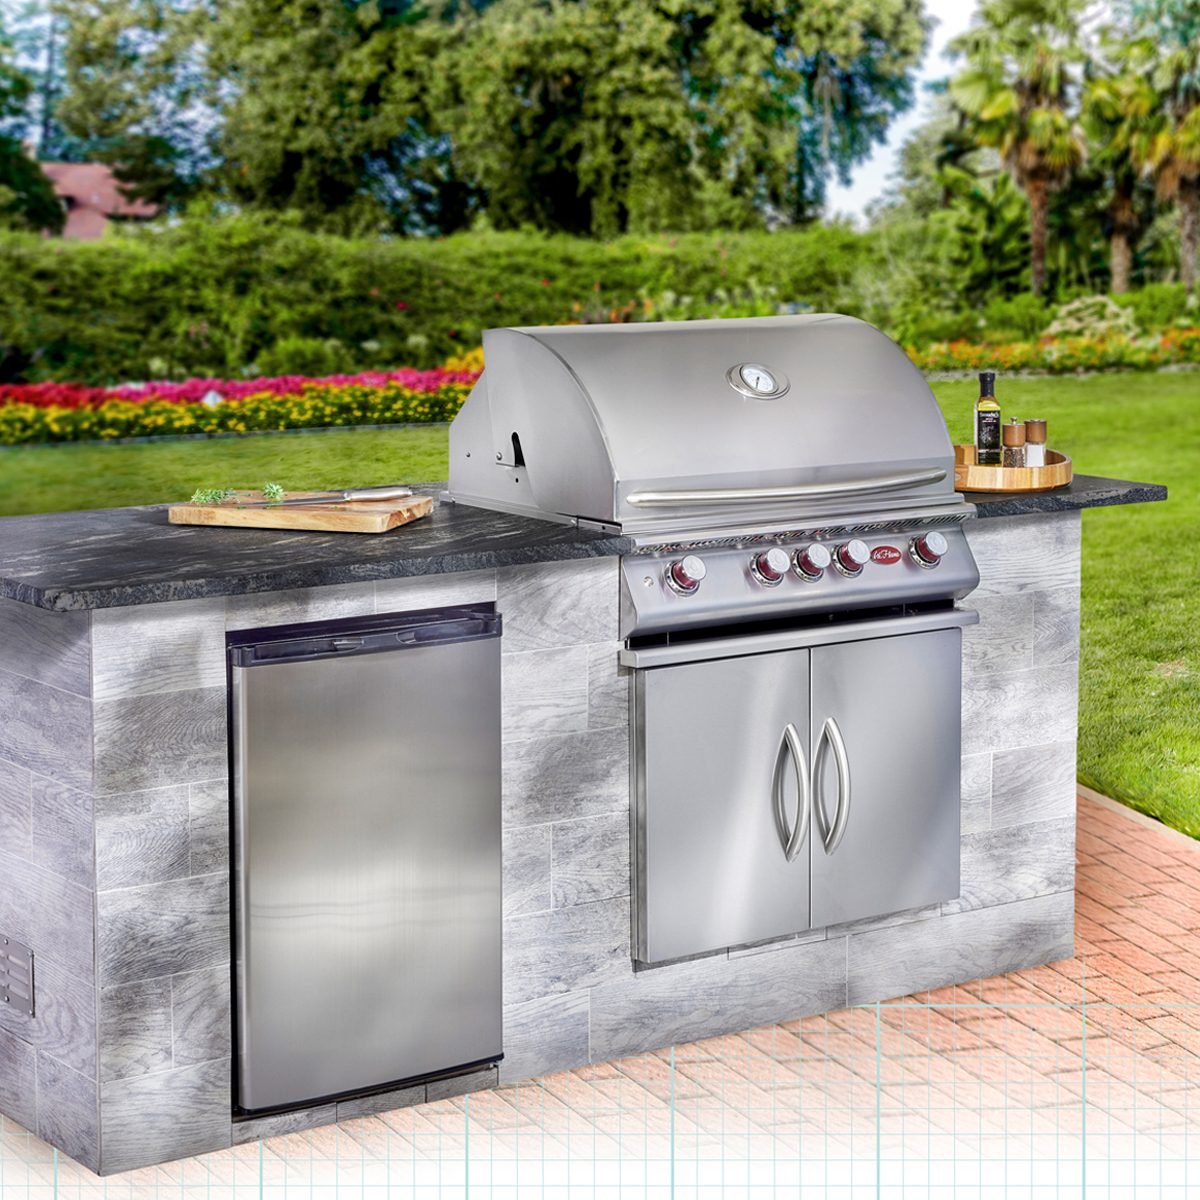
After installing your built-in grill on the deck, the final steps are important. These finishing touches help protect your grill and make it easy to use.
Proper sealing, adding useful accessories, and checking safety will keep your grill in top shape for years.
Sealing And Weatherproofing
Seal all edges around the grill to stop water from entering. Use weatherproof caulk or sealant made for outdoor use.
Cover the grill when not in use to protect it from rain, dust, and sun damage. This helps prevent rust and wear.
- Apply sealant around cutouts and joints
- Use a grill cover designed for your model
- Check seals yearly and replace if cracked
Adding Accessories And Storage
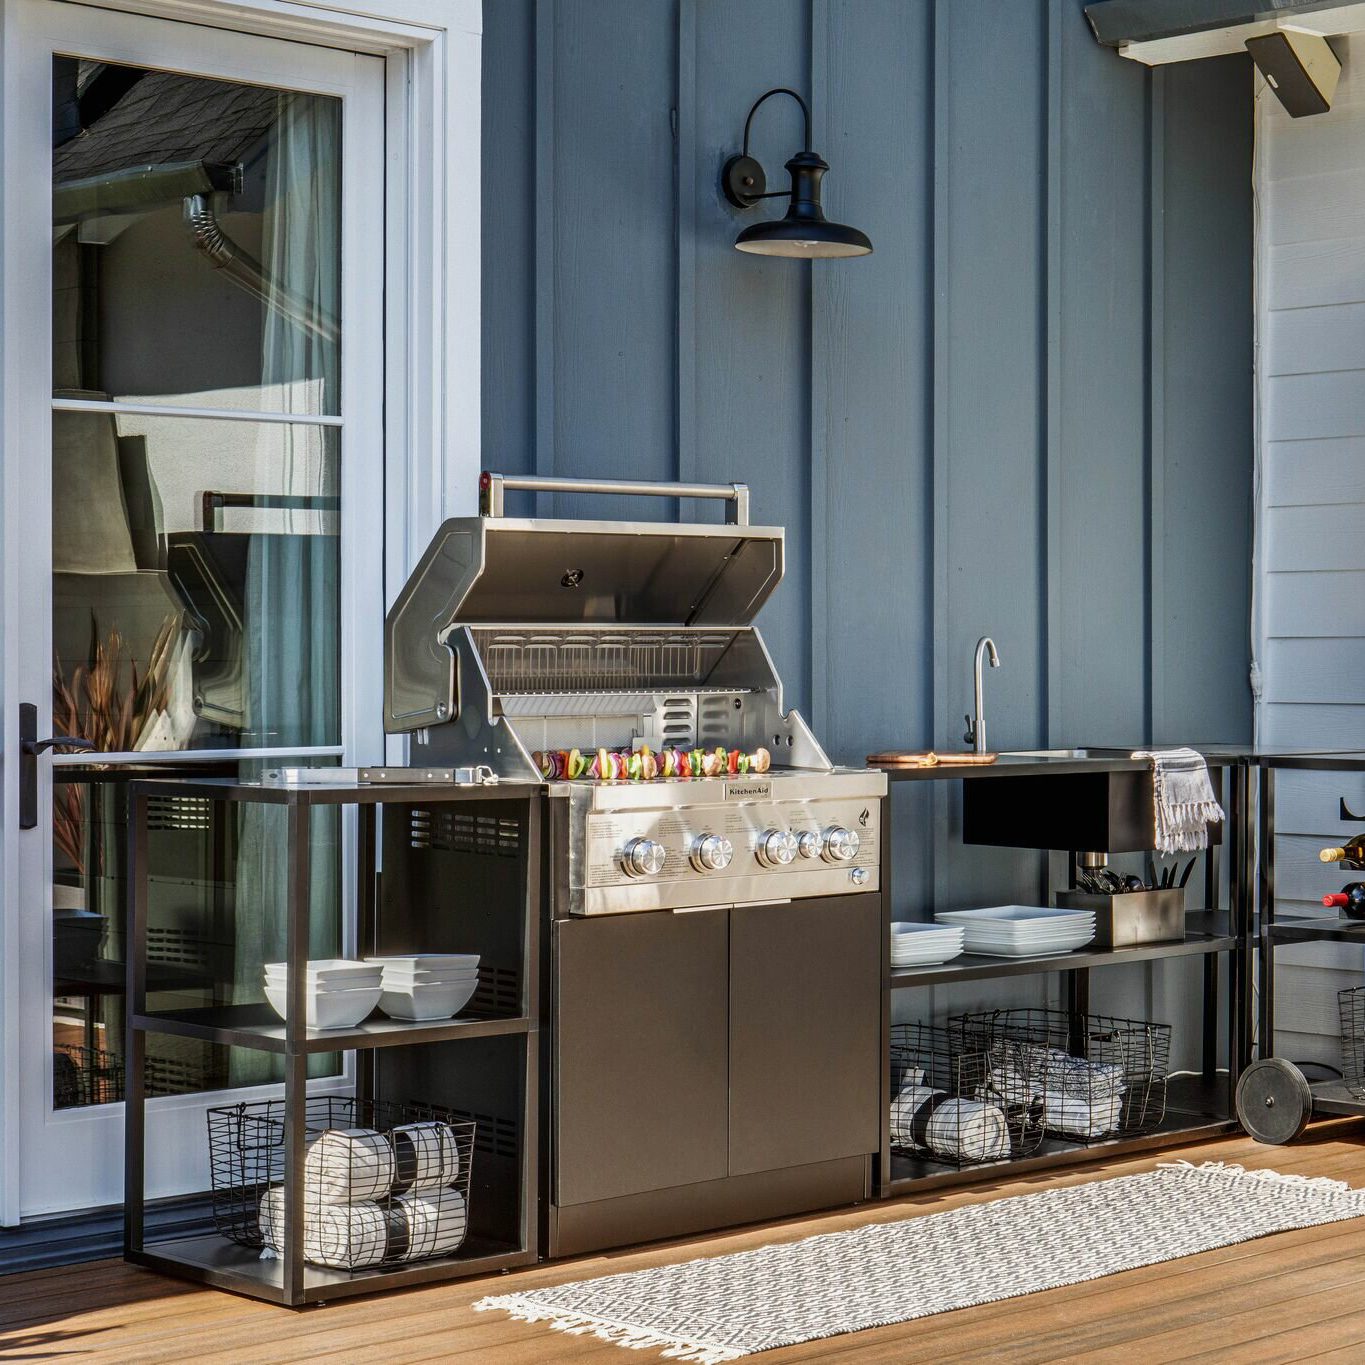
Install shelves or drawers near the grill for utensils and spices. This keeps everything handy while you cook.
Consider hooks for tools like tongs and brushes. A small trash bin nearby helps keep the area clean.
- Attach side shelves for prep space
- Add hooks for grilling tools
- Include a storage drawer or cabinet
- Place a trash bin close by
Testing And Safety Checks
Test the grill after installation before cooking. Check all gas connections for leaks using soapy water.
Ensure the grill lid opens and closes smoothly. Verify that igniters and burners work properly for safe use.
- Turn on gas and check for leaks
- Test the ignition system
- Inspect burner flames for even heat
- Make sure the grill is stable and secure
Credit: www.familyhandyman.com
Maintenance Tips
Keeping your built-in grill in good shape helps it last longer. Regular care keeps it safe and working well.
Follow simple steps to clean, check, and protect your grill. These steps save you time and money.
Cleaning The Grill
Clean the grill after every use to remove food and grease. This stops buildup that can cause fires.
Use a grill brush to scrub the grates. Wipe down the surfaces with warm soapy water.
- Brush grates when still warm
- Empty grease traps regularly
- Clean burner tubes carefully
- Wipe exterior with a damp cloth
Inspecting Gas Connections
Check gas hoses and connections for leaks and cracks. This keeps your grill safe to use.
Use a soap and water mix to spot leaks. Bubbles show where gas may escape.
- Turn off gas before inspection
- Look for cracks or wear on hoses
- Apply soapy water to fittings
- Watch for bubbles when gas is on
- Replace damaged parts immediately
Protecting Against Weather
Shield your grill from rain, snow, and sun to stop rust and damage. Use covers designed for grills.
Store the grill in a dry place if possible. Remove any debris or leaves around the grill area.
- Use a weatherproof grill cover
- Keep grill away from standing water
- Check cover for tears or holes
- Store propane tanks safely indoors if allowed
Credit: www.familyhandyman.com
Frequently Asked Questions
What Tools Do I Need To Install A Grill?
To install a built-in grill on your deck, you’ll need basic tools like a drill, screwdriver, and tape measure. Additionally, ensure you have a level for precision. These tools help secure the grill safely and ensure a stable installation. Always follow the manufacturer’s guidelines.
Can I Install A Grill On A Wooden Deck?
Yes, you can install a grill on a wooden deck. Ensure proper insulation and heat protection. Use a grill mat to prevent heat damage and grease stains. Additionally, keep the grill at a safe distance from railings and walls. Regularly check for any signs of wear or damage.
How Much Space Is Needed For A Built-in Grill?
A built-in grill typically requires a minimum of 24 inches clearance on all sides. This ensures proper ventilation and safety. Adequate space also allows for easier maintenance and cleaning. Always refer to the manufacturer’s recommendations for specific space requirements to ensure safe operation.
Is A Permit Needed To Install A Grill?
Permit requirements vary by location. Check with local authorities to determine if a permit is necessary for your deck. Some areas may have specific building codes or regulations. Ensuring compliance helps avoid fines and ensures the installation meets safety standards.
Conclusion
Installing a built-in grill on your deck adds great value and fun. Follow each step carefully for a safe setup. Use the right tools and materials for best results. Take your time to measure and fit everything well. Enjoy cooking outdoors with friends and family soon.
A well-installed grill makes your deck a perfect gathering spot. Keep your grill clean and maintained to last longer. Now, your outdoor space feels more complete and inviting.