

Imagine stepping outside to your backyard and having everything you need to cook, serve, and entertain right at your fingertips. Building your own DIY outdoor kitchen island can transform your outdoor space into a hub of fun and flavor.
Whether you’re grilling for family dinners or hosting weekend parties, this project gives you the freedom to design a kitchen that fits your style and needs perfectly. Ready to learn how to create an outdoor kitchen island that will impress your guests and make your life easier?
Let’s dive into the simple steps that will bring your dream outdoor kitchen to life.

Credit: www.familyhandyman.com
Planning Your Outdoor Kitchen Island
Building an outdoor kitchen island can make your backyard more fun and useful. Planning is the first step to a great project.
Good planning saves time and money. It helps you build a kitchen island that fits your space and needs.
Choosing The Right Location
Pick a spot that is easy to reach from your house. Make sure there is enough room to move around.
Avoid places with poor drainage or too much sun. Look for a flat area to keep the kitchen stable.
- Near the back door or patio
- Close to water and power sources
- Shaded or with room for shade
- Good drainage and flat ground
Deciding On The Size And Layout
Think about how many people will use the kitchen at once. Make sure the island is big enough for cooking and serving.
Plan the shape to fit your space. Common shapes are L, U, or straight lines.
- Allow space for cooking appliances
- Include enough counter space
- Leave room for seating if needed
- Keep pathways at least 3 feet wide
Selecting Materials And Tools
Choose materials that can handle weather changes. Look for items that last and are easy to clean.
Get the right tools before you start. This makes building faster and safer.
- Use weather-resistant wood or stone
- Pick stainless steel for appliances
- Have a drill, saw, level, and measuring tape
- Wear safety gear like gloves and goggles
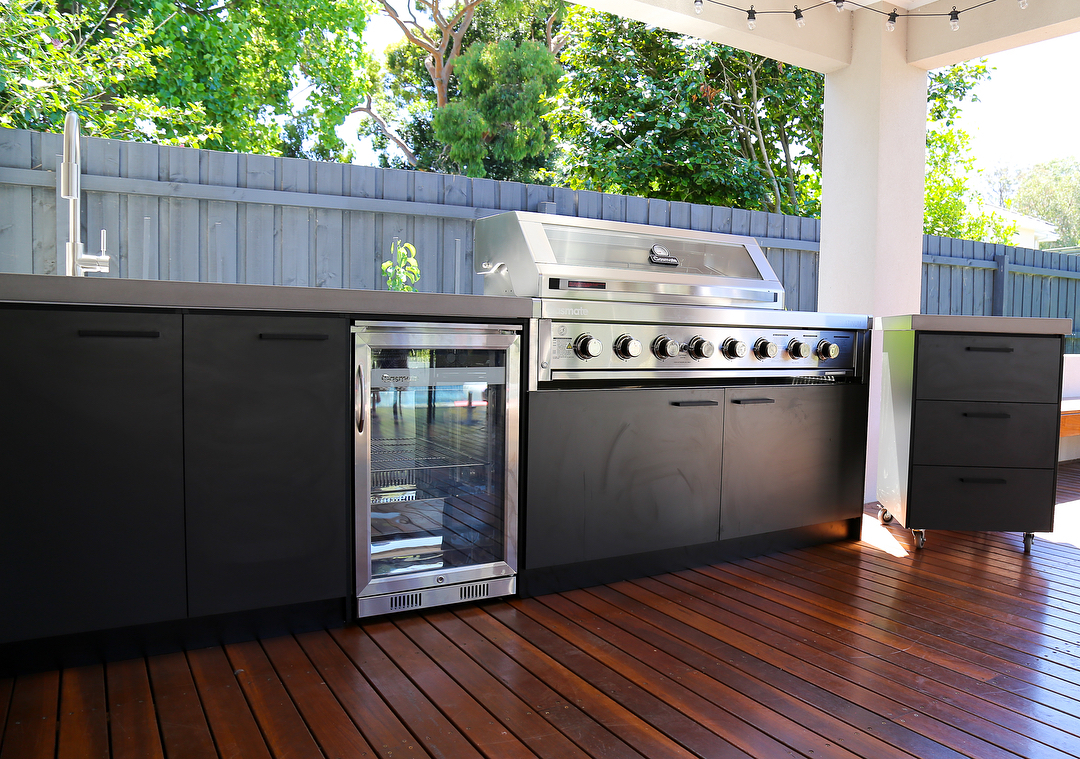
Credit: www.extraspace.com
Preparing The Site
Building a DIY outdoor kitchen island starts with a good site. Preparing the area well ensures your project lasts long and stays stable.
Take time to clear and level the space. Then lay a strong foundation for your kitchen island.
Clearing And Leveling The Area
Remove all plants, rocks, and debris from the spot. This makes a clean area to work on.
Use a shovel or rake to smooth the ground. Check the level with a carpenter’s level or a string line.
- Clear at least 4 feet around the planned island
- Remove roots and large stones
- Fill holes with soil or sand
- Level the area to avoid uneven surfaces
Laying The Foundation
A strong foundation keeps the kitchen island steady. Choose a base that fits your space and budget.
Concrete slabs, pavers, or compacted gravel work well. Make sure the foundation is flat and solid.
- Mark the island shape on the ground
- Excavate 4 to 6 inches deep
- Place a gravel layer and compact it
- Pour concrete or lay pavers evenly
- Let the foundation cure before building
Building The Frame
Building the frame is the first important step in creating your outdoor kitchen island. The frame supports the whole structure.
Use strong and weather-resistant wood to make sure your frame lasts long outside.
Cutting And Assembling Lumber
Start by measuring the size of your kitchen island. Cut the lumber into pieces that fit your plan.
Cut all the frame parts evenly. This helps the pieces fit together tightly and stay strong.
- Measure twice, cut once
- Use a saw suitable for outdoor wood
- Wear safety gear while cutting
- Label each piece to avoid confusion
- Sand edges to remove splinters
Securing The Frame
After cutting, join the lumber pieces to form the frame. Use screws or bolts made for outdoor use.
Check that the frame is square and level before tightening all fasteners. This keeps the structure stable.
- Use a carpenter’s square to check corners
- Pre-drill holes to avoid wood splitting
- Apply wood glue for extra hold
- Tighten screws evenly on all sides
- Double-check the frame’s stability
Adding Countertops And Surfaces
Adding countertops and surfaces is key to building a functional outdoor kitchen island. Choose materials that suit your style and hold up outdoors.
Proper installation ensures your countertops stay sturdy and last through weather changes. Let’s look at the best materials and how to install them.
Choosing Countertop Materials
Selecting the right material depends on durability, maintenance, and appearance. Outdoor kitchens need surfaces that resist heat, water, and stains.
- Granite: Strong and heat resistant, but needs sealing.
- Concrete: Custom shapes and colors, but may crack over time.
- Tile: Affordable and colorful, grout may need upkeep.
- Stainless Steel: Modern look, easy to clean, can scratch.
- Composite: Made from resin and stone, durable and low maintenance.
Installing The Countertop
Install countertops on a stable base that can hold their weight. Use waterproof adhesive and seal edges to prevent water damage.
| Installation Step | Details |
| Measure Base | Ensure the surface is level and fits the countertop size. |
| Apply Adhesive | Use outdoor-grade adhesive for strong bonding. |
| Place Countertop | Carefully set the countertop and press firmly. |
| Seal Edges | Use silicone sealant to block water from seams. |
| Let Cure | Allow adhesive and sealant to dry for 24-48 hours. |
Incorporating Appliances And Features
Building a DIY outdoor kitchen island is fun and useful. Adding appliances and features makes it more practical.
This guide covers how to install a grill, add storage, and set up lighting with electrical outlets.
Installing A Grill
Choose a grill that fits your space and cooking needs. Measure the spot to make sure it fits well.
Build a sturdy base with heat-resistant materials. Connect the grill to a gas line or use charcoal safely.
- Check grill size and shape before buying
- Use fireproof materials around the grill
- Ensure proper ventilation for safety
- Follow manufacturer instructions for gas hookup
Adding Storage And Shelving
Storage keeps your outdoor kitchen organized. Plan shelves and cabinets for utensils and supplies.
Use weatherproof materials to protect your storage from rain and sun. Lockable cabinets add security.
- Include shelves for spices and small items
- Add cabinets for pots and pans
- Use waterproof wood or metal
- Install hooks for hanging tools
Integrating Lighting And Electrical Outlets
Good lighting lets you cook safely at night. Plan lights around the cooking and prep areas.
Install outdoor electrical outlets for appliances and chargers. Use waterproof covers for safety.
- Choose LED lights for energy efficiency
- Place lights to avoid shadows on work surfaces
- Install GFCI outlets for outdoor safety
- Use weatherproof outlet covers
Finishing Touches
Finishing touches make your outdoor kitchen island look great and last longer. They protect the structure and add style.
Focus on sealing and weatherproofing first. Then add decorative elements to enhance the space.
Sealing And Weatherproofing
Seal your outdoor kitchen island to protect it from rain and sun damage. Use weatherproof materials on wood and stone surfaces.
Apply a strong water sealant or outdoor-rated paint. This stops water from seeping in and causing rot or cracks.
- Use waterproof sealers on wood and stone
- Cover metal parts to prevent rust
- Check seals yearly and reapply if needed
- Choose UV-resistant finishes to avoid fading
Decorative Elements
Add decorative touches to give your island a unique look. Pick styles that match your outdoor space.
Use tiles, stones, or paint to create patterns or color accents. Include plants or lighting to make it inviting.
- Install colorful tiles on the countertop or sides
- Use natural stone for a rustic look
- Add LED lights for nighttime use
- Place potted plants nearby for greenery
- Choose hardware like handles that fit your style
Maintenance Tips For Longevity
Building a DIY outdoor kitchen island is a great project. Keeping it in good shape helps it last longer. Regular care stops damage and costly repairs.
Focus on cleaning often and preparing for changes in weather. These tips will help your outdoor kitchen stay strong and looking good.
Cleaning And Upkeep
Clean your outdoor kitchen island after every use. Dirt, grease, and food scraps can cause stains and damage. Use mild soap and water for most surfaces.
- Wipe down countertops with a soft cloth
- Clean grills and burners to avoid buildup
- Remove debris from sinks and drains
- Check for cracks or loose parts regularly
- Use protective covers when not in use
Seasonal Care
Prepare your outdoor kitchen island for each season. Weather changes can cause wear and tear. Protect materials from rain, snow, and sun.
| Season | Care Tips |
| Spring | Inspect for winter damage. Clean thoroughly. |
| Summer | Use covers to block sun. Clean grills often. |
| Fall | Remove leaves. Check drainage and plumbing. |
| Winter | Cover completely. Drain water lines if needed. |
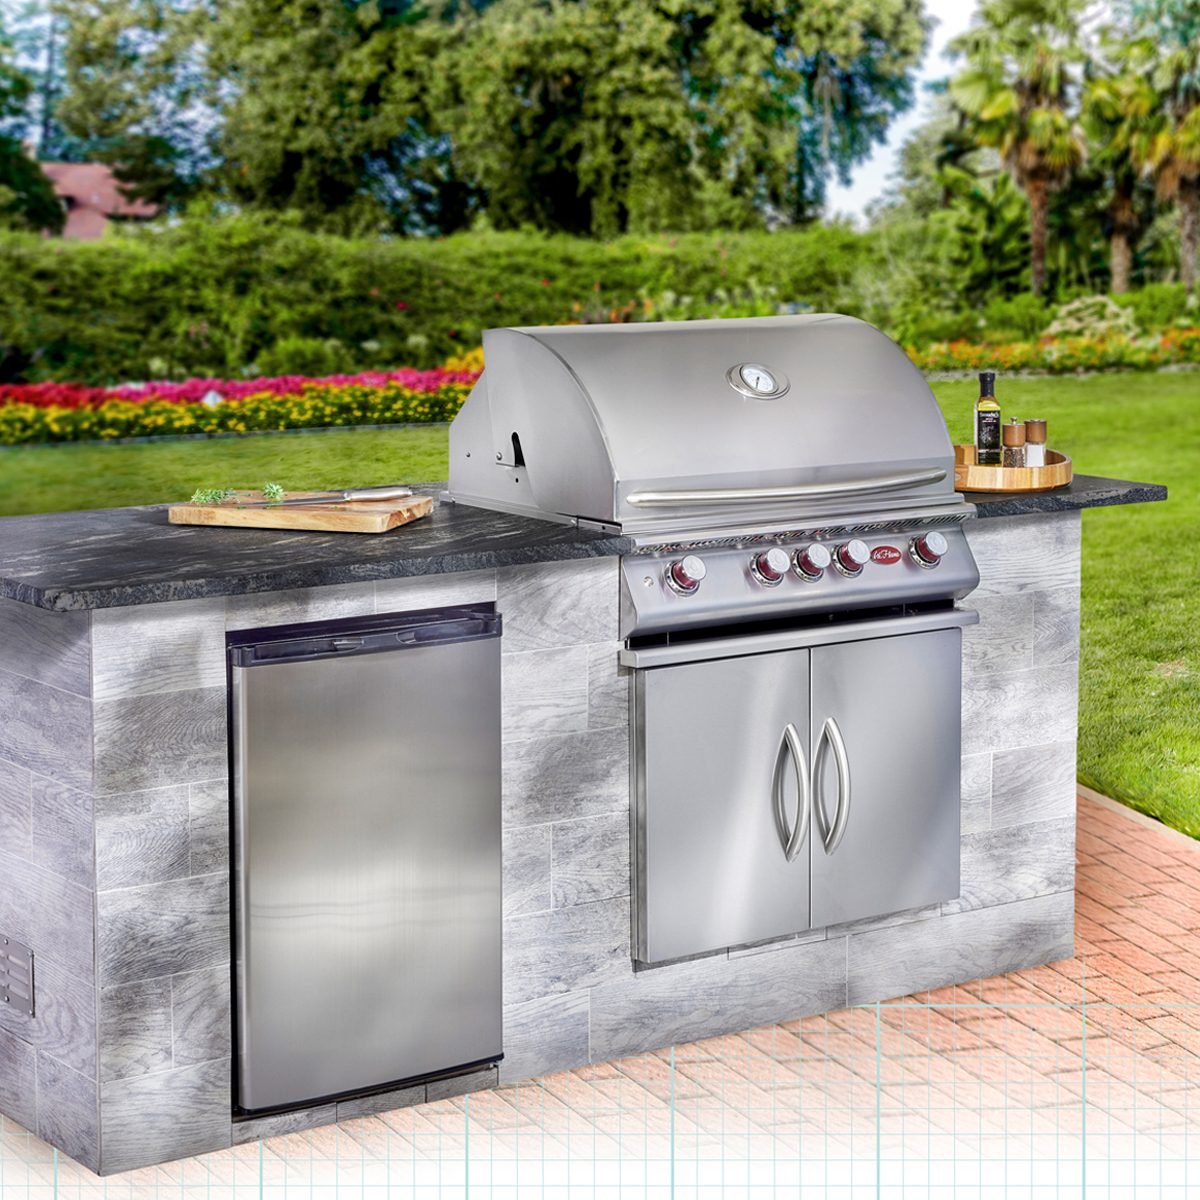
Credit: www.familyhandyman.com
Frequently Asked Questions
What Materials Are Best For A Diy Outdoor Kitchen Island?
Durable materials like stainless steel, concrete, and weather-resistant wood work best. They withstand outdoor elements and require low maintenance, ensuring longevity and a stylish look for your outdoor kitchen island.
How Much Does It Cost To Build A Diy Outdoor Kitchen Island?
Costs vary but expect to spend between $1,000 and $5,000. Expenses depend on materials, appliances, and size. Planning a budget helps manage costs and prioritize essential features.
What Tools Do I Need For Building An Outdoor Kitchen Island?
Basic tools include a drill, saw, level, measuring tape, and screwdriver. Having these ensures precise cuts and proper assembly, making your DIY project smoother and more efficient.
How Do I Protect My Outdoor Kitchen Island From Weather Damage?
Apply waterproof sealants and use weather-resistant covers. Regular cleaning and maintenance also help prevent damage from moisture, sun, and pests, extending your kitchen island’s life.
Conclusion
Building a DIY outdoor kitchen island can be fun and rewarding. Start with a clear plan and choose strong materials. Take your time to measure and cut carefully. Add simple features like a countertop and storage space. This project can improve your backyard and cooking experience.
Enjoy meals outside with friends and family. Small steps lead to great results. Keep safety in mind while working. You will feel proud of your hard work. Now, your outdoor space is ready for many good times.