
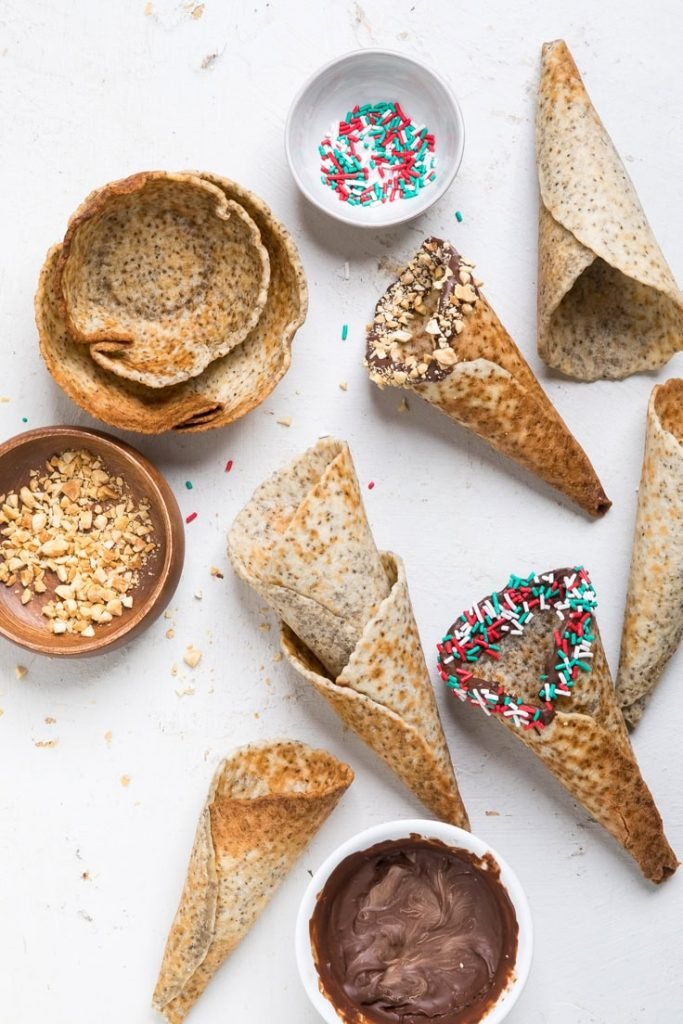
Craving a crunchy, sweet waffle cone but don’t have a waffle maker? You’re not alone—and the good news is, you don’t need one to enjoy this classic treat.
Imagine biting into a warm, homemade cone that perfectly holds your favorite ice cream. Sounds delicious, right? In this guide, you’ll discover simple steps to make waffle cones using just a few common kitchen tools. By the end, you’ll be ready to impress yourself and your friends with a tasty cone made from scratch.
Keep reading to unlock the secret to easy, homemade waffle cones without any special gadgets!
Ingredients For Homemade Waffle Cones
Making waffle cones at home is simple and fun. You only need a few basic ingredients. These ingredients create the perfect crispy and sweet cone for ice cream.
Using fresh and quality ingredients will help you get the best flavor. Below are the main ingredients you need to prepare homemade waffle cones without a waffle maker.
Flour
All-purpose flour is the best choice for waffle cones. It gives the right texture and crispiness. You can also use cake flour for a lighter cone.
Sugar
Granulated white sugar adds sweetness and helps the cone brown nicely. You can adjust the amount based on your taste.
Eggs
Eggs bind the ingredients together and add richness to the batter. Use large eggs at room temperature for best results.
Butter
Butter gives flavor and helps make the cones crispy. Use melted unsalted butter to control the salt level in your batter.
Milk
Milk makes the batter smooth and easy to spread. You can use whole milk or any milk substitute you prefer.
Vanilla Extract
Vanilla extract adds a sweet aroma and enhances the flavor of the waffle cones. Use pure vanilla for the best taste.
Salt
A pinch of salt balances the sweetness and brings out the flavors in the cone batter.
- 1 cup all-purpose flour
- 1/2 cup granulated sugar
- 2 large eggs
- 4 tablespoons melted unsalted butter
- 1/4 cup milk
- 1 teaspoon vanilla extract
- Pinch of salt
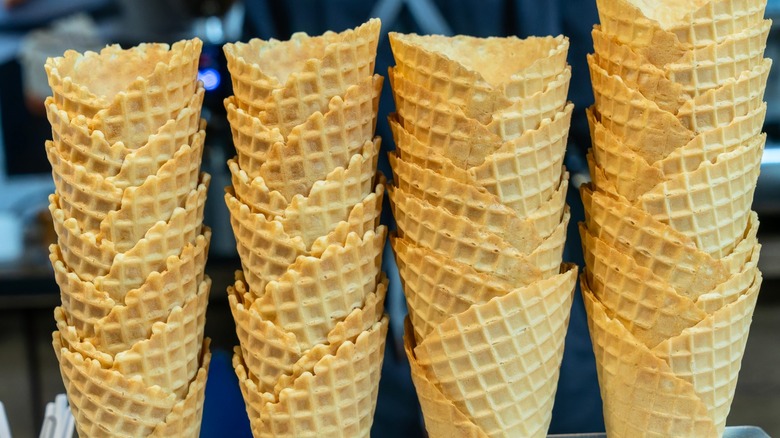
Credit: www.chowhound.com
Tools Needed Without A Waffle Maker
Making a waffle cone without a waffle maker is simple with the right tools. You only need a few items commonly found in most kitchens.
These tools help you cook and shape the waffle cone perfectly. Knowing what to use makes the process easier and fun.
Flat Pan Or Skillet
A flat pan or skillet is important for cooking the waffle batter. Use a non-stick pan for easy flipping and removal.
Spatula
You need a spatula to flip the waffle batter gently. A thin, flexible spatula works best to avoid breaking the waffle.
Cone Shaper Or Mold
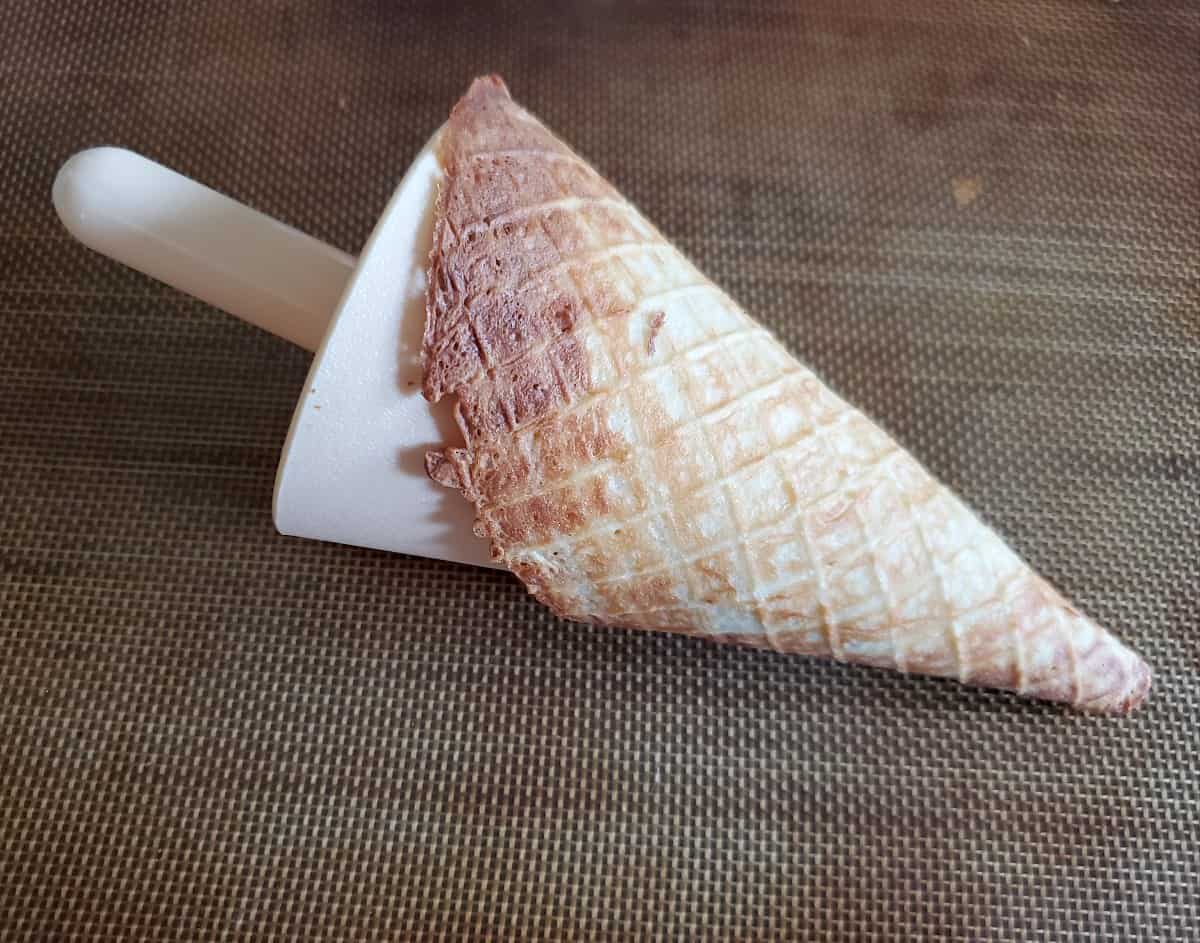
To shape the warm waffle into a cone, use a cone shaper or mold. If you do not have one, you can make a cone using parchment paper.
- Metal or plastic cone shaper
- DIY parchment paper cone
- Empty paper towel tube covered with foil
Mixing Bowl And Whisk
You need a mixing bowl and a whisk to prepare the waffle batter. A whisk helps mix ingredients smoothly without lumps.
Measuring Cups And Spoons
Accurate measurements make a difference in taste and texture. Use measuring cups and spoons for ingredients like flour, sugar, and milk.
| Tool | Purpose |
| Flat Pan or Skillet | Cook waffle batter evenly |
| Spatula | Flip waffle without breaking |
| Cone Shaper or Mold | Shape waffle into cone |
| Mixing Bowl and Whisk | Mix batter smoothly |
| Measuring Cups and Spoons | Measure ingredients accurately |
Mixing The Perfect Batter
Making a waffle cone without a waffle maker starts with the right batter. The batter needs to be smooth and thin enough to shape easily.
This guide covers the best flour choices and how to balance wet and dry ingredients for the perfect mix.
Choosing The Right Flour
Use a flour type that gives your batter a good texture and crispiness. All-purpose flour is a common choice for waffle cones.
- All-purpose flour offers a good balance of protein and starch.
- Cake flour creates a lighter, more delicate cone.
- Pastry flour provides a tender but slightly firmer texture.
- Avoid bread flour because it is too strong and chewy.
Balancing Wet And Dry Ingredients
Getting the right mix of wet and dry ingredients keeps the batter thin and easy to spread. Too thick batter will not curl well.
| Ingredient | Amount | Effect on Batter |
| Flour | 1 cup | Provides structure and firmness |
| Sugar | 2 tablespoons | Adds sweetness and crispness |
| Egg | 1 large | Binds ingredients and adds richness |
| Milk | 1/2 cup | Thins batter for easy shaping |
| Butter (melted) | 3 tablespoons | Adds flavor and crisp texture |

Credit: honestandtruly.com
Cooking Waffle Cones On A Skillet
You can make waffle cones at home without a waffle maker. A simple skillet works well for cooking the batter. This method lets you enjoy fresh, warm cones anytime.
Using a skillet requires some care with heat and timing. Follow the steps below to cook your waffle cones perfectly.
Preheating The Pan
Start by heating your skillet on medium heat. The pan must be hot enough to cook the batter quickly but not burn it.
- Place the skillet on the stove and turn the heat to medium.
- Let the pan heat for about 3 to 5 minutes.
- Test the heat by sprinkling a few drops of water on the pan. The water should sizzle and evaporate fast.
- If the water sits without sizzling, wait longer before adding batter.
Cooking Time And Temperature Tips
Cook waffle cones on medium heat to get an even golden color. Watch the batter closely to avoid burning. Flip the waffle quickly after the first side is done.
| Heat Level | Cooking Time per Side | Result |
| Low | 2–3 minutes | Soft and pale, may be undercooked |
| Medium | 45 seconds – 1 minute | Golden and crisp, perfect texture |
| High | 30 seconds or less | Burnt outside, raw inside |
Shaping The Cones While Warm
Making waffle cones without a waffle maker means shaping them quickly. The cones must be warm and flexible to form the right shape. If they cool down, they get hard and break easily.
Shaping while the waffle is still hot is key. This guide shows how to use simple tools and tricks for crispy, well-shaped cones.
Using A Cone Mold Substitute
You can use household items to shape your waffle cones. These substitutes help create a cone shape without special equipment. Use them right after you cook the waffle while it is warm.
- Use a clean kitchen towel rolled into a cone shape.
- Try a metal or wooden funnel as a mold.
- Use the handle of a wooden spoon wrapped in foil.
- Shape the waffle around a thick paper cone.
Hold the waffle gently but firmly around the mold. Let it cool on the mold for about one minute. This helps the cone keep its shape.
Techniques For Crispy Edges
Crispy edges make the cone more delicious and sturdy. Use these simple tips to get that perfect crunch.
| Technique | Description |
| Brush with Butter | Lightly brush edges with melted butter before cooking. |
| Use High Heat | Cook waffles on medium-high heat for crispiness. |
| Thin Batter | Make the batter slightly thinner for crisp edges. |
| Cool on Wire Rack | Let cones cool on a wire rack to keep edges crisp. |
Cooling And Storing Waffle Cones
Making waffle cones without a waffle maker is fun and tasty. After making them, cooling and storing is very important.
Proper cooling keeps the cones crisp. Good storage stops them from going soft or stale.
Avoiding Sogginess
Waffle cones get soggy if they hold moisture. Let cones cool fully on a wire rack before storing.
Keep cones away from steam and humidity. Use dry hands when handling cones to prevent adding moisture.
- Cool cones on a wire rack to air dry
- Do not stack cones while warm
- Keep cones away from wet surfaces
- Handle cones with dry hands only
Best Storage Practices
Store waffle cones in an airtight container to keep them fresh. Avoid storing cones in the fridge or freezer.
Place a paper towel inside the container to absorb any moisture. Keep the container in a cool, dry place.
- Use airtight containers for storage
- Add a paper towel to absorb moisture
- Store in a cool, dry place, not the fridge
- Use cones within a few days for best taste
Troubleshooting Common Issues
Making waffle cones without a waffle maker can be tricky. Some common problems happen with batter and crisping. This guide helps you fix these issues.
Check the batter and how the cones cook. Small changes can make your cones better and crispier.
Batter Too Thick Or Thin
If your batter is too thick, the cones will be hard to shape and may cook unevenly. If it is too thin, the cones can break or be too soft.
- Too Thick:Add a small amount of milk or water to loosen the batter.
- Too Thin:Add a little flour to thicken it up.
- Mix the batter well to avoid lumps.
- Let the batter rest for 10 minutes before cooking.
Cones Not Crisping Properly
Cones that are not crisp can feel soggy or soft. This happens if the cones don’t cook long enough or cool properly.
| Cause | Fix |
| Cooking time too short | Cook cones longer on medium heat |
| Heat too high | Lower heat to avoid burning |
| Cooling in humid place | Cool cones on a wire rack in a dry spot |
| Stacking cones too soon | Let cones cool fully before stacking |
Creative Variations And Flavors
Making waffle cones without a waffle maker lets you try many flavors. You can add spices, sweeteners, or use different flours.
These changes make your cones unique and tasty. Let’s explore some creative ideas to try at home.
Adding Spices And Sweeteners
Spices add warmth and flavor to your waffle cone batter. Sweeteners give a different kind of sweetness than sugar.
Try these to make your cones special:
- Cinnamon or nutmeg for warm, spicy notes
- Vanilla extract for a rich, sweet scent
- Honey or maple syrup instead of sugar
- Cardamom for a unique, floral taste
- Brown sugar to add caramel flavor
Using Alternative Flours
You can swap regular flour with other types. Each flour changes the texture and taste of your cone.
Here are some flours to try:
- Almond flour for a nutty flavor and crunch
- Coconut flour for a light, sweet taste
- Oat flour for a mild, hearty flavor
- Whole wheat flour for a richer, earthier taste
- Gluten-free blends for allergy-friendly cones
Credit: honestandtruly.com
Frequently Asked Questions
Can You Make Waffle Cones Without A Waffle Maker?
Yes, you can make waffle cones without a waffle maker. Use a skillet or non-stick pan to cook the batter. Once cooked, shape it quickly around a cone mold. Let it cool and harden, and your homemade waffle cone is ready.
Enjoy your ice cream in a DIY cone!
What Ingredients Are Needed For Waffle Cones?
To make waffle cones, you’ll need flour, sugar, eggs, butter, vanilla extract, and milk. Mix these ingredients to form a batter. Cook the batter on a skillet until golden brown. Shape it quickly around a cone mold. Allow it to cool and harden for a perfect waffle cone.
How Do You Shape A Waffle Cone?
To shape a waffle cone, use a cone mold or create one from parchment paper. Cook the batter until golden brown. Quickly wrap the warm, cooked batter around the mold. Hold it in place until it cools and hardens. Your homemade waffle cone is now ready for ice cream!
What Can I Use Instead Of A Cone Mold?
Instead of a cone mold, you can use a rolled-up piece of parchment paper or aluminum foil. Shape it into a cone and secure it with tape. Wrap the warm waffle around your makeshift mold. Hold until it cools and hardens, creating a perfect cone shape for your ice cream.
Conclusion
Making a waffle cone without a waffle maker is simple and fun. You only need a few basic tools and ingredients. This method lets you enjoy fresh, crispy cones anytime. Try shaping the cone while the batter is warm for best results.
Serve with your favorite ice cream or dessert. Enjoy homemade cones that taste great and save money. Give it a try and surprise your family today!