
Imagine enjoying your favorite ice cream in a crispy, warm waffle cone you made yourself. Sounds delicious, right?
Making a waffle cone at home is easier than you think, especially if you have a waffle maker. In this guide, you’ll learn simple steps to create perfect waffle cones that add a special touch to your treats. Whether you want to impress guests or just enjoy a fun kitchen project, this method will turn your waffle maker into a cone-making machine.
Keep reading, and you’ll be crafting tasty, homemade waffle cones in no time!

Credit: kirbiecravings.com
Choosing The Right Ingredients
Making a waffle cone needs simple and fresh ingredients. Picking good ingredients helps the cone taste great and hold its shape.
Using the right items ensures your waffle cone is crisp and sweet. It also makes rolling the cone easier after cooking.
Essential Ingredients For Waffle Cones
You only need a few ingredients to make waffle cones. Each one adds flavor and texture.
- All-purpose flour: gives structure to the cone
- Sugar: adds sweetness and helps with browning
- Eggs: bind ingredients and add richness
- Butter: gives flavor and a crisp texture
- Milk: makes the batter smooth and easy to spread
- Vanilla extract: adds a nice aroma
- Salt: balances the sweetness
Use fresh eggs and real butter for the best flavor. Avoid substitutes that change the batter’s texture.
Tips For Freshness And Quality
Fresh ingredients make your waffle cone taste better and last longer. Store items properly to keep them fresh.
- Keep flour in a cool, dry place
- Use sugar that is free from lumps
- Store eggs in the refrigerator until ready to use
- Keep butter wrapped and cold before melting
- Use fresh milk and vanilla extract for best aroma
Mix the batter just before cooking. This keeps it smooth and prevents lumps. Fresh batter makes crisp and tasty waffle cones.

Credit: honestandtruly.com
Preparing The Batter
Making a waffle cone starts with the right batter. A good batter helps the cone cook evenly and become crispy.
Careful preparation ensures your waffle cones have a great taste and texture. Let’s look at how to prepare the batter well.
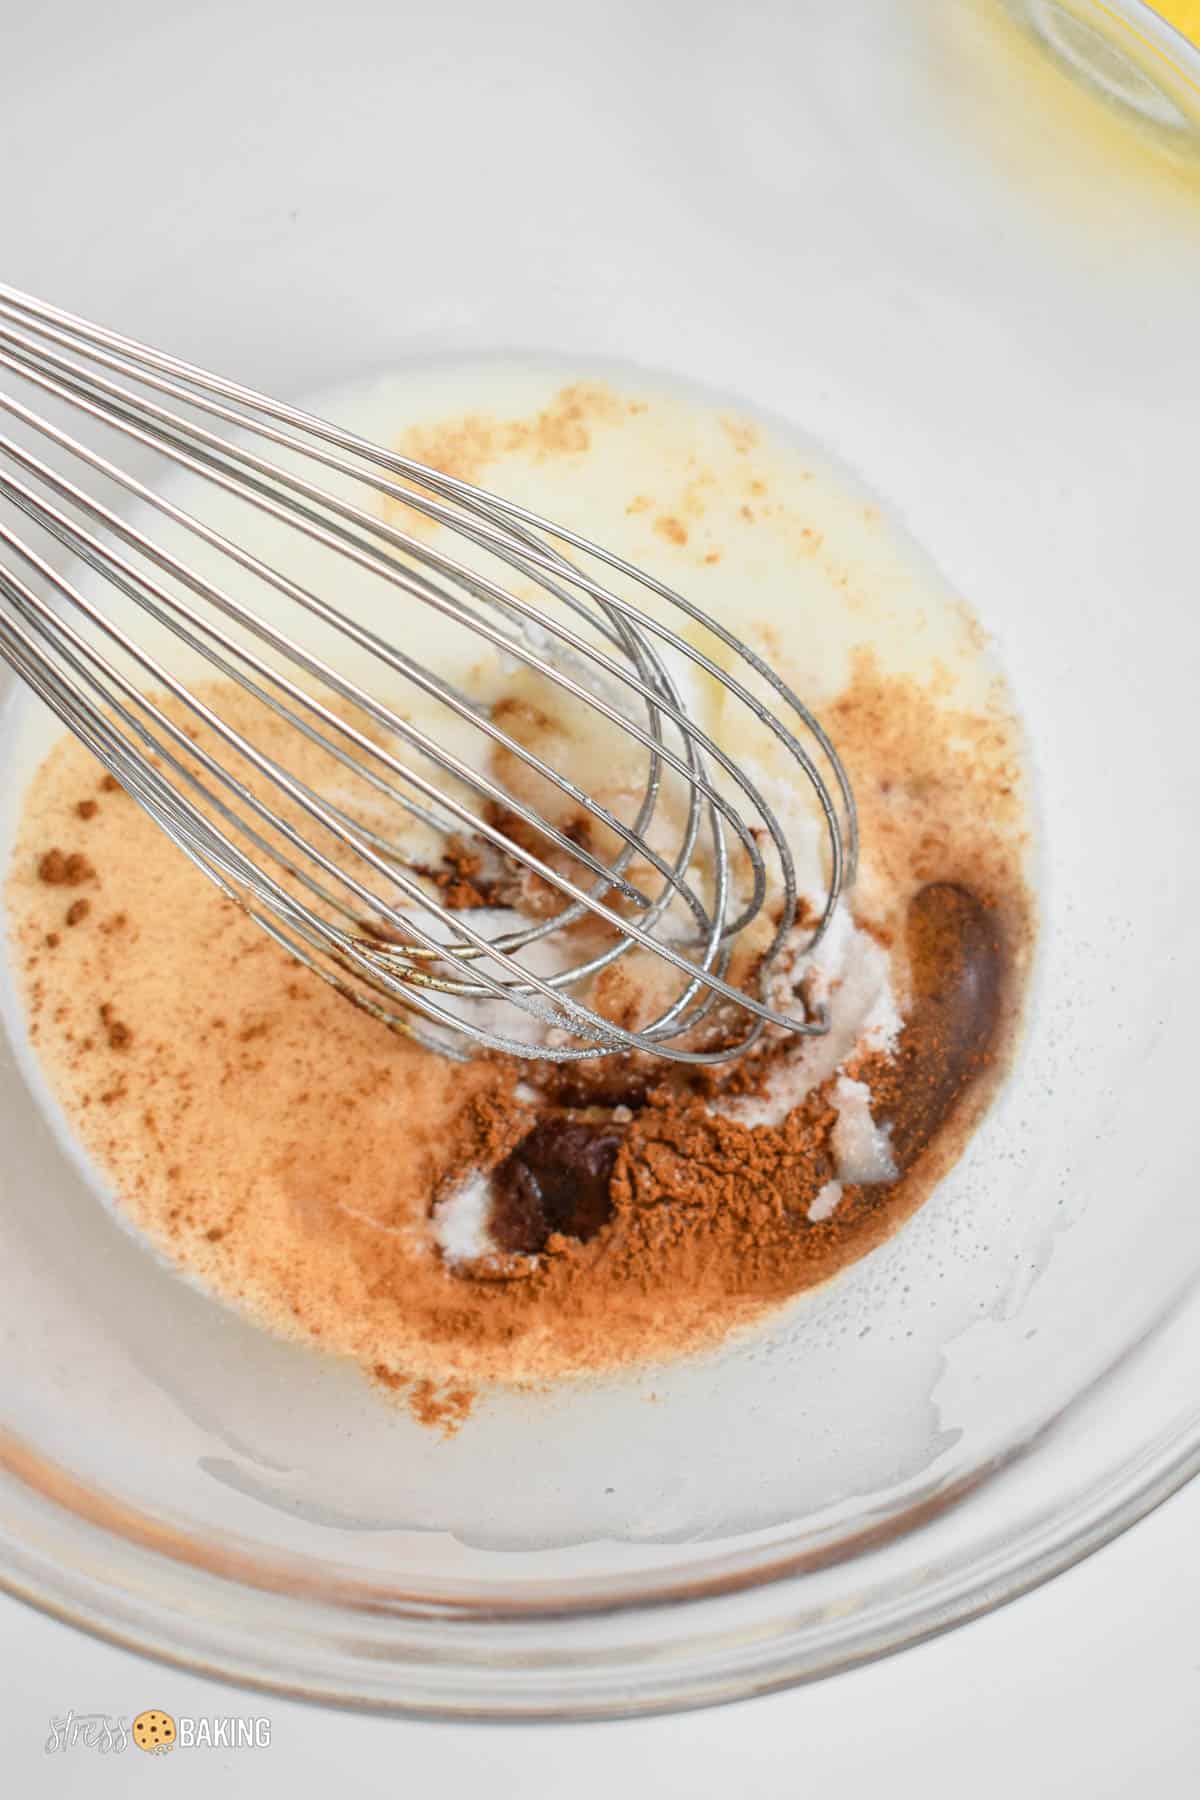
Mixing Ingredients Perfectly
Use fresh and simple ingredients for your batter. Mixing them well gives the batter a smooth texture.
Start with flour, sugar, eggs, and milk. Mix dry and wet ingredients separately, then combine them slowly.
- Sift the flour to avoid lumps
- Beat eggs before adding
- Mix sugar with dry ingredients
- Pour milk gradually into the mix
- Stir gently until smooth
Adjusting Batter Consistency
The batter should be thick but pourable. Too thick batter will not spread well in the waffle maker.
If the batter is too thin, the cones may turn out soft. Adjust by adding milk or flour little by little.
- Add a tablespoon of milk to thin the batter
- Add a tablespoon of flour to thicken it
- Check consistency by dripping batter on a plate
- The batter should flow slowly but not run
Using The Waffle Maker
Making a waffle cone with a waffle maker is simple and fun. The waffle maker helps cook the batter evenly.
Using the right steps ensures the cone turns out crispy and golden brown.
Preheating And Greasing Tips
Preheat the waffle maker before adding batter. This helps the cone cook evenly and not stick.
Lightly grease the plates with oil or non-stick spray. This stops the waffle from sticking to the surface.
- Turn on the waffle maker and wait until it signals ready.
- Use a brush or paper towel to spread a thin layer of oil.
- Avoid using too much oil to keep the cone crispy.
Cooking Time And Temperature
Cook the waffle cone batter at medium heat. This helps the cone become crisp without burning.
The cooking time depends on your waffle maker but usually takes one to two minutes.
- Set the waffle maker to medium heat or about 350°F (175°C).
- Pour a small amount of batter onto the center of the plates.
- Close the lid and cook for 60 to 90 seconds.
- Check the cone color; it should be golden brown.
- Remove the cone quickly and shape it while warm.
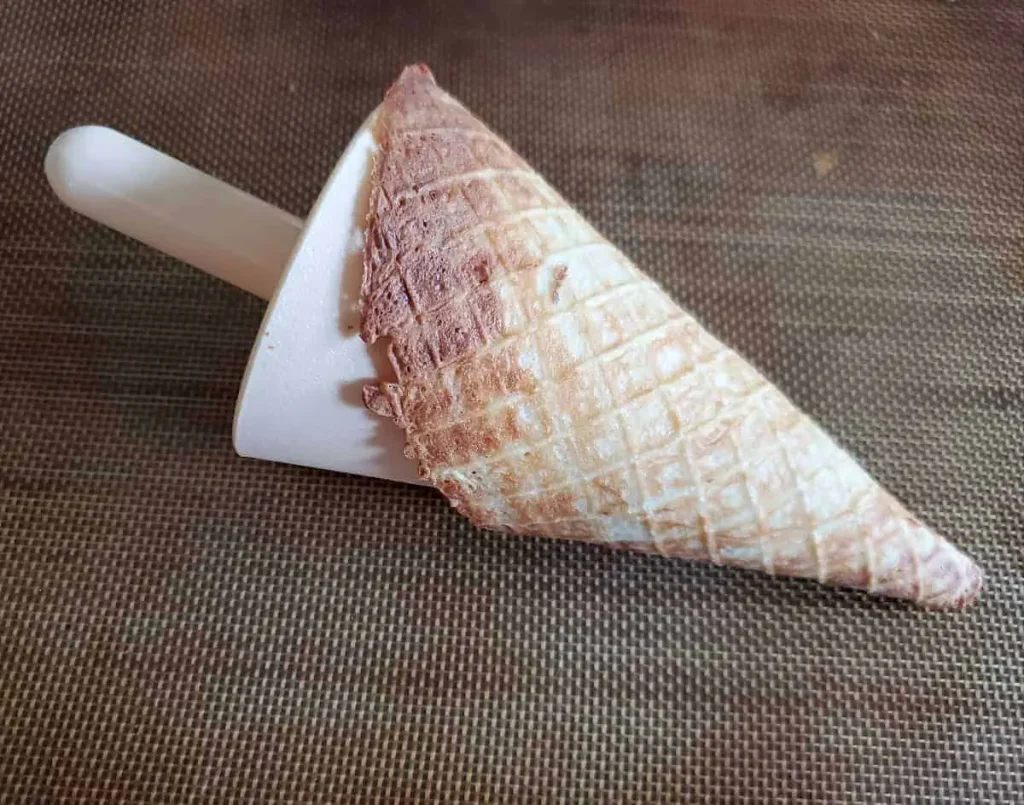
Credit: stressbaking.com
Shaping The Cone
Shaping a waffle cone is a key step after cooking the waffle. It needs to be done quickly before the waffle cools and hardens. A warm waffle is soft and easy to form into the classic cone shape.
Using the right tools makes shaping easier and faster. You can shape the cone by hand or with a cone mold. Both ways work well if done carefully and quickly.
Forming The Cone Quickly
After cooking, remove the waffle immediately. Place it on a flat surface or hold it in your hand. Then, gently roll the waffle from one edge to the other into a cone shape. The waffle must be warm for this to work.
- Take the waffle off the maker quickly.
- Lay it flat on a clean surface.
- Start rolling from one corner.
- Keep rolling until it forms a tight cone.
- Press gently to hold the shape.
Tools For Shaping
Using tools can help shape the cone evenly and safely. Here are some common tools that make cone shaping easier and neater.
| Tool | Purpose | Notes |
|---|---|---|
| Wooden Cone Mold | Provides a perfect cone shape | Wrap the waffle around it while warm |
| Silicone Cone Mold | Flexible and heat resistant | Easy to remove after shaping |
| Kitchen Tongs | Hold waffle safely while shaping | Helps avoid burning fingers |
| Oven Mitts | Protect hands from heat | Use when handling hot waffle |
Cooling And Storing
After making waffle cones in a waffle maker, cooling and storing them properly keeps them crisp and fresh.
Good cooling and storage help prevent sogginess and extend the cone’s shelf life.
Ensuring Crispiness
Cool waffle cones completely on a wire rack to stop steam from softening them.
- Remove cones from the waffle maker carefully to keep their shape.
- Place cones on a wire rack without stacking.
- Allow at least 30 minutes to cool and harden.
- Do not cover cones while cooling to avoid trapped moisture.
Best Storage Methods
Store waffle cones in airtight containers to keep them dry and crunchy.
| Storage Method | Details | Duration |
| Airtight Container | Use a sealed plastic or glass container at room temperature. | Up to 5 days |
| Ziplock Bag | Place cones in a ziplock bag with air pressed out. | 3 to 4 days |
| Freezing | Wrap cones in foil or plastic wrap, then freeze. | Up to 1 month |
Troubleshooting Common Issues
Making waffle cones in a waffle maker is fun but can have some issues. This guide helps fix common problems you might face.
Learn how to avoid soggy cones and fix batter problems for the best results every time.
Avoiding Soggy Cones
Soggy cones happen when moisture builds up inside the cone. This makes the cone soft and less crispy.
- Make sure cones cool completely before storing.
- Store cones in an airtight container to keep moisture out.
- Use cones soon after making them to keep crispness.
- Avoid filling cones with wet toppings too early.
- If cones get soggy, reheat them briefly in the oven to dry them.
Fixing Batter Problems
Thick or thin batter affects cone shape and texture. Fixing your batter helps make perfect cones.
| Problem | Cause | Solution |
| Batter too thick | Too much flour | Add small amounts of milk to thin it |
| Batter too thin | Too much liquid | Add a little flour to thicken |
| Cones stick to waffle maker | Waffle maker not greased | Lightly grease the plates before cooking |
| Cones break when shaping | Batter cooked too long or too short | Cook until golden brown, then shape quickly |
Creative Variations
Making waffle cones in a waffle maker is easy and fun. You can add flavors and decorations to make them unique. These creative variations let you enjoy your cones in new ways.
Try different ingredients and decoration ideas to match your taste and occasion. Here are some simple ways to customize your waffle cones.
Flavor Additions
Add flavor to your waffle batter or cones to make them special. Mix in these ingredients before cooking for tasty results.
- Vanilla or almond extract for a sweet aroma
- Cinnamon or nutmeg for warm spice notes
- Finely chopped nuts like almonds or pecans
- Mini chocolate chips for a chocolate burst
- Grated citrus zest such as lemon or orange
- A spoon of cocoa powder for chocolate flavor
Decorative Ideas
Decorate your waffle cones to add color and texture. Use simple toppings that stick well to the cone surface.
| Decoration | How to Apply | Effect |
| Chocolate Dip | Dip cone rim in melted chocolate | Shiny and rich taste |
| Sprinkles | Roll chocolate-dipped rim in sprinkles | Colorful and crunchy |
| Powdered Sugar | Dust over cooled cones | Light sweetness and pretty look |
| Crushed Nuts | Press onto chocolate layer | Crunchy texture and nutty flavor |
| Coconut Flakes | Sprinkle on wet chocolate dip | Tropical aroma and softness |
Frequently Asked Questions
What Ingredients Are Needed For Waffle Cones?
To make waffle cones, you need flour, sugar, eggs, butter, and vanilla extract. Mix these ingredients into a smooth batter. This combination gives the cones their sweet, crisp texture. You can adjust the sugar for sweetness. Make sure to use fresh ingredients for the best results.
How Do You Prevent Waffle Cones From Sticking?
To prevent sticking, preheat your waffle maker and lightly grease it with oil or non-stick spray. Ensure the batter is evenly spread. This helps create a uniform cone. Avoid overfilling to prevent overflow. Properly greasing and evenly spreading the batter are key steps.
Can You Make Gluten-free Waffle Cones?
Yes, you can make gluten-free waffle cones. Substitute regular flour with a gluten-free alternative. Ensure your chosen flour blend suits waffle recipes. Follow the same mixing and cooking process. Gluten-free cones offer a similar taste and texture. Experiment with different blends for the best result.
How Long Do Waffle Cones Take To Cook?
Waffle cones typically take about 1 to 2 minutes to cook. The exact time depends on your waffle maker’s heat setting. Cook until golden brown and crisp. Monitor closely to avoid burning. Once cooked, quickly shape them into cones before they cool.
Conclusion
Making a waffle cone with a waffle maker is simple and fun. Just follow the steps carefully. Fresh, warm cones taste great with any ice cream. You can try different flavors by adding spices or vanilla. Practice helps you get the perfect shape and crispiness.
Share your homemade cones with family and friends. Enjoy the sweet, crunchy treat you made yourself. Easy to make. Delicious to eat. Why not try today?