
Have you ever craved a crispy, golden panini but didn’t have a panini press? What if you could make one using something as simple as your waffle maker?
Yes, you read that right! Your waffle maker can become the secret tool to crafting delicious, perfectly toasted paninis right at home. In this post, you’ll discover easy steps to transform everyday ingredients into a mouthwatering sandwich that’s crispy on the outside and warm on the inside.
Ready to surprise your taste buds and impress your friends? Keep reading, and let’s get started!

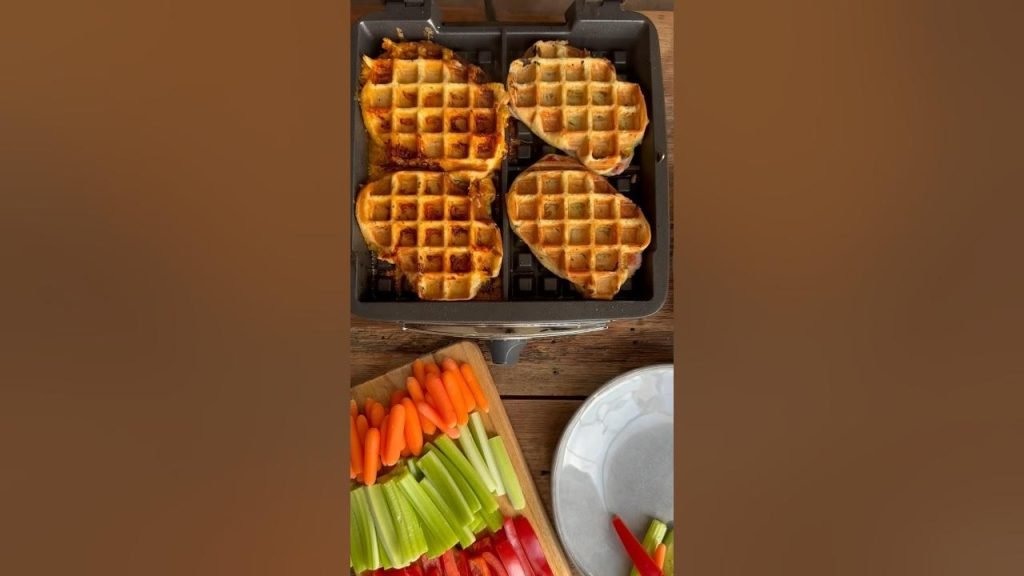
Credit: www.thefitlist.com.au
Choosing The Right Ingredients
Making a panini with a waffle maker is easy and fun. The key is picking the right ingredients.
Good ingredients give your panini great taste and texture. Start with fresh bread, tasty fillings, and cheese that melts well.
Selecting Bread For Paninis
Choose bread that is firm and can hold fillings. Bread with a good crust works best in a waffle maker.
Avoid very soft or thin bread. It may get soggy or break apart during cooking.
- Sourdough bread
- Ciabatta
- Baguette slices
- Focaccia
Best Fillings For Flavor
Fillings add flavor and texture to your panini. Use ingredients that cook quickly and taste good warm.
Mix vegetables, meats, and spreads for a tasty sandwich.
- Grilled chicken or turkey slices
- Roasted red peppers
- Spinach or arugula
- Sliced tomatoes
- Pesto or mustard
Cheese Options That Melt Well
Cheese makes a panini creamy and rich. Pick cheeses that melt smoothly without becoming oily.
Soft, mild cheeses work best in a waffle maker.
- Mozzarella
- Provolone
- Swiss cheese
- Monterey Jack
- Cheddar (mild)
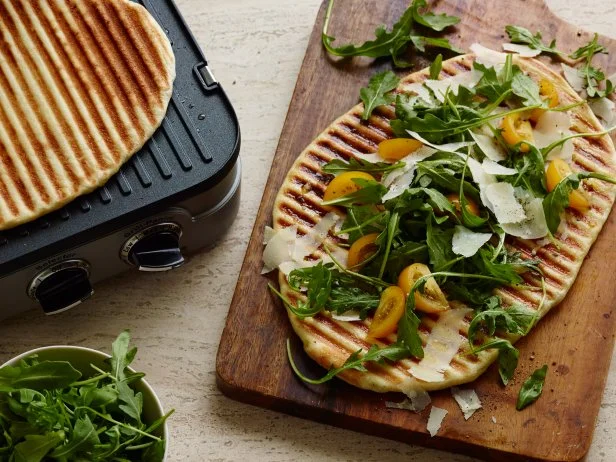
Credit: www.foodnetwork.com
Preparing Your Waffle Maker
Using a waffle maker to make a panini is easy and fun. Before you start, you must prepare your waffle maker properly. This helps your panini cook evenly and taste great.
Two main steps to prepare your waffle maker are cleaning and preheating, and adjusting the temperature. These steps make sure your sandwich cooks well without sticking.
Cleaning And Preheating Tips
Always clean your waffle maker before using it. Remove any crumbs or old food. This keeps your panini fresh and stops flavors from mixing.
- Unplug the waffle maker and let it cool if needed.
- Use a damp cloth or soft brush to clean the plates.
- Do not use harsh chemicals or abrasive tools.
- Dry the plates well before preheating.
- Close the waffle maker and turn it on to warm it up.
Adjusting Temperature Settings
| Temperature Level | Use For |
| Low | Soft paninis with light toasting |
| Medium | Standard paninis with golden crust |
| High | Extra crispy paninis, careful not to burn |
Select the right temperature based on how crispy you want your panini. Start with medium heat if you are unsure. Adjust after your first try for best results.
Assembling The Panini
Making a panini with a waffle maker needs careful assembly. Proper layering helps the sandwich cook evenly and taste great.
Follow simple tips to layer ingredients and avoid overstuffing for the best results.
Layering Ingredients Evenly
Spread ingredients evenly on the bread to ensure every bite has flavor. Place heavier items like meat or cheese in the center. Add vegetables next, then top with the second slice of bread.
- Start with one slice of bread
- Add sliced cheese for even melting
- Place deli meats in a flat layer
- Distribute vegetables like tomatoes or spinach evenly
- Top with the second slice of bread
Avoiding Overstuffing
Too many ingredients make the panini hard to close and cook. Overstuffing can cause uneven heating and messy spills.
| Common Mistakes | How to Fix |
| Too much cheese | Use thin slices or less cheese |
| Excess vegetables | Drain wet veggies and use fewer pieces |
| Thick bread slices | Choose thinner bread or press slices flat |
| Overlapping ingredients | Spread items evenly without piling |
Cooking The Panini
Using a waffle maker to cook a panini is a quick and easy way to get a crispy sandwich. The waffle maker presses the bread and heats the filling evenly.
It is important to watch the cooking time and check the panini for the right texture. This helps make a tasty and well-cooked sandwich.
Optimal Cooking Time
Cook the panini in the waffle maker for about 3 to 5 minutes. The exact time depends on the thickness of the bread and filling.
Check the panini after 3 minutes to avoid burning. If it needs more time, cook it in 1-minute increments.
- Thin bread and light filling: 3 minutes
- Thick bread or heavy filling: 4 to 5 minutes
- Use a medium heat setting if your waffle maker has one
Checking For Crispiness
Open the waffle maker carefully to check the panini’s crispiness. The bread should be golden brown and firm.
If the bread feels soft or pale, cook the panini a little longer. Crispiness means the sandwich is ready to eat.
- Look for golden brown color on the bread
- The sandwich should feel firm but not burnt
- Use a spatula to lift and check the bottom crust
Serving Suggestions
A panini made with a waffle maker offers a unique texture and flavor. Serving it well enhances the eating experience. Simple presentation ideas can make your meal look inviting.
Here are some tips on how to cut and plate your panini and what side dishes work best with it.
Cutting And Plating
Cut the panini into smaller pieces for easy handling. Use a sharp knife to avoid squishing the sandwich. Arrange the pieces neatly on a plate for a clean look.
- Cut panini diagonally for a classic look.
- Use a serrated knife for clean edges.
- Place a small garnish like a sprig of parsley or basil.
- Serve on a wooden board or a colorful plate.
Side Dishes To Complement
Choose side dishes that balance the warm, crispy panini. Fresh, light sides can add color and flavor contrast. Here are some popular options to try.
| Side Dish | Description | Why It Works |
| Mixed Green Salad | Fresh greens with light vinaigrette | Adds crispness and acidity |
| Tomato Soup | Warm, smooth tomato broth | Complements cheesy panini |
| Pickles | Tangy, crunchy pickled vegetables | Brightens rich flavors |
| Sweet Potato Fries | Crispy, slightly sweet fries | Offers a sweet and salty mix |
| Fruit Salad | Fresh seasonal fruits | Provides natural sweetness |
Troubleshooting Common Issues
Making paninis with a waffle maker can be quick and fun. Sometimes, problems like soggy bread or sticking happen. Fixing these issues helps you enjoy a perfect panini every time.
Below are tips to stop soggy paninis and prevent bread from sticking. Follow these easy steps to get better results.
Preventing Soggy Paninis
Soggy paninis often come from too much moisture or not enough heat. Try these tricks to keep your sandwich crisp and tasty.
- Use bread that is slightly toasted before pressing.
- Pat wet ingredients like tomatoes or pickles dry with a paper towel.
- Avoid adding too much sauce or wet fillings.
- Preheat the waffle maker well to get a strong, even heat.
- Press the sandwich for a little longer to remove extra moisture.
Dealing With Sticking Bread
Bread sticks to the waffle maker when the surface is not prepared or the bread is too soft. Use these simple tips to stop bread from sticking.
| Cause | How to Fix |
| Waffle maker not greased | Brush with oil or butter before use |
| Bread too fresh or soft | Use slightly toasted or day-old bread |
| Too much filling oozing out | Trim fillings or use less |
| Waffle maker temperature too low | Preheat fully before cooking |

Credit: www.homemademastery.com
Frequently Asked Questions
Can I Use Any Bread For A Panini In A Waffle Maker?
Yes, you can use various breads like ciabatta, sourdough, or even sandwich bread. Just ensure they fit your waffle maker’s size and press evenly for best results.
How Long Does It Take To Cook A Panini In A Waffle Maker?
Typically, it takes about 3 to 5 minutes to cook a panini in a waffle maker. Cooking time varies based on bread thickness and filling moisture.
What Fillings Work Best For Waffle Maker Paninis?
Cheese, deli meats, vegetables, and spreads work well. Avoid overly wet ingredients to prevent sogginess and ensure a crispy, warm sandwich.
Do I Need To Preheat The Waffle Maker For Paninis?
Yes, preheat your waffle maker to ensure even cooking and crispiness. This helps the bread toast properly and melts the fillings perfectly.
Conclusion
Making a panini with a waffle maker is easy. It saves time and effort. You need simple ingredients and a waffle maker. Place your favorite fillings between slices of bread. Press them in the waffle maker until golden. Enjoy a crispy, tasty panini without extra gadgets.
This method is perfect for quick meals. Experiment with different fillings for variety. Use cheese, veggies, or meats. The waffle maker adds a unique texture. Try it today for a delightful meal. Happy cooking!