

Craving that crispy, sweet crunch of a waffle cone but don’t have a waffle iron? You’re not alone—and the good news is, you can still make delicious waffle cones right in your own kitchen.
Imagine enjoying fresh, warm cones that perfectly hold your favorite ice cream, made with simple tools you already have. In this guide, you’ll discover easy, step-by-step methods to create waffle cones without any special gadgets. Ready to impress your family and friends with homemade treats?
Keep reading, because making waffle cones at home has never been this simple or satisfying.
Credit: honestandtruly.com
Ingredients For Waffle Cones
Making waffle cones without a waffle iron is easy with the right ingredients. You only need a few simple items to create tasty cones.
These ingredients combine to form a batter that cooks well on a pan or griddle. Let’s look at each ingredient you need.
All-purpose Flour
All-purpose flour is the base of waffle cone batter. It gives structure and texture to the cones.
Use sifted flour to avoid lumps and get a smooth batter. This helps the cones cook evenly.
Sugar
Sugar adds sweetness and helps the cones turn golden brown. It caramelizes during cooking for flavor.
Use granulated white sugar for best results. Brown sugar can add a different taste if you prefer.
Eggs
Eggs bind the ingredients together and add richness to the batter. They also help the cones hold their shape.
Use fresh eggs at room temperature for smooth mixing and better texture.
Butter
Butter adds flavor and makes the cones crispy. Melted butter mixes easily into the batter.
Use unsalted butter so you can control the salt level in your recipe.
Milk
Milk helps thin the batter to the right consistency. It also adds moisture for soft cones.
Use whole milk for richer taste or any milk you like for dietary needs.
Vanilla Extract
Vanilla extract adds a sweet, warm flavor to the cones. It enhances the taste of other ingredients.
Use pure vanilla extract for the best flavor. A teaspoon is enough for the batter.
Salt
A pinch of salt balances the sweetness and improves the flavor of the cones. It also strengthens the batter.
Use regular table salt or fine sea salt. Too much salt can change the taste.
Credit: stressbaking.com
Preparing The Batter
Making waffle cones without a waffle iron starts with the right batter. It should be smooth and easy to shape.
The batter must have the right balance of ingredients for crisp, golden cones.
Gather Basic Ingredients
You need simple ingredients that you probably have at home. Each plays a role in texture and flavor.
- All-purpose flour for structure
- Sugar for sweetness and crispness
- Eggs to bind the batter
- Milk for moisture
- Butter for richness and flavor
- Vanilla extract for taste
- A pinch of salt to balance flavors
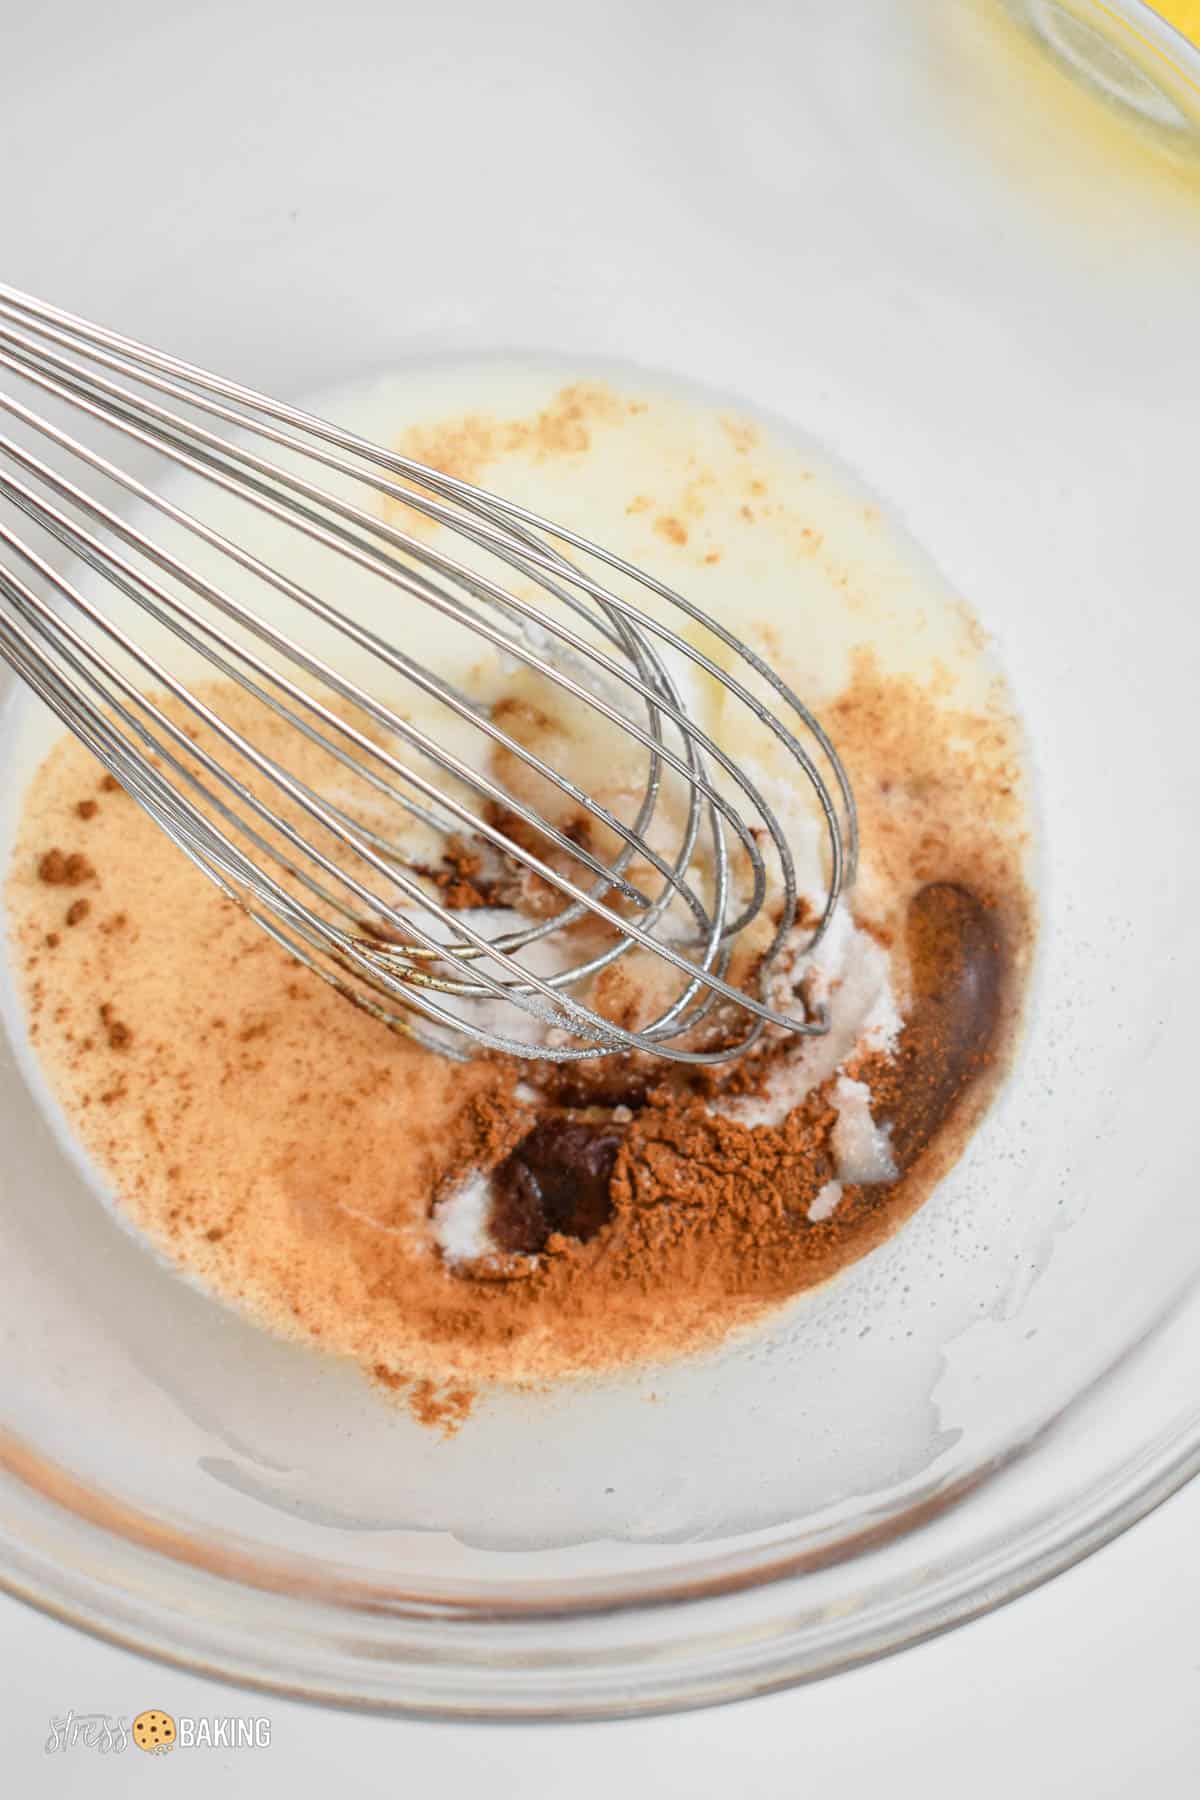
Mix Ingredients Properly
Mix wet and dry ingredients separately before combining. This avoids lumps and gives a smooth batter.
Start by whisking eggs, milk, melted butter, and vanilla. In another bowl, mix flour, sugar, and salt.
- Whisk wet ingredients until fully combined
- Sift dry ingredients to remove clumps
- Slowly add dry mix to wet mix
- Stir gently until smooth batter forms
Check Batter Consistency
The batter should be thin enough to spread easily but thick enough to hold shape.
If the batter is too thick, add a little milk. If too thin, add a small amount of flour.
- Test consistency by dropping a spoonful on a hot pan
- Batter should spread slightly, not run off quickly
- Adjust with small amounts of liquid or flour as needed
Alternative Cooking Methods
You can make waffle cones without a waffle iron using other cooking tools. These methods use common kitchen items to cook the batter.
Try these simple ways to cook your waffle cone batter and shape delicious cones at home.
Using A Stovetop Pan
Heat a non-stick pan on medium heat. Pour a small amount of batter and spread it thin like a pancake.
Cook until the edges turn golden brown. Flip carefully to cook the other side for a few seconds.
Remove the cooked batter and quickly roll it around a cone mold or a small cup. Let it cool to keep its shape.
Baking In The Oven
Preheat your oven to 350°F (175°C). Spread thin circles of batter on a parchment-lined baking sheet.
Bake for about 5-7 minutes or until the edges look brown. Watch closely to avoid burning.
Take them out and shape the warm wafers into cones using a mold. Let them cool to harden.
Microwave Technique
Place a small amount of batter on a microwave-safe plate in a thin circle. Microwave on high for 20-30 seconds.
Check if the batter is cooked and firm but still bendable. If not, microwave in 5-second intervals.
Quickly roll the warm batter around a cone form and let it cool to keep the shape.
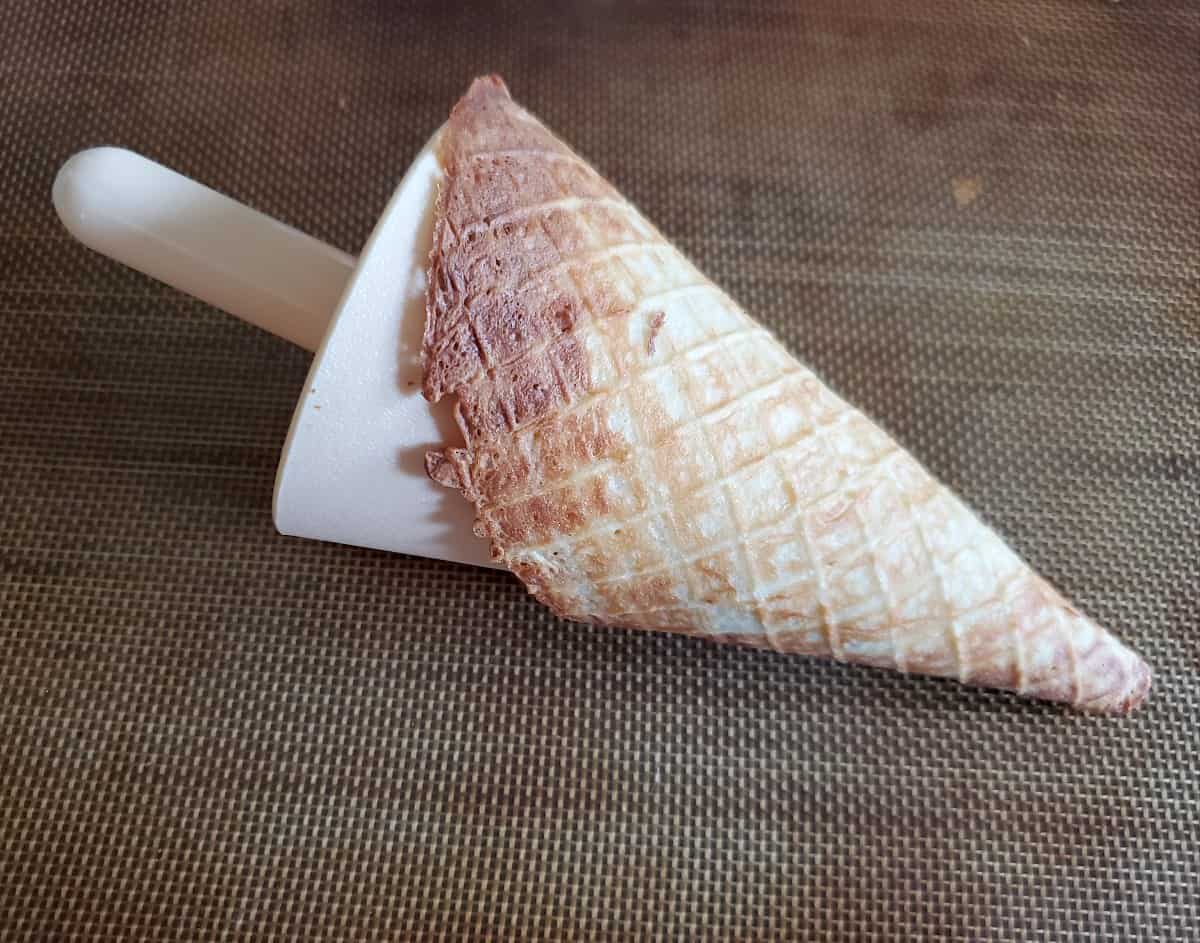
Shaping The Cones
Making waffle cones without a waffle iron is easy if you know how to shape them. The batter needs to be warm and flexible for shaping. This guide shows two ways to shape your cones.
Shaping the cones right is key to get a good crunch and hold the ice cream well. Let’s look at rolling the warm batter and using molds or homemade tools.
Rolling The Warm Batter
After cooking the batter on a hot pan or griddle, work quickly while it is still warm. The batter will be soft and easy to roll into a cone shape.
- Place the cooked waffle round on a clean surface.
- Use a spatula to lift one edge carefully.
- Roll the edge around a cone-shaped object like a wooden spoon handle.
- Press the edge to seal the cone shape.
- Hold the cone for 10-15 seconds to let it cool and keep its shape.
Using Molds Or Homemade Tools
You can use molds or items from your kitchen to shape cones evenly. These tools help hold the cone while the batter cools.
| Tool | Description | How to Use |
|---|---|---|
| Foil Cone Mold | Made from aluminum foil shaped into a cone. | Wrap foil tightly and place warm batter over it to cool. |
| Rolling Pin | Use the end or a small diameter rolling pin. | Roll batter around it and hold until firm. |
| Glass Bottle | A clean, narrow bottle works as a mold. | Wrap batter around and hold until cool. |
| Wooden Spoon Handle | Common kitchen tool with a round handle. | Roll batter and seal edge, hold until firm. |
Cooling And Storing
After making waffle cones without a waffle iron, cooling them properly is important. Cooling helps cones keep their shape and crispness.
Storing waffle cones well keeps them fresh longer. It also prevents them from becoming soft or soggy.
Cooling Waffle Cones
Place the hot cones on a cooling rack right after shaping. This lets air flow around the cones.
Let cones cool completely before storing. Warm cones can trap moisture and become soft.
- Use a wire rack for air circulation
- Do not stack cones while cooling
- Allow 10 to 15 minutes to cool fully
Storing Waffle Cones
Store cones in an airtight container to keep them crisp. Avoid plastic bags that let air in.
Keep the container in a cool, dry place. Avoid humid areas like near the stove or sink.
- Use a sealed container or jar
- Add a paper towel to absorb moisture
- Use cones within 2 to 3 days for best taste
Tips For Crisp And Perfect Cones
Making waffle cones without a waffle iron can be easy and fun. The key is to keep them crisp and shaped well.
This guide shares simple tips to help you get perfect cones every time using common kitchen tools.
Use The Right Batter Consistency
The batter should be smooth and thin. Thick batter makes cones hard to shape and less crispy.
Cook On A Hot, Flat Surface
Use a non-stick pan or griddle heated to medium-high. A hot surface cooks the batter quickly, keeping cones crisp.
Shape The Cones Quickly
After cooking, shape the waffle while it is still warm. Use a cone-shaped mold or roll it by hand. Cool cones hold their shape better.
Store Cones In An Airtight Container
Keep cones dry by storing them in a sealed container. Moisture softens the cones and ruins the crispness.
- Cool cones completely before storing
- Use a container with a tight lid
- Avoid refrigeration to keep cones dry
Avoid Overcooking Or Undercooking
Watch the cooking time carefully. Too long makes cones bitter and too short leaves them soft. Aim for light golden brown.
| Cooking Time | Texture |
| 30 seconds | Soft and flexible |
| 45 seconds | Golden and crisp |
| 60 seconds | Dark and bitter |
Creative Variations
Making waffle cones without a waffle iron is easy and fun. You can add flavors and decorations to make them special.
Try different ingredients and toppings to create unique cones. This way, your cones will taste great and look beautiful.
Flavor Additions
Add flavors to the batter before cooking. This changes the taste and makes the cones interesting.
- Mix cocoa powder for chocolate cones
- Stir in ground cinnamon for a warm spice
- Add vanilla extract for a sweet aroma
- Use lemon zest for a fresh, citrus flavor
- Try crushed nuts for a crunchy texture
Toppings And Decorations
Decorate your cones after cooking to add color and taste. Use toppings that stick well to the cone surface.
| Topping | Description |
| Chocolate drizzle | Use melted chocolate to coat the cone edges |
| Sprinkles | Add colorful sugar bits for fun |
| Chopped nuts | Use almonds or peanuts for crunch |
| Powdered sugar | Light dusting for a sweet finish |
| Shredded coconut | Gives a tropical touch and texture |

Credit: honestandtruly.com
Frequently Asked Questions
How Can I Make Waffle Cones Without A Waffle Iron?
You can use a stovetop griddle or a non-stick pan to cook thin batter layers. Shape them quickly while warm into cones. This method replicates waffle cone texture without special equipment.
What Ingredients Are Needed For Homemade Waffle Cones?
Basic ingredients include flour, sugar, eggs, butter, vanilla extract, and milk. These create a sweet, crisp batter perfect for making waffle cones at home.
How Do I Shape Waffle Cones Without A Mold?
Use a cone-shaped object like a rolling pin or bottle. Wrap the warm, flexible waffle around it and hold until it sets. This forms a sturdy cone shape.
Can I Store Homemade Waffle Cones For Later Use?
Yes, store cones in an airtight container at room temperature. Keep them dry to maintain crispness. Proper storage helps cones stay fresh for several days.
Conclusion
Making waffle cones without a waffle iron is easier than you think. You only need a few simple tools and ingredients. The results can be just as tasty and fun to eat. Try different shapes and flavors to enjoy your cones even more.
This method lets you enjoy fresh, warm waffle cones anytime. Give it a shot and enjoy your homemade treat!