
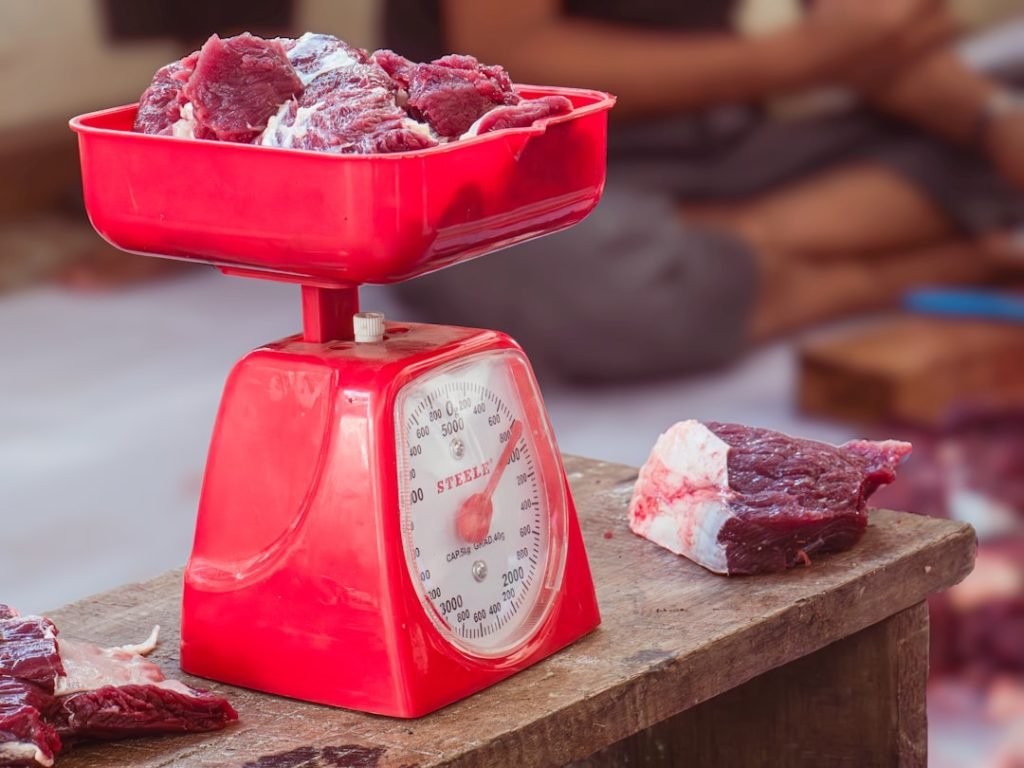
Are you ready to turn fresh cuts of meat into delicious homemade ground meat? Knowing how to assemble your meat grinder correctly is the first step to making the process smooth and effortless.
Whether you’ve just bought a new grinder or need a quick refresher, this guide will walk you through each part and show you how to put it all together easily. By the end, you’ll feel confident and ready to start grinding like a pro.
Keep reading to unlock the simple steps that make all the difference!

Credit: www.vevor.ca
Tools And Parts Needed
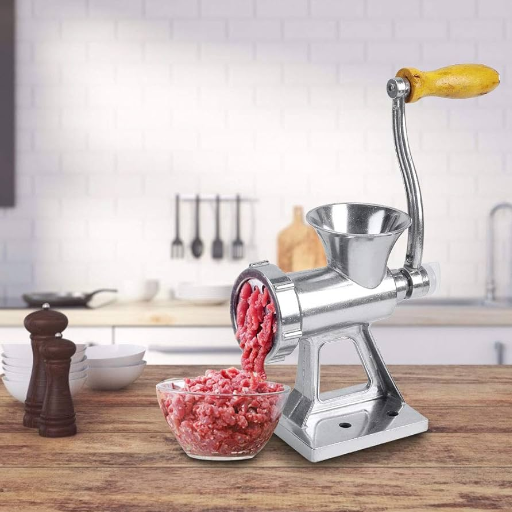
The essential componentsof a meat grinder include the main body, feeding tube, auger, blade, and grinding plates. The augerpushes the meat toward the blade for cutting. The bladeslices the meat, and the grinding platesdetermine the texture of the ground meat. The feeding tubeallows safe and easy meat input.
Recommended tools for assembly are simple. You will need a screwdriverto tighten screws. A wrenchhelps secure bolts. A clean clothis good for wiping parts before use. Having a bowlnearby helps catch any small pieces during assembly.

Credit: www.youtube.com
Preparing The Workspace
Start by cleaning the workspace with warm, soapy water. Use a clean cloth to wipe all surfaces.
Sanitize the area to keep germs away. This helps keep your meat grinder safe to use.
Next, gather all parts of the meat grinder. Check for missing or damaged pieces before assembly.
Arrange the parts on a clean towel or tray. This keeps them organized and easy to find.
- Body of the grinder
- Grinding plates
- Auger (screw)
- Blade
- Feeding tube and tray
- Handle or motor attachment
- Screws or locking rings
Organizing parts this way saves time and avoids confusion during assembly.
Assembling The Grinder Body
Attach the screw firmly into the grinder body. It holds the parts in place and ensures smooth operation. The screw should fit snugly without forcing it. Tighten by hand first, then use a tool if needed. Avoid over-tightening to prevent damage.
Next, secure the blade onto the screw. The blade must face outward to cut meat properly. Make sure it sits flat against the grinder body. A loose blade can cause poor grinding and safety issues. Tighten the blade carefully but firmly to keep it stable.
Installing The Grinding Plate
Choosing the right grinding plate is key for good results. Plates come with different hole sizes. Small holes create fine meat. Large holes make coarse meat. Select the plate based on the texture you want.
Proper placement ensures smooth grinding. Place the plate so it fits flush against the grinder body. Align the holes evenly with the cutting blade. Secure the plate firmly with the retaining ring or screw. Loose plates cause uneven grinding or damage.
Fixing The End Cap
Secure the end cap tightly to hold the grinder parts in place. Ensure it fits snugly to prevent any gaps or looseness. Proper fixing keeps the meat grinder stable during use.
Aligning The Cap
Place the end cap carefully on the grinder’s body. Make sure the grooves line up perfectly. The cap should sit flat and not wobble. Check if the screw holes match the body holes. This step is key for a tight fit.
Tightening Mechanism
Use your hand or a wrench to tighten the end cap. Turn clockwise until it feels snug. Avoid over-tightening; it can damage the threads. The cap must hold the parts firmly in place. A secure end cap keeps the grinder safe and working well.
Attaching The Hopper And Handle
Place the hopperonto the meat grinder body carefully. Align it with the slots or grooves provided. Make sure it fits snugly and does not wobble. This part holds the meat before grinding.
To secure the hopper, press it down firmly. Some models have a locking mechanism or screws to hold it tight. Ensure it is steady before moving to the next step.
Attach the handleby sliding it onto the grinder’s shaft. It should fit without much force but not be loose. Turn the handle gently to check for smooth movement.
Secure the handle using the screw or knob provided. Tighten it just enough to keep the handle in place without restricting rotation. This keeps the handle safe while grinding meat.
Testing The Assembly
Check all parts for tightness before using the grinder. Loose parts can cause noise or damage. Make sure screws and bolts are firmly in place. The grinding plate and blade should fit snugly without wobbling.
Run a small test grind using a bit of meat. This helps confirm the assembly is correct. Listen for strange sounds or grinding noises. The meat should come out smoothly without clogs or jams.
- Ensure the motor runs without unusual vibrations
- Check that the handle or switch moves freely
- Look for meat coming out evenly through the plate
- Stop immediately if you hear cracking or see smoke
Maintenance Tips
Cleaning the meat grinder right after use keeps it safe and working well. Remove all parts and wash them with warm, soapy water. Use a brush to clean small holes and blades carefully. Dry each piece completely to stop rust. Avoid putting parts in the dishwasher unless the manual says it is safe.
Storing the grinder in a dry place stops moisture and rust. Keep all parts together in a box or bag to avoid losing pieces. Lightly oil metal parts before storing to protect them. Cover the grinder with a cloth to keep dust away. Check the grinder regularly for any damage or wear.
Credit: wholesale-appliances.com
Frequently Asked Questions
How Do I Start Assembling A Meat Grinder?
Begin by identifying all parts and cleaning them. Attach the main body to the base firmly. Insert the auger, blade, and grinding plate in order. Secure with the retaining ring. Ensure all parts fit tightly to avoid leaks or malfunctions.
What Tools Are Needed To Assemble A Meat Grinder?
Most meat grinders require no extra tools for assembly. However, a screwdriver may help tighten screws. Some models include a wrench for securing parts. Always check your manual for specific tool recommendations to ensure proper assembly.
How Can I Ensure Safe Assembly Of The Meat Grinder?
Clean all parts thoroughly before assembling to avoid contamination. Assemble on a stable surface to prevent slips. Keep fingers away from blades during assembly. Follow the manufacturer’s instructions carefully for safe and effective assembly.
How To Maintain The Meat Grinder After Assembly?
After each use, disassemble and clean all parts with warm soapy water. Dry completely before reassembling to prevent rust. Lubricate metal parts lightly with food-grade oil. Store in a dry place to prolong the grinder’s life.
Conclusion
Assembling a meat grinder is simple with the right steps. Take your time and follow each part carefully. Clean all pieces before and after use. Tighten screws just enough to hold parts firmly. Practice a few times to gain confidence.
Soon, grinding meat will feel easy and quick. Enjoy fresh, homemade ground meat anytime you want. Keep your grinder clean to make it last long. This guide helps you use your meat grinder safely and well.