
Are you tired of struggling with clunky, expensive weed grinders that just don’t get the job done? What if you could make your own grinder at home, tailored exactly to your needs?
Making your own weed grinder is easier than you think, and it can save you money while giving you full control over how your herbs are ground. In this guide, you’ll learn simple steps to create a reliable grinder using everyday items.
By the end, you’ll have a handy tool that fits perfectly in your routine. Ready to discover how? Keep reading and take your experience to the next level.
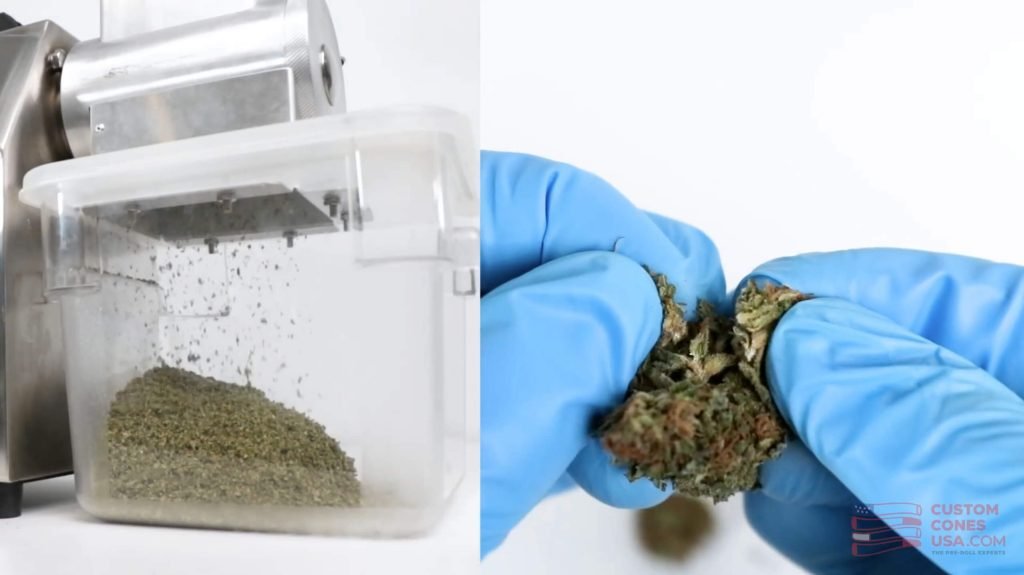
Credit: blimburnseeds.com
Materials Needed
Basic tools like a small saw, drill, and sandpaper help shape the grinder. Also, gather materials such as wood or metal for the body and small magnets or screws for assembly.
Choosing The Right Materials
Strong and durable materials work best for a weed grinder. Metal, like aluminum, is sturdy and long-lasting. Plastic can be lighter but may break easily. Wood offers a natural feel but may wear out fast. The material should be safe to use and easy to clean. Choose something that can hold up to regular use.
Tools Required
| Tool | Purpose |
|---|---|
| Drill | Make holes for grinding teeth |
| Screwdriver | Assemble parts |
| Sandpaper | Smooth rough edges |
| Measuring tape | Measure parts accurately |
| Glue or screws | Secure pieces together |

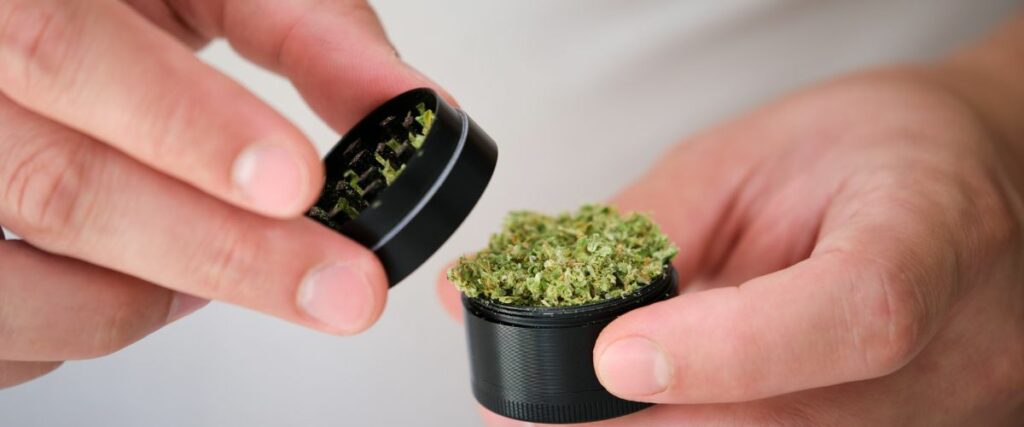
Credit: www.amazon.com
Designing Your Grinder
Choose the sizeof your grinder based on how much you want to grind at once. Small grinders are easy to carry but hold less. Larger grinders can handle more but are bulkier. The shapeaffects how comfortable it is to use. Round shapes are common and fit well in your hand. Square or hex shapes offer a different grip and style.
Teeth layout is key for good grinding. Teeth should be sharp and evenly spaced. This helps grind the weed finely and quickly. You can arrange teeth in rows or in a circle. Make sure teeth do not overlap or leave big gaps. Proper spacing lets the weed fall through easily.
Cutting And Shaping
Start by using a pencil to mark the shapeand size on your material. Make sure the lines are clear and easy to see. This helps in cutting the pieces accurately.
Use a sharp saw or cutting toolto cut along the marked lines. Take your time to avoid mistakes. Cutting carefully will create pieces that fit well together.
After cutting, use sandpaper to smooth the edgesand surfaces. Sand until there are no rough spots or sharp edges. This makes the grinder safe and comfortable to use.
Assembling The Grinder
Align the grinder parts carefully so they fit well together. The holes in the top and bottom should match perfectly. This helps the grinder work smoothly without jamming. Take your time to check the alignment before moving on.
The teeth are very important for grinding. Place each tooth firmly into its spot. Make sure they are secure and straight. Loose teeth can break or stop the grinder from working well. Use a small tool if needed to push them in tightly.
Attach the axle or magnet in the center. The axle allows the top and bottom to spin around each other. The magnet helps keep the grinder closed during use. Fix the axle or magnet tightly but avoid forcing it. It should spin easily without wobbling.
Testing And Adjusting
Test the grinder by placing some herb inside. Turn the grinder a few times to see how well it cuts. Check if the pieces are small and even. If the grinding is slow or uneven, this means adjustments are needed.
Look for parts that stick or block the blades. Tighten or loosen screws to improve movement. Sand rough edges to make the grinder turn smoothly. Make sure the teeth align well for better cutting. Repeat testing after each change to get the best result.
Maintaining Your Grinder
Cleaning your weed grinder regularly keeps it working smoothly and prevents buildup. Use a brush or warm water to remove residue and avoid rust. Proper care helps your grinder last longer and grind better every time.
Cleaning Tips
Keep your grinder clean for smooth use. Use a small brush to remove leftover bits. Soak metal parts in warm water and mild soap. Avoid soaking plastic parts too long. Dry parts completely before putting them back together. Clean regularly to stop buildup and keep taste fresh.
Storage Recommendations
Store your grinder in a cool, dry place. Keep it away from direct sunlight to avoid damage. Use a small container or pouch to protect it from dust. Avoid storing it with heavy items to prevent breaking. Proper storage helps your grinder last longer and work better.
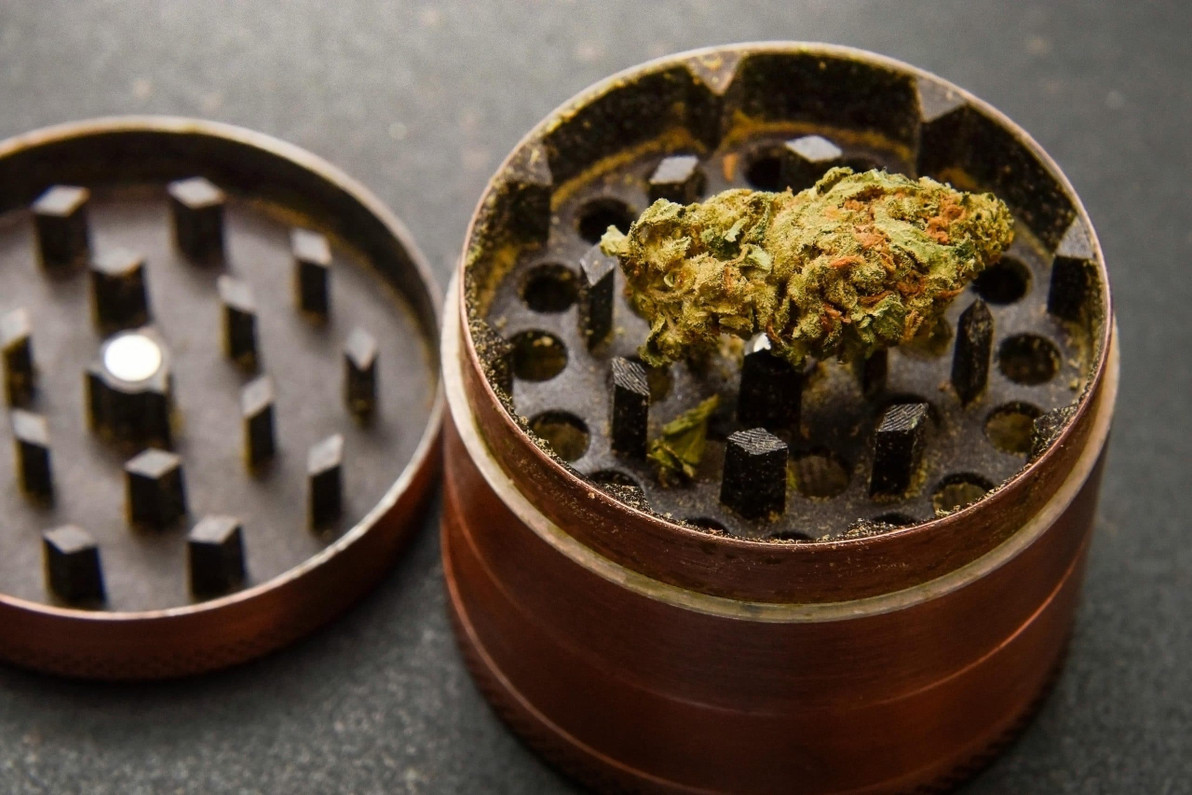
Credit: munchmakers.com
Frequently Asked Questions
How Do I Make A Basic Weed Grinder At Home?
To make a basic weed grinder, use two small round containers. Drill holes in the lids and bottoms for grinding. Place sharp teeth inside and secure the containers together. Twist to grind your herb efficiently.
What Materials Are Best For Diy Weed Grinders?
Aluminum and plastic are popular materials for DIY weed grinders. Aluminum is durable and easy to clean. Plastic is lightweight and affordable. Choose materials that are safe, non-toxic, and easy to work with.
How Can I Improve Grinding Efficiency In Homemade Grinders?
Add sharp, evenly spaced teeth inside the grinder. Use magnets to hold the parts together firmly. Ensure holes are the right size to let ground weed fall through easily. These tips enhance grinding speed and consistency.
Is It Safe To Use Homemade Weed Grinders?
Yes, homemade grinders are safe if made with non-toxic materials. Avoid sharp edges and toxic paints. Clean the grinder regularly to maintain hygiene. Always use food-grade or safe materials for construction.
Conclusion
Making your own weed grinder can be simple and rewarding. You save money and get exactly what you want. Just follow the steps carefully and use safe materials. A homemade grinder can work well for your needs. Take your time and enjoy the process.
Soon, you will have a tool that helps you prepare your herbs easily. Keep practicing to improve your skills. This project shows how creativity and patience can bring good results. Give it a try and see how it feels.