

Imagine biting into a warm, crispy waffle cone that you made yourself. The sweet aroma fills your kitchen, and the satisfying crunch makes every scoop of ice cream taste even better.
You don’t have to buy these delicious cones from the store anymore—you can create them at home with just a few simple ingredients. You’ll discover how to make waffle cones that are fresh, tasty, and perfect for your favorite treats.
Ready to impress your family and friends with your homemade skill? Let’s get started!
Ingredients For Waffle Cones
Waffle cones need just a few simple ingredients. Using the right items makes your cones crisp and tasty.
Gather fresh and quality ingredients before you start. This helps you make perfect waffle cones every time.
Basic Ingredients
The basic ingredients form the batter for waffle cones. Each has a special role in texture and flavor.
- All-purpose flour
- Granulated sugar
- Eggs
- Unsalted butter
- Milk
- Vanilla extract
- Salt
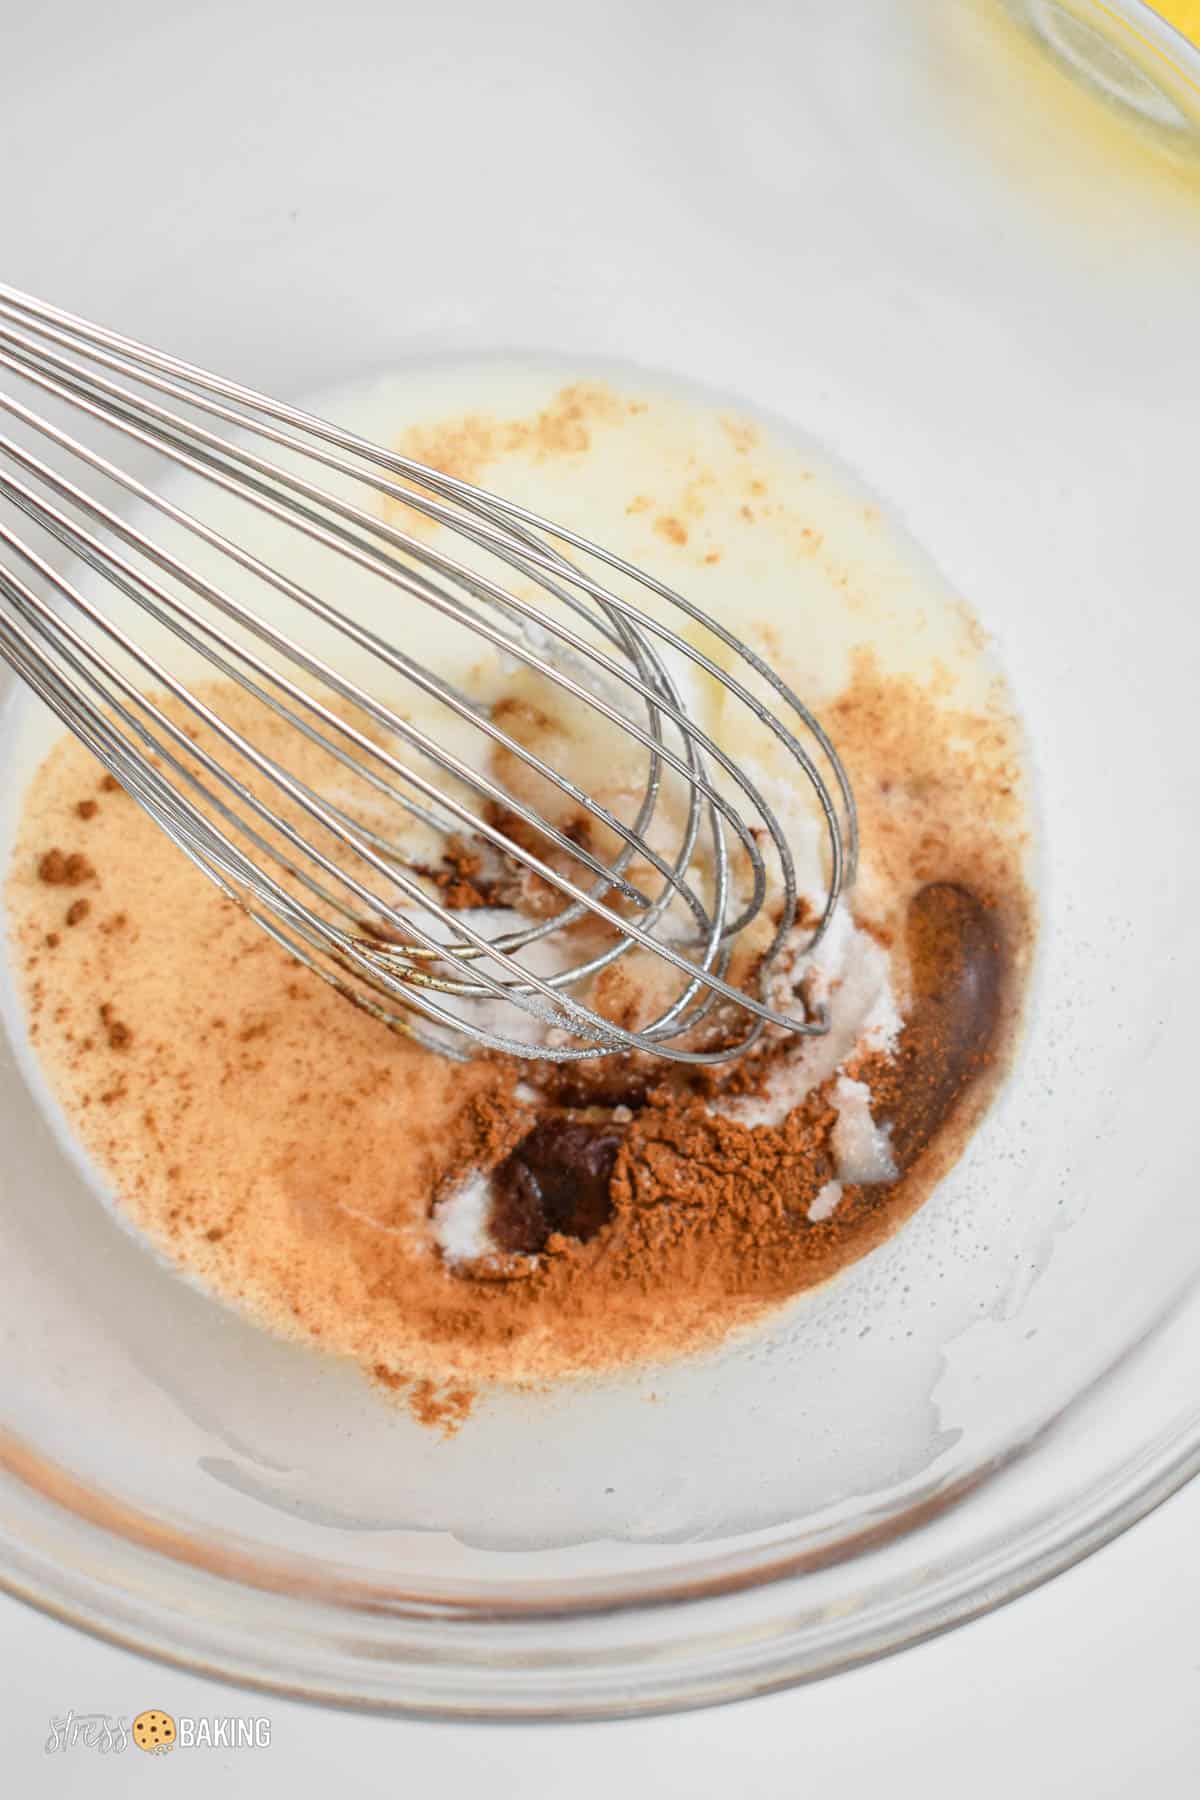
Optional Flavor Enhancers
You can add extra ingredients to change the flavor of your waffle cones. These are not necessary but add variety.
| Ingredient | Effect |
| Cinnamon | Adds warm spice flavor |
| Cocoa powder | Gives chocolate taste |
| Lemon zest | Provides fresh citrus aroma |
| Almond extract | Offers nutty flavor |
Tools And Equipment
You also need some kitchen tools to prepare and shape the waffle cones. These help create the right texture and form.
- Waffle cone maker or a waffle iron
- Bowl for mixing batter
- Whisk or mixer
- Spoon or ladle for pouring batter
- Cone roller or mold for shaping cones
- Cooling rack

Credit: practicallyhomemade.com
Essential Tools And Equipment
Making waffle cones at home needs some special tools. Using the right equipment helps you get the perfect shape and crispiness.
This guide shows the main tools you need for waffle cones. These items make the process easier and the cones tastier.
Waffle Cone Maker Or Iron
A waffle cone maker is a small appliance that cooks the batter into thin, round waffles. It is important for shaping the cone while the waffle is still warm.
Cone Roller Or Mold
The cone roller helps you shape the hot waffle into a cone. You can use a wooden or metal mold. This tool keeps the cone tight and even.
Mixing Bowls And Whisk
Mixing bowls hold your batter while you prepare it. A whisk helps blend ingredients smoothly without lumps.
- Choose a large bowl for easy mixing
- Use a metal or silicone whisk for better control
- Glass bowls are good for seeing batter consistency
Measuring Cups And Spoons
Accurate measuring tools ensure your recipe turns out right. Use dry and liquid measuring cups to get exact amounts.
Cooling Rack
A cooling rack lets your cones cool without getting soggy. It lifts the cones so air can circulate around them.
| Tool | Purpose |
| Waffle Cone Maker | Cook batter into thin waffles |
| Cone Roller | Shape warm waffles into cones |
| Mixing Bowls | Mix and hold batter |
| Whisk | Blend batter smoothly |
| Measuring Cups & Spoons | Measure ingredients accurately |
| Cooling Rack | Keep cones crisp while cooling |
Preparing The Waffle Batter
Making waffle cones starts with a smooth, tasty batter. The right batter helps cones bake crisp and hold their shape well.
Follow the steps carefully to mix the batter. Use fresh ingredients and proper measurements for the best results.
Gather All Ingredients
Collect the ingredients before you start. This keeps the process quick and easy.
- All-purpose flour
- Granulated sugar
- Eggs
- Milk
- Butter, melted
- Vanilla extract
- Salt
Mix Dry Ingredients
Start by combining the dry items. This helps the batter mix evenly.
Use a whisk to blend:
- Flour
- Sugar
- Salt
Combine Wet Ingredients
In a separate bowl, beat the eggs. Add milk, melted butter, and vanilla extract. Mix until smooth.
Blend Wet And Dry Mixtures
Pour the wet mix into the dry mix slowly. Stir gently to keep the batter light.
| Ingredient | Amount | Note |
| All-purpose flour | 1 cup | Sifted for smooth batter |
| Granulated sugar | 1/4 cup | Adjust to taste |
| Eggs | 2 large | Beaten |
| Milk | 1/2 cup | Whole milk works best |
| Butter | 1/4 cup | Melted and cooled |
| Vanilla extract | 1 teaspoon | Optional for flavor |
| Salt | Pinch | Enhances flavor |

Credit: honestandtruly.com
Cooking Waffles Perfectly
Waffle cones are a delicious treat that you can make at home. Cooking waffles perfectly is key to making crisp, golden cones.
This guide helps you cook waffles evenly and shape them into cones with ease. Follow simple tips for best results.
Prepare Your Waffle Batter
Start with a smooth batter for waffles that cook evenly. Avoid lumps and mix ingredients well for a consistent texture.
Heat Your Waffle Iron Properly
Preheat the waffle iron to the right temperature. Too hot or too cold affects the waffle’s texture and color.
- Turn on the waffle iron and wait until the indicator shows it is ready.
- Lightly grease the plates to prevent sticking.
- Use medium heat for golden brown waffles.
Cook Waffles Evenly
Pour the batter evenly to fill the waffle iron without overflow. Close the lid gently to keep the shape.
Cook time varies by waffle iron. Check waffles after 2-3 minutes to see if they are golden and crisp.
Shape Waffle Cones While Warm
Remove waffles quickly and shape them before they cool. Use a cone mold or roll them with your hands.
| Waffle Temperature | Shape Time |
| Hot and fresh | Within 10 seconds |
| Warm but cooling | 15-20 seconds |
| Cold | Not shapeable |
Tips For Crispy Waffle Cones
- Use sugar in batter for caramelized edges.
- Cook waffles until golden brown, not pale.
- Cool cones on a rack to keep crispness.
- Store in an airtight container to avoid moisture.
Shaping The Waffle Cones
Shaping waffle cones is a fun part of making them. You turn flat waffles into crisp cones that hold ice cream.
The key is to work quickly while the waffle is warm. This helps you shape it without breaking.
Preparing Your Tools
Use a cone roller or a simple kitchen tool to shape the waffle. A clean kitchen towel helps to handle hot waffles safely.
- Have a cone roller or a thick cardboard cone ready.
- Keep a towel nearby to protect your hands.
- Work on a flat surface to roll the cones smoothly.
Rolling The Waffle Into A Cone
Take the warm waffle quickly from the iron. Place one edge at the narrow end of the cone roller.
Roll the waffle tightly around the cone roller. Press gently to form a smooth cone shape.
Sealing The Cone Edge
Seal the cone edge to keep its shape. Use a small amount of melted butter or sugar syrup on the edge.
| Sealing Method | Tips |
|---|---|
| Melted Butter | Brush a thin layer on the edge before rolling |
| Sugar Syrup | Dip the edge quickly to stick it well |
| Extra Batter | Use a small batter drop to glue the edge |
Cooling And Storing The Cones
Let the shaped cones cool completely on a rack. This makes them crisp and ready to fill.
Store cones in an airtight container to keep them fresh for days.
Credit: stressbaking.com
Tips For Crispy Cones
Making waffle cones at home is fun and tasty. Crispy cones make your ice cream even better.
Here are some simple tips to help you get crispy waffle cones every time.
Use The Right Batter Consistency
Thin batter spreads evenly and cooks better. Thick batter can make soft cones.
Mix your ingredients until smooth. Avoid lumps for the best texture.
Cook At Proper Temperature
Heat your waffle iron or pan well before cooking. Too low heat makes soft cones.
High heat cooks the batter quickly and crisps the cone nicely.
Roll The Cone Quickly
Roll your cone right after cooking while it is hot. This helps shape it easily.
Wait too long and the cone will harden, making it hard to roll.
Let Cones Cool On A Wire Rack
Place the cones on a wire rack to cool. This stops steam from making them soft.
Avoid stacking cones while hot to keep them crispy on all sides.
Store Cones Properly
Keep cones in an airtight container once cooled. This prevents moisture from softening them.
Store in a dry, cool place for the best crunch.
Storing Waffle Cones
Waffle cones taste best when fresh and crisp. Proper storage keeps them crunchy for longer.
Storing waffle cones correctly prevents them from becoming soft or stale.
Cool Completely Before Storing
Make sure waffle cones cool down fully before storing. Warm cones create steam, making them soggy.
Place cones on a wire rack to cool evenly. Avoid stacking them while warm.
Use An Airtight Container
Store waffle cones in an airtight container. This stops air and moisture from softening them.
Plastic or glass containers with tight lids work well to keep cones fresh.
Keep In A Cool, Dry Place
Keep the container in a cool, dry spot away from sunlight. Heat and humidity cause cones to lose crispness.
- Avoid storing near the stove or dishwasher
- Choose a pantry or cupboard for storage
- Do not refrigerate waffle cones as moisture can form
Use Wax Or Parchment Paper
Place sheets of wax or parchment paper between stacked cones. This prevents them from sticking together.
The paper layers also help maintain the cones’ shape during storage.
Check Cones Before Use
Before serving, check cones for softness or stale smell. Discard any that are no longer crisp.
Fresh waffle cones make ice cream taste better and add a nice crunch.
Serving Suggestions
Waffle cones add a crispy, sweet touch to many desserts. You can serve them in different ways to make treats more fun.
Here are some ideas to enjoy your homemade waffle cones with style and flavor.
Classic Ice Cream Cones
Fill your waffle cones with your favorite ice cream flavors. The crunchy cone and creamy ice cream make a perfect pair.
Try adding sprinkles or chocolate syrup on top for extra fun and taste.
Fruit And Yogurt Cups
Use waffle cones as edible cups for fresh fruit and yogurt. It makes a healthy and tasty snack.
Layer fruits like berries and bananas with yogurt inside the cone for a colorful treat.
Dessert Dippers
Break waffle cones into pieces and use them to dip into melted chocolate or caramel. It adds crunch to your dessert.
You can also dip the cone edges in chocolate and let them harden before serving.
Ice Cream Sandwiches
Cut waffle cones into flat pieces and sandwich ice cream between two pieces. It makes a fun ice cream snack.
- Choose firm ice cream for easy cutting
- Press gently to avoid breaking the cone
- Roll edges in nuts or sprinkles for extra flavor
Breakfast Treats
Fill waffle cones with granola, fresh fruit, and yogurt for a quick breakfast. It is easy to carry and eat.
Add honey or maple syrup for a sweet finish.
Frequently Asked Questions
What Ingredients Are Needed For Waffle Cones?
You need flour, sugar, eggs, butter, vanilla extract, and milk. These simple ingredients create a crispy, sweet waffle cone base perfect for ice cream.
How Do You Shape Waffle Cones Perfectly?
Use a cone-shaped mold while the waffle is warm and flexible. Roll the waffle quickly around the mold and let it cool to hold shape.
Can Waffle Cones Be Stored For Later Use?
Yes, store them in an airtight container at room temperature. They stay crisp for up to a week when kept dry.
What Makes Homemade Waffle Cones Better Than Store-bought?
Homemade cones are fresher, customizable, and free from preservatives. They offer a crisp texture and delicious flavor tailored to your taste.
Conclusion
Making waffle cones at home is simple and fun. Fresh cones taste better than store-bought ones. You can enjoy your favorite ice cream with a crispy, warm cone. Try different flavors by adding vanilla or cinnamon to the batter. Practice a few times to get the perfect shape and crunch.
Homemade waffle cones bring joy to any dessert time. Give it a try and enjoy a tasty treat that you made yourself.