
Your drip coffee maker lid might seem like a small part, but it plays a big role in the taste of your coffee. Over time, coffee oils and residue build up, making your morning brew less fresh and your machine harder to clean.
If you want to enjoy better coffee and keep your coffee maker working smoothly, knowing how to clean your drip coffee maker lid is key. You’ll discover simple, effective steps to get your lid spotless fast—no complicated tools or harsh chemicals needed.
Keep reading, and your coffee will thank you.
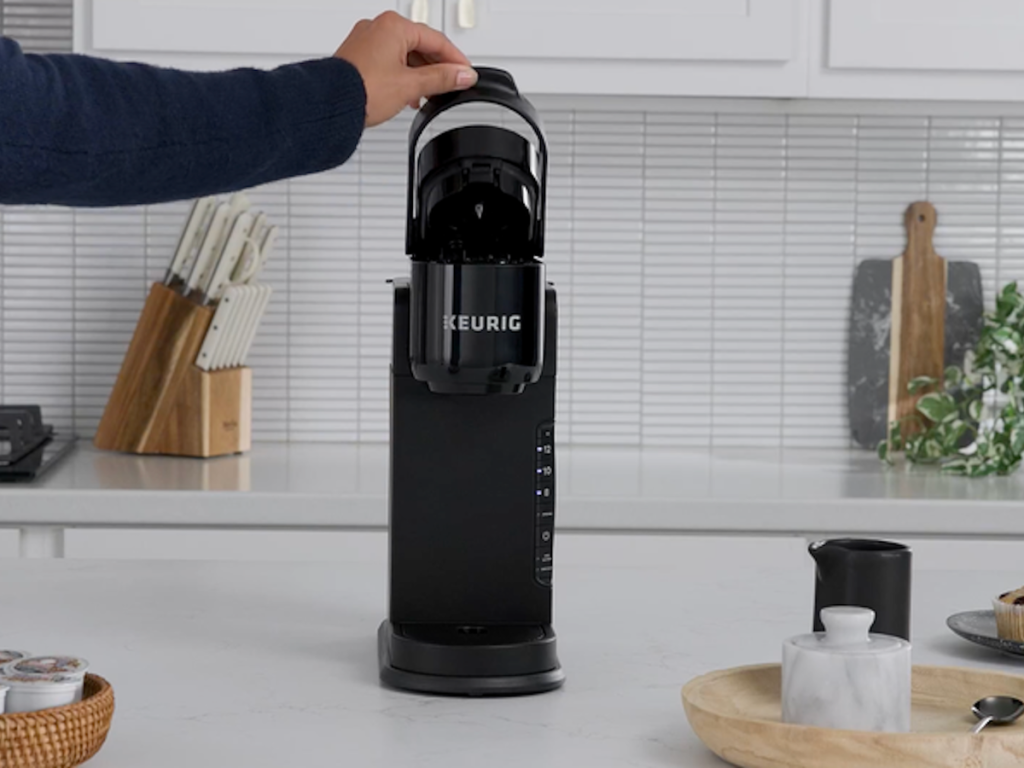
Why Clean The Lid
Cleaning the drip coffee maker lidis very important. The lid touches hot coffee and steam. This can cause oils and coffee bits to build up. These leftovers can change the flavor of your coffee. Old coffee oils can make your drink taste bitter or stale.
Dirty lids also create a perfect place for mold and bacteriato grow. These germs can be harmful and cause bad smells. Regular cleaning stops germs from growing and keeps your coffee fresh and safe to drink.

Credit: somethingsbrewing.in
Tools And Supplies Needed
Cleaning a drip coffee maker lid requires a few simple tools and supplies. Common cleaning materials include:
- Soft spongeor cloth to avoid scratches.
- Mild dish soapto remove grease and coffee stains.
- Warm waterfor rinsing and soaking parts.
- Toothbrushor small brush to reach tight spots.
Specialized cleaning products can help with tough stains and buildup:
- Descaling solutionto remove mineral deposits.
- Vinegaras a natural cleaning agent.
- Baking sodafor gentle scrubbing and deodorizing.
Use these tools and products carefully to keep the lid clean and working well.
Step-by-step Cleaning Process
Gently lift the lid from the coffee maker. Avoid using force to prevent damage. Check for any clips or locks holding it in place. Place the lid on a clean surface before cleaning.
Fill a bowl with warm water and mild soap. Soak the lid for 10 to 15 minutes to loosen coffee stains. Use a soft brush or sponge to scrub away dirt. Focus on corners and crevices where grime hides.
Rinse the lid under warm running water. Make sure all soap is washed off completely. Dry the lid with a clean towel or let it air dry. Ensure it is fully dry before putting it back on the coffee maker.
Dealing With Tough Stains
Vinegarand baking sodawork well for tough stains. First, soak the lid in vinegar for 15 minutes. The vinegar helps break down the stains. Then, sprinkle baking soda on the stains and scrub gently with a soft brush. Rinse the lid with warm water to remove residue.
These natural cleaners are safe and do not harm the plastic. They also remove odors left by coffee oils.
| Alternative Natural Cleaners | How to Use |
|---|---|
| Lemon Juice | Apply lemon juice, let sit 10 minutes, then scrub and rinse. |
| Hydrogen Peroxide | Use a cloth soaked in peroxide to wipe stains, then rinse. |
| Baking Soda Paste | Mix baking soda with water, apply paste, scrub lightly, rinse. |
Maintenance Tips
Cleaning the drip coffee maker lid often keeps it working well. Wipe the lid with a soft cloth every day. Use warm, soapy water for a deeper clean once a week. Rinse and dry completely to stop water spots and stains.
Avoid harsh scrubbing or rough sponges. They can scratch or damage the lid. Do not use strong chemicals or bleach. These can wear out the lid’s surface and cause cracks. Handle the lid gently when removing or putting it back.
- Wipe daily with a damp cloth.
- Wash weekly with mild soap and warm water.
- Dry fully before use.
- Use soft sponges only.
- Avoid strong chemicals and bleach.
- Handle the lid carefully to prevent cracks.

Credit: www.amazon.ca
When To Replace The Lid
Replace the drip coffee maker lid when it’s cracked or fails to seal properly. A damaged lid can affect brewing quality and safety. Regular checks ensure optimal performance and prevent leaks.
Signs Of Wear And Tear
Lids can show signs of wear and tear over time. Cracks or breaks in the lid mean it’s time for a new one. If the lid doesn’t fit snugly, it may be worn out. A loose lid can cause spills during brewing. Stains that won’t wash off may indicate old age. A discolored lid might affect your coffee’s taste.
Choosing The Right Replacement
Selecting the correct lid is important. Check your coffee maker’s brand and model. Not all lids fit every coffee maker. Look for lids made of durable materials. Read customer reviews before buying. Ensure it’s easy to clean and dishwasher safe. A good fit prevents leaks and keeps coffee fresh.

Credit: www.amazon.ca
Frequently Asked Questions
How Often Should I Clean My Drip Coffee Maker Lid?
You should clean the drip coffee maker lid after every use. This prevents coffee stains and bacteria buildup. Regular cleaning keeps your coffee tasting fresh and your machine functioning well.
What Is The Best Way To Clean A Coffee Maker Lid?
Use warm soapy water and a soft cloth to clean the lid. Avoid harsh chemicals or abrasive scrubbers to prevent damage. Rinse thoroughly and dry before reassembling the coffee maker.
Can I Use Vinegar To Clean The Drip Coffee Maker Lid?
Yes, diluted white vinegar is excellent for removing stains and odors. Mix equal parts vinegar and water, soak the lid for 15 minutes, then rinse well. Vinegar naturally disinfects and breaks down mineral deposits.
Is It Safe To Put The Coffee Maker Lid In A Dishwasher?
Most drip coffee maker lids are dishwasher safe, but check your manufacturer’s instructions. If allowed, place the lid on the top rack for gentle cleaning. Hand washing is safer for delicate lids.
Conclusion
Cleaning your drip coffee maker lid keeps your coffee fresh and tasty. Regular cleaning stops old coffee stains and germs from building up. Use warm water and mild soap for best results. Rinse well to remove all soap. Dry the lid before placing it back.
Clean lids help your coffee maker last longer. Keep this simple routine to enjoy better coffee every day. Easy steps, big difference. Your morning cup will thank you.