
If you use reusable pods, you know how important it is to keep them clean. Dirty pods can ruin the taste of your drink and even affect your health.
But cleaning them might seem tricky or time-consuming. What if you could learn a simple, effective way to clean your pods quickly and easily? You’ll discover step-by-step tips that make cleaning your reusable pods a breeze. Keep reading, and you’ll never have to worry about a bad sip again.
Benefits Of Cleaning Reusable Pods
Cleaning reusable podskeeps your device working well and safe to use. It stops old residuefrom building up, which can block the airflow. This helps you enjoy a cleaner tasteevery time you vape. Clean pods also last longer, saving you money. Dirt and leftover liquid can cause your pod to leak or break faster. Regular cleaning keeps the pod fresh and prevents bad smells. It also helps avoid health risksfrom mold or bacteria. Simple care means your pod works better and feels better to use.

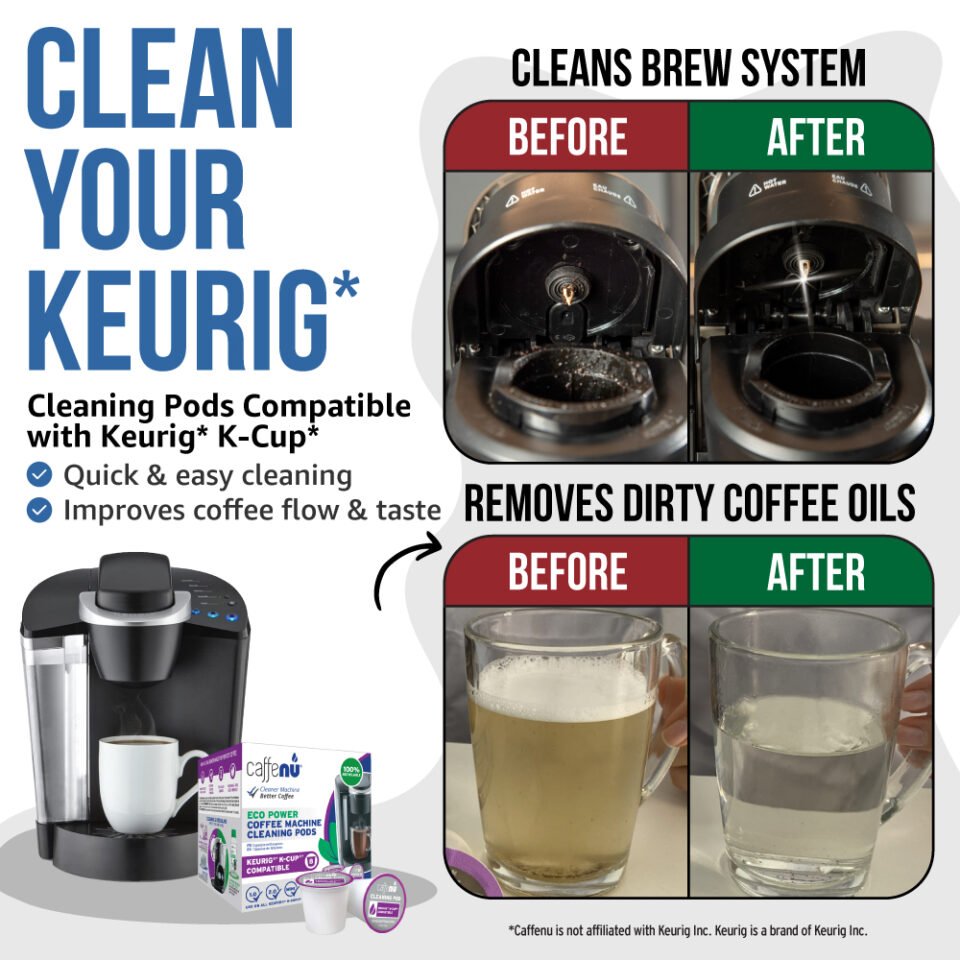
Credit: caffenu.com
Tools Needed For Cleaning
Cleaning reusable pods needs some basic tools. These make the process easyand effective. A soft brushhelps reach small spaces inside the pod. Use warm waterto rinse away residue and dirt. Mild soapor dish detergent removes sticky buildup without harm.
A cotton swabcleans tight corners and edges gently. A small bowlholds warm water and soap for soaking. Paper towels or a clean cloth dry the pod after washing. These simple tools keep reusable pods cleanand ready for use.
Preparing Pods For Cleaning
Start by removing the pod from the device carefully. Empty any leftover liquid inside the pod. Rinse the pod with warm water to remove loose residue. Avoid using hot water as it may damage the pod. Use a small brush or cotton swab to clean hard-to-reach areas gently. Make sure to clean the pod’s mouthpiece and air holes. Let the pod dry completely on a clean cloth or paper towel. Do not use any soap or harsh chemicals that might leave a bad taste. Check the pod for any damage or cracks before reuse. Clean pods work better and last longer.

Credit: www.amazon.com
Step-by-step Cleaning Process
First, rinse the pod under warm water. Ensure all the coffee grounds are gone. Then, soak the pod in a bowl of warm, soapy water. Let it sit for 5-10 minutes. This helps loosen any stubborn particles.
Use a small brush to scrub inside the pod. Focus on corners and edges. This helps remove trapped coffee particles. A soft-bristle brush works best. Ensure the brush reaches all parts of the pod.
Check for any leftover coffee residue. If present, scrub it gently with the brush. Use baking soda for tough stains. Rinse thoroughly to remove all cleaning agents. Ensure no residue remains.
Shake off excess water. Place the pod on a clean towel. Let it air dry completely. Ensure no moisture remains before storing. This prevents mold and bad smells.
Tips For Maintaining Pods
Keeping a regular cleaning schedulehelps your pods last longer. Clean them after every few uses to stop build-up. Use warm water and mild soap. Avoid harsh chemicals that can damage the pod. Let pods dry fully before using again.
Avoiding damagemeans handling pods gently. Do not drop or bend them. Use soft brushes or cloths for cleaning. Avoid metal tools that might scratch or break the pod’s surface.
Storage recommendationsinclude keeping pods in a dry, cool place. Store them away from direct sunlight and heat. Use a small box or pouch to protect pods from dust and dirt.

Credit: smartpodz.com
Common Mistakes To Avoid
Rinsing is key for clean pods. Some people rush this step. Use lukewarm water for better results. Make sure all coffee grounds are gone.
Harsh detergents can damage your pods. They might also leave a bad taste. Use mild soap instead. Your coffee will taste better.
Drying is very important. Wet pods can grow mold. Use a clean towel to dry. Let them air dry if possible. This keeps them fresh.
Overfilling can lead to spills. It may also cause clogs. Fill only up to the marked line. This ensures a smooth coffee flow.
Regular cleaning keeps your pods in good shape. Dirty pods can affect taste. Clean them weekly for best results. Your coffee will thank you.
When To Replace Reusable Pods
Reusable pods should be replaced if they show signs of damage. Look for cracks, leaks, or worn-out seals. These issues can cause poor performance or leaks.
Pods that have a burnt taste or loss of flavor also need changing. Over time, residue builds up inside the pod, affecting the taste. Pods with clogged airflow holes reduce vapor production.
Regular use means pods may last a few weeks to a month. Cleaning helps extend their life but cannot fix physical damage. Keep an eye on pod condition for the best experience.
Frequently Asked Questions
How Often Should I Clean Reusable Pods?
Clean reusable pods after every 1-2 uses to maintain flavor and hygiene. Regular cleaning prevents residue build-up and ensures smooth airflow, enhancing your vaping experience.
What Is The Best Way To Clean Reusable Pods?
Use warm water and mild soap to rinse the pod thoroughly. Avoid harsh chemicals and let the pod air dry completely before reuse to prevent damage.
Can I Use Alcohol To Clean Reusable Pods?
Yes, isopropyl alcohol effectively removes residue and kills bacteria. Rinse well afterward and ensure the pod is fully dry before use to avoid inhaling alcohol fumes.
How Do I Remove Stubborn Residue From Pods?
Soak the pods in warm soapy water for 20-30 minutes. Use a soft brush or cotton swab to gently scrub away residue without damaging the pod.
Conclusion
Cleaning reusable pods keeps your device working well and tasting fresh. Regular care stops clogs and bad flavors. Use warm water and gentle brushes to clean parts carefully. Dry pods fully before use to avoid damage. Simple steps save money and help the environment.
Make cleaning a habit for the best vaping experience. Your pods will last longer, and you will enjoy every puff more. Try to clean them after every few uses for best results. Small effort, big benefits.