
Are you tired of waiting in long lines for your morning coffee or paying too much for a simple cup? Imagine having your perfect brew ready at the exact time you want it, every single day.
Learning how to program your pod coffee maker can save you time, money, and frustration. In this guide, you’ll discover easy steps to set up your machine just the way you like it, so you can enjoy fresh, delicious coffee without any hassle.
Keep reading, and soon you’ll be in control of your coffee routine like never before.
Preparing Your Pod Coffee Maker
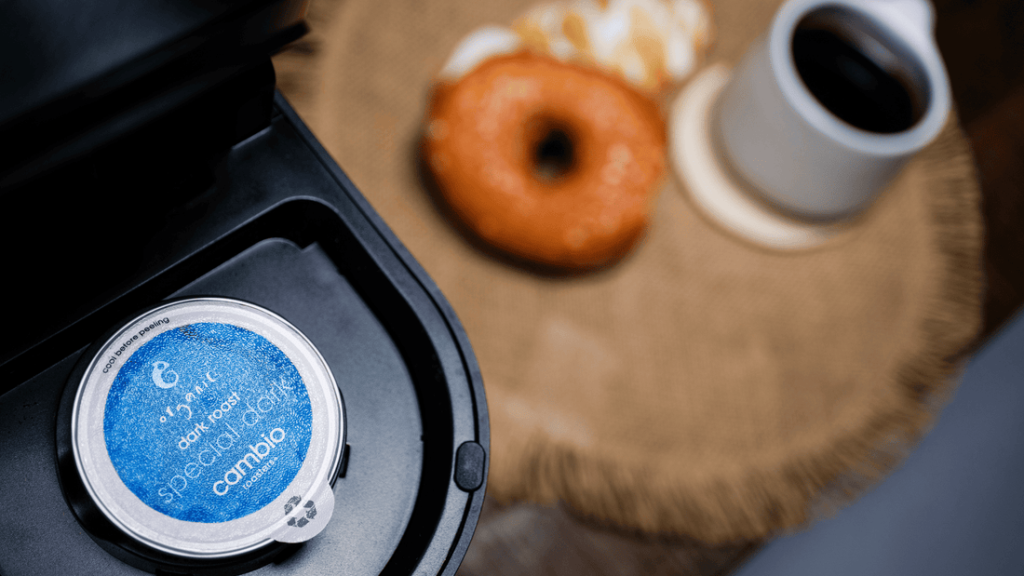
Choosing the right coffee pods is key for good taste. Pods come in many flavors and strengths. Pick one that matches your mood and preference.
Filling the water reservoir is simple. Use clean, fresh water for the best flavor. Do not overfill; fill only to the indicated line to avoid spills.
Powering on the machine is quick. Make sure the machine is plugged in. Press the power button and wait a few seconds for it to heat up. It’s ready when the light stops blinking.
Credit: www.istoma.com
Setting The Brew Size
Selecting the brew size is easy and helps get the right coffee amount.
- Small cup:Perfect for a quick, strong coffee.
- Medium cup:Good for a regular coffee break.
- Large cup:Great for a bigger coffee or sharing.
Each size controls how much water the machine uses. This changes the coffee taste and strength.
Customizing brew strength lets you make coffee lighter or stronger.
- Light strength:Uses less coffee for a milder taste.
- Medium strength:Balanced taste, not too strong or weak.
- Strong strength:More coffee, bold and rich flavor.
Adjust these settings to match your personal coffee taste.
Programming Brew Time
Set the clock on your pod coffee maker first. Use the timer button to enter the brew time. Press the hour and minute buttons to choose when to start brewing.
After setting the time, press the timer button again to confirm. The machine will be ready to brew at the set time.
- Fill the water reservoir with clean water.
- Insert your favorite coffee pod into the machine.
- Make sure the carafe or cup is in place.
- Turn on the automatic brew feature.
The coffee maker starts brewing at the scheduled time. Fresh coffee will be ready when you wake up or return home.

Credit: manuals.plus
Adjusting Temperature Settings
Choosing the right brewing temperatureis key for great coffee. Most experts suggest a range between 195°F and 205°F. This range helps extract the best flavor without burning the coffee.
Maintaining a consistent heatduring brewing ensures every cup tastes the same. Sudden temperature changes can make coffee bitter or weak. Your pod coffee maker should allow easy adjustments to keep this steady heat.
- Set temperature close to 200°F for balanced taste
- Lower temperature for lighter, smoother coffee
- Higher temperature for stronger, bolder flavor
- Check machine settings regularly to avoid fluctuations
Running A Test Brew
Start the test brew by inserting a clean pod. Make sure the water reservoir is filled. Press the brew button and wait for the cycle to finish.
Check the coffee flow. It should be smooth and steady. If water leaks, clean the pod holder or check the seal.
Taste the coffee carefully. If it is too weak, try a stronger pod or adjust the brew time. If it is too strong or bitter, use a lighter pod or reduce the brew time.
- Use fresh water for best taste.
- Clean the machine regularly to avoid blockages.
- Adjust settings in small steps for best results.

Credit: hamiltonbeachcommercial.com
Cleaning And Maintenance Tips
Learn how to program your pod coffee maker effortlessly with these simple steps. Start by setting the current time on the machine. Next, adjust the brew strength to your preference. Finally, schedule your brew time for fresh coffee whenever you need it.
Descaling The Machine
Descaling keeps your coffee maker happy. Use a descaling solution to do this. Fill the water tank with the solution. Run a brew cycle without a coffee pod. Then, rinse the machine with clean water. Repeat the rinse to remove all the solution.
Cleaning The Pod Holder
The pod holder can get dirty. Remove it carefully from the machine. Wash it with warm, soapy water. Rinse it well and let it dry. Do this regularly to keep it clean.
Regular Maintenance Schedule
- Weekly: Wipe down the machine with a damp cloth.
- Monthly: Check and clean the water tank.
- Quarterly: Perform descaling for best results.
Frequently Asked Questions
How Do I Start Programming A Pod Coffee Maker?
Begin by plugging in your coffee maker and turning it on. Access the programming menu using the designated button. Follow the manual to set brew strength, cup size, and brew time. Save settings before exiting the menu to start brewing.
Can I Customize Brew Strength On Pod Coffee Makers?
Yes, most pod coffee makers allow brew strength customization. Use the programming menu to select light, medium, or strong brew. Adjust according to your taste preference for a perfect cup every time.
How To Set Brew Time On A Pod Coffee Maker?
Access the programming or settings menu on your coffee maker. Select the brew time option and set your preferred brewing start time. This feature is useful for waking up to fresh coffee automatically.
Is It Possible To Program Cup Size On Pod Machines?
Yes, pod coffee makers often let you program cup size. Choose from small, medium, or large options in the programming settings. This ensures you get the exact coffee volume you want.
Conclusion
Programming your pod coffee maker saves time and ensures fresh coffee daily. Follow the steps carefully to set the timer and brew strength. Check your machine’s manual for specific instructions. Practice a few times to get comfortable with the settings.
Soon, you will enjoy coffee ready exactly when you want it. Simple, quick, and convenient. Enjoy the perfect cup every morning without hassle. Keep your machine clean for best results. Happy brewing!