
If you love cooking with a cast iron pan, you know how important it is to keep it in perfect shape. But over time, your pan can lose its non-stick surface and start to rust.
That’s where re-seasoning comes in. Re-seasoning your cast iron pan restores its natural coating, making it smooth, shiny, and ready for your next meal. In this guide, you’ll learn simple, step-by-step tips to bring your pan back to life. Keep reading, and you’ll never have to worry about a sticky or rusty pan again!

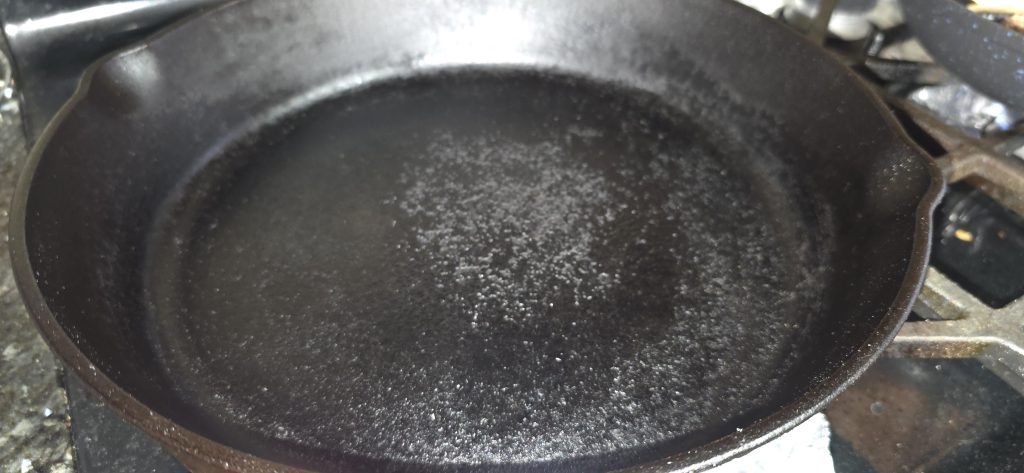
Credit: www.reddit.com
Why Seasoning Matters
Seasoninga cast iron pan creates a natural, protective layer. This layer stops the pan from rustingand helps food not stick to it. It also makes cooking easier and cleans up faster.
Without seasoning, the pan can lose its non-stick surface. Food may stick badly, and the pan could rust quickly. Good seasoning improves the pan’s durabilityand flavorover time.
- Protectsthe pan from rust and damage
- Makes the surface non-stick
- Helps food cook more evenly
- Improves the pan’s appearanceand tasteof food
Credit: shopping.yahoo.com
Choosing The Right Oil
Choosing the right oil is key to a good cast iron pan seasoning. Oils with a high smoke point work best. They can handle high heat without burning.
Common oils for seasoning include:
- Flaxseed oil:Dries hard and forms a strong coating.
- Vegetable oil:Easy to find and has a good smoke point.
- Canola oil:Affordable and works well for seasoning.
- Grapeseed oil:High smoke point and light flavor.
Oils with low smoke points, like olive oil, might leave a sticky surface. Choose oils that dry fast and build a smooth layer.
Preparing The Pan
Remove all old food bits and grease from the pan. Use warm water and a soft brush or sponge. Avoid soap if the pan is well-seasoned, but use mild soap for sticky residue. Scrub gently to protect the pan’s surface.
Dry the pan fully after cleaning. Use a clean cloth or paper towel to wipe it. To make sure it’s completely dry, place the pan on low heat for a few minutes. This stops rust from forming and keeps the pan ready for seasoning.
Applying The Oil
Use a small amount of oil that is good for high heat, like flaxseed or vegetable oil. Spread the oil over the entire pan, including the inside, outside, and handle. Make sure to cover every part with a thin, even layer.
Too much oil can cause sticky spots. Use a paper towel to wipe off extra oil. The pan should look shiny but not wet or dripping. A thin coat helps the pan build a strong, smooth surface after heating.
Baking The Pan
Heat the pan in the oven to open the pores of the cast iron. Apply a thin layer of oil, then bake it to build a strong, non-stick surface. This process helps keep your pan rust-free and ready for cooking.
Setting The Oven Temperature
Preheat the oven to 450°F (232°C). This temperature helps the oil bond to the pan’s surface. Avoid temperatures that are too low because the oil won’t polymerize well. Do not set the oven above 500°F to prevent damage.
Heating Duration
Place the pan upside down in the oven. Bake for about 1 hour. This allows the oil to form a strong, smooth layer. Turn off the oven and let the pan cool inside. Cooling slowly helps the seasoning set better.
Cooling Down
Let the cast iron pan cool down naturally after seasoning to avoid cracking. Avoid sudden temperature changes to keep the pan strong and ready for cooking.
Safe Handling
Let the cast iron pan cool down on a heat-safe surface. Avoid placing it in cold water right after use. This stops the pan from cracking. Use oven mitts or thick cloths to hold the pan. The handle stays hot for a long time. Keep children and pets away during cooling. Never touch the pan with bare hands. Patience is key for safety.
Inspection For Success
Check the pan’s surface once cool. It should look smooth and slightly shiny. Look for any rust spots or sticky areas. These signs mean the seasoning needs fixing. Test by rubbing a drop of water on the surface. Water should bead and not soak in. If water spreads, the seasoning is weak. A well-seasoned pan protects food and lasts longer.
Maintaining The Seasoning
Cleaning your cast iron pan right keeps its seasoning strong. Avoid using soap or harsh detergents. Instead, scrub with a brush or sponge and warm water. Dry the pan immediately with a cloth or low heat on the stove to stop rust.
After cleaning, rub a thin layer of cooking oil on the surface. This helps keep the pan non-stickand protected. Store the pan in a dry place with good air flow.
- Re-season the pan after deep cleaning or if food sticks easily.
- Coat the pan with oil and heat it in the oven at 350°F (175°C) for an hour.
- Let it cool in the oven to finish the process.
Regular care and re-seasoning keep the cast iron pan durableand easy to cook with.

Credit: m.youtube.com
Frequently Asked Questions
How Often Should I Re-season My Cast Iron Pan?
Re-season your cast iron pan every few months or when food starts sticking. Frequent use and cleaning wear down the seasoning, so regular maintenance keeps the surface non-stick and rust-free.
What Oil Is Best For Re-seasoning Cast Iron?
Use oils with high smoke points like flaxseed, vegetable, or canola oil. These oils polymerize well, creating a durable, non-stick coating on your cast iron pan.
Can I Re-season A Rusty Cast Iron Pan?
Yes, remove rust first by scrubbing with steel wool or vinegar soak. Once clean and dry, apply oil and bake to restore the seasoning layer effectively.
How Long Does The Re-seasoning Process Take?
Re-seasoning takes about 1 hour, including cleaning, oiling, and baking. Baking at 450°F for 1 hour polymerizes the oil, creating a strong seasoning layer.
Conclusion
Re-seasoning your cast iron pan keeps it strong and non-stick. Clean the pan well before applying oil. Heat it in the oven to build a smooth surface. Regular care helps your pan last many years. Enjoy cooking with a pan that improves over time.
Simple steps can bring back its shine and performance. Take time to care for your pan after each use. A well-seasoned pan makes meals taste better and cooks evenly. Keep your cast iron ready for every meal you make.